


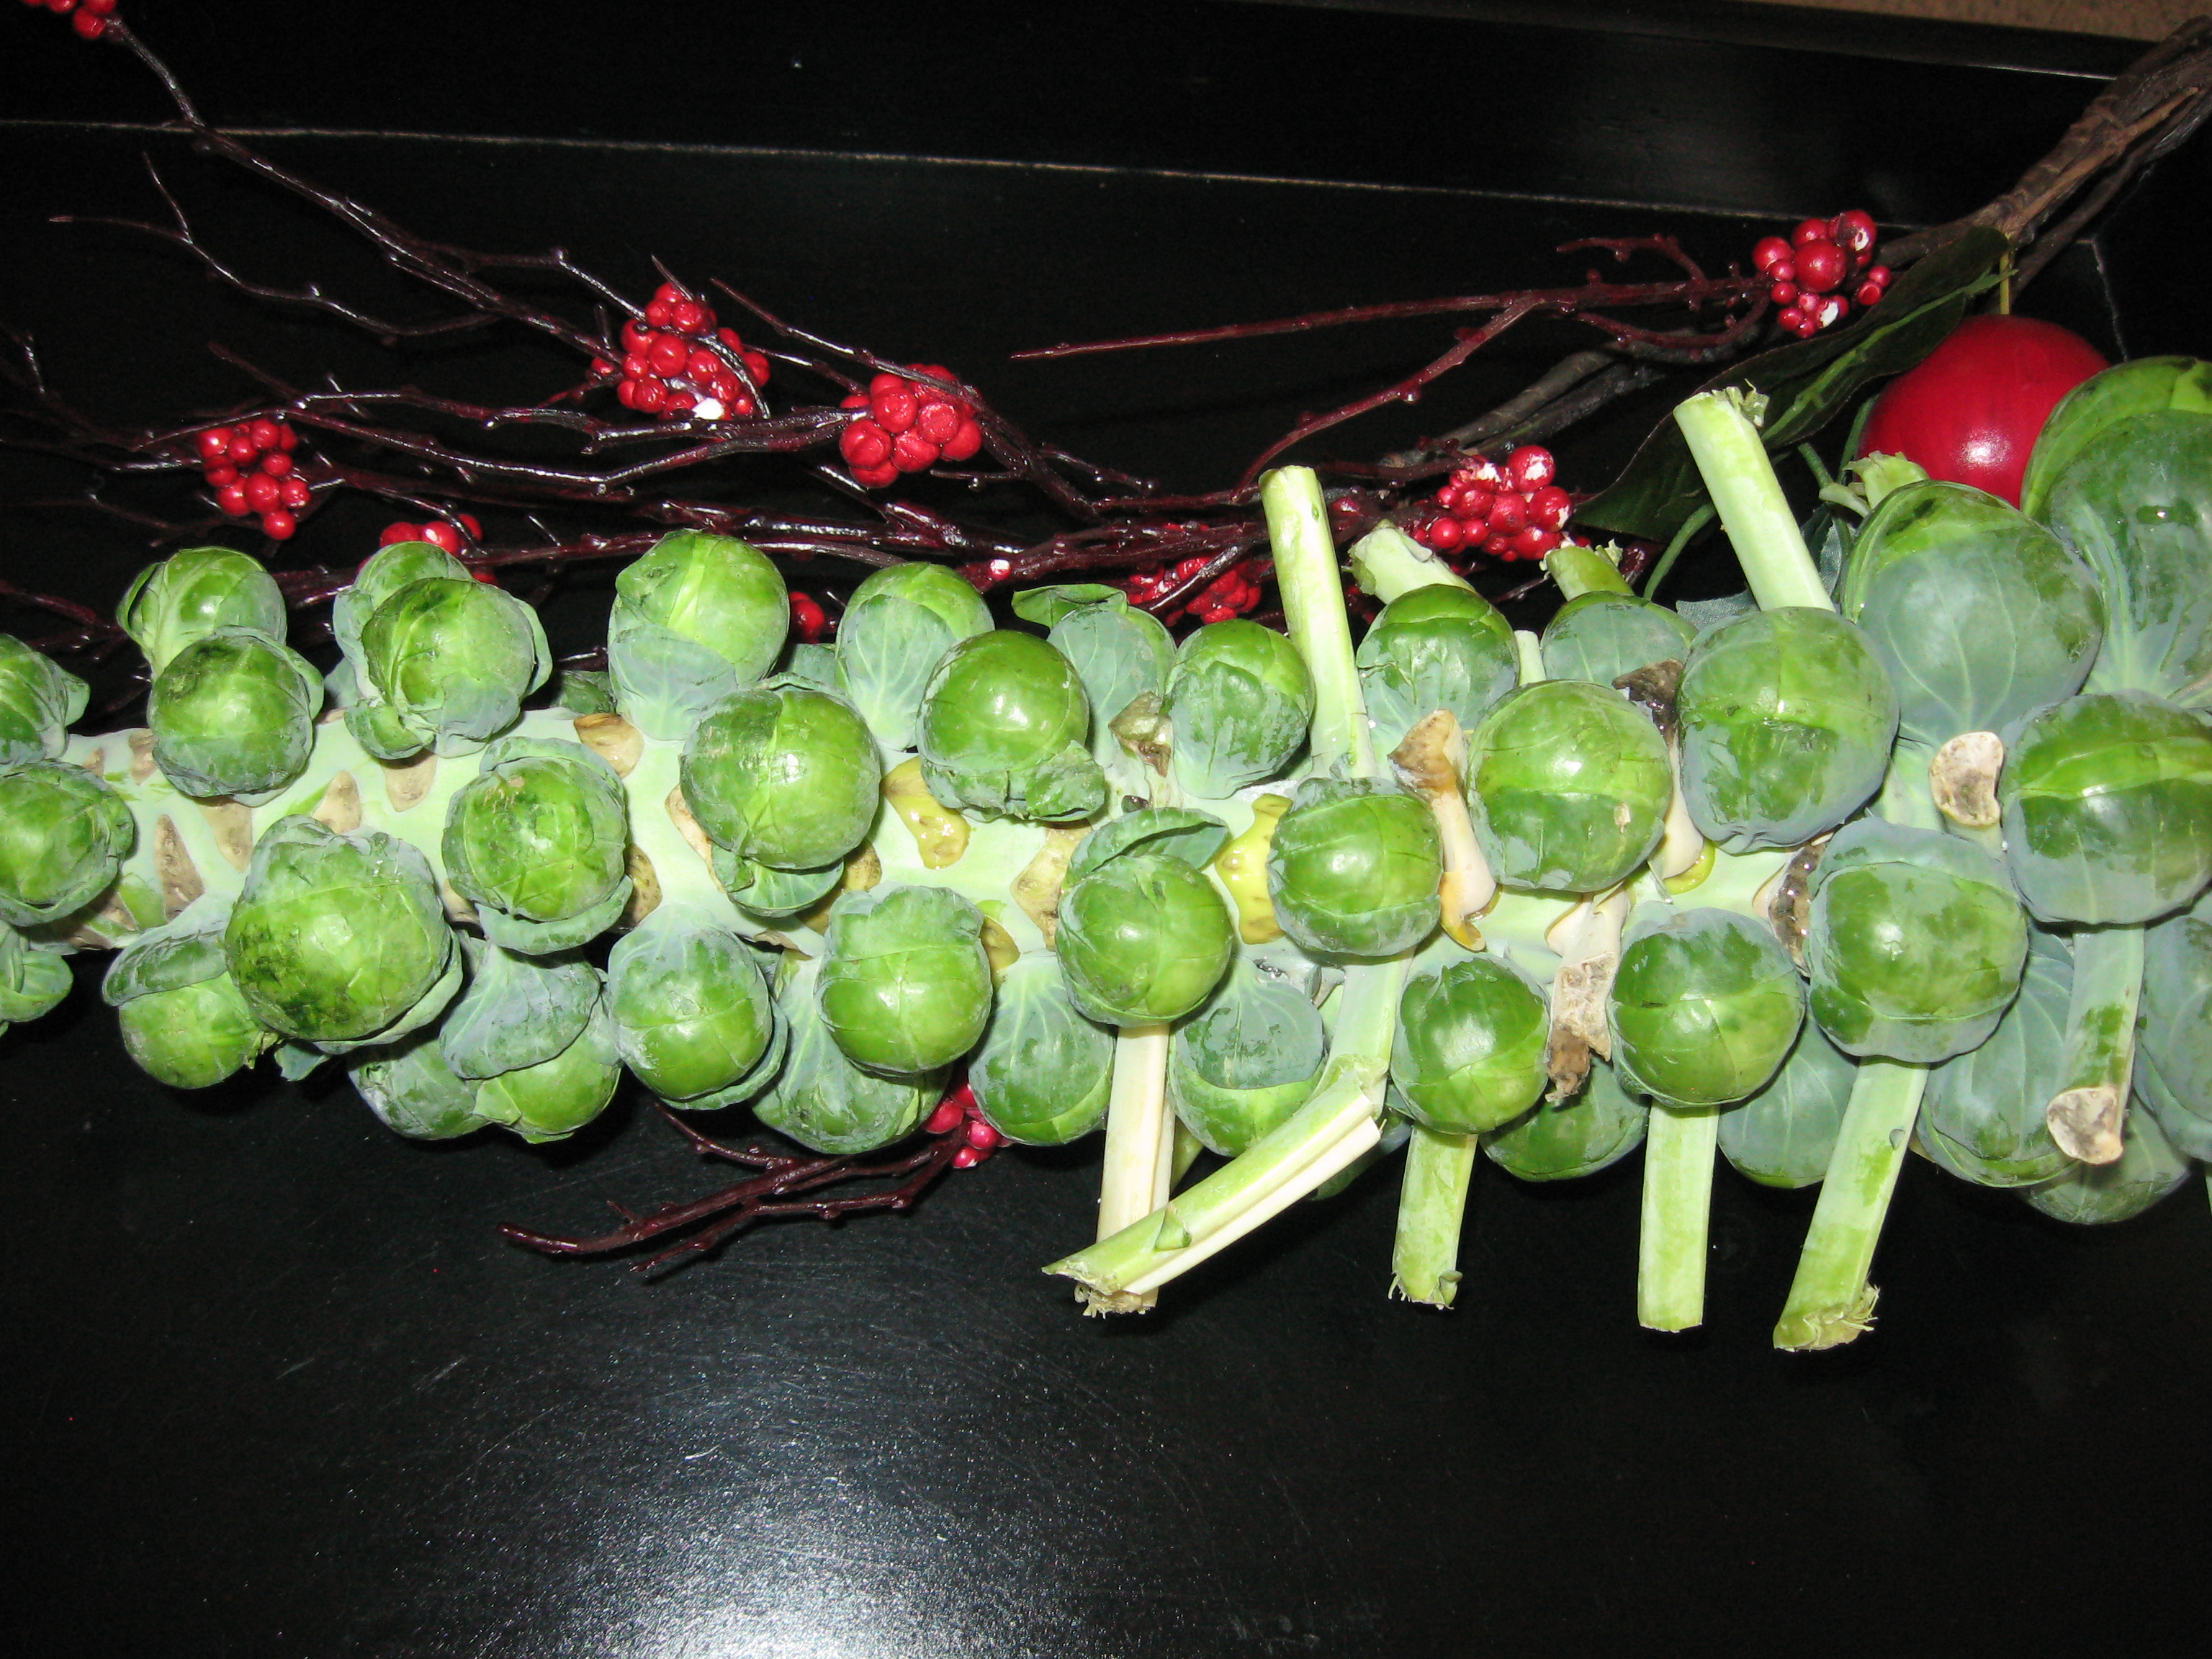
Brussels Sprouts 8 Different Ways
Now I know why: the Brussels Sprouts issue- UGH or YUM!
UGH:mushy and bitter— YUM: so sweet and crunchy. You may already know the following, but I didn’t—so here goes. In web hunting info about this debate I found out to my amazement that scientists have discovered a genetic reason why people love or hate Brussels sprouts. Brussels sprouts contain a chemical similar to PTC (Phenylthiocarbamide) which tastes bitter to people who have that particular mutated gene. Those without this gene are immune to the bitterness (that’s 50% of the people). I know those who only like Brussels sprouts raw (I guess less bitter). No matter what please know that this veggie is low in saturated fat and cholesterol and is a great source of thiamin, riboflavin, iron, magnesium phosphorus and copper and is a good source of dietary fiber, vitamin A,C,K,B6, Folate, Potassium and Manganese. It is low in calories, is good for you and is abundant at this time of the year. I guess that’s why it’s also thought of as a festive dish so I am thinking sprouts for my holiday meals.
So, why do these little cabbages have the first name of “Brussels”? In researching this, I found out that this vegetable was first cultivated in Italy during Roman times and possibly as early as the 1200’s in Belgium. Ah-ha!! That’s it! As early as 1587, the sprouts with which we are familiar today were indeed cultivated in large quantities in Belgium and were gifted with its first name after the Belgian capital of Brussels. They were introduced in the USA in the 1800’s when French settlers brought them to Louisiana. In fact, T. Jefferson grew them at Monticello. California started growing them in the early 1900’s on its central coast in Steinbeck country (Monterrey and the likes). Coastal fog and cool temps made growing conditions for these little guys just perfect. Today California supplies the majority of the U.S. production from June through January.
Brussels Sprouts: 3 to 4 servings per pound
Here are 6 ways of serving them and who knows, maybe because of the additional ingredients, even those with the “bitter” gene might enjoy them as well:
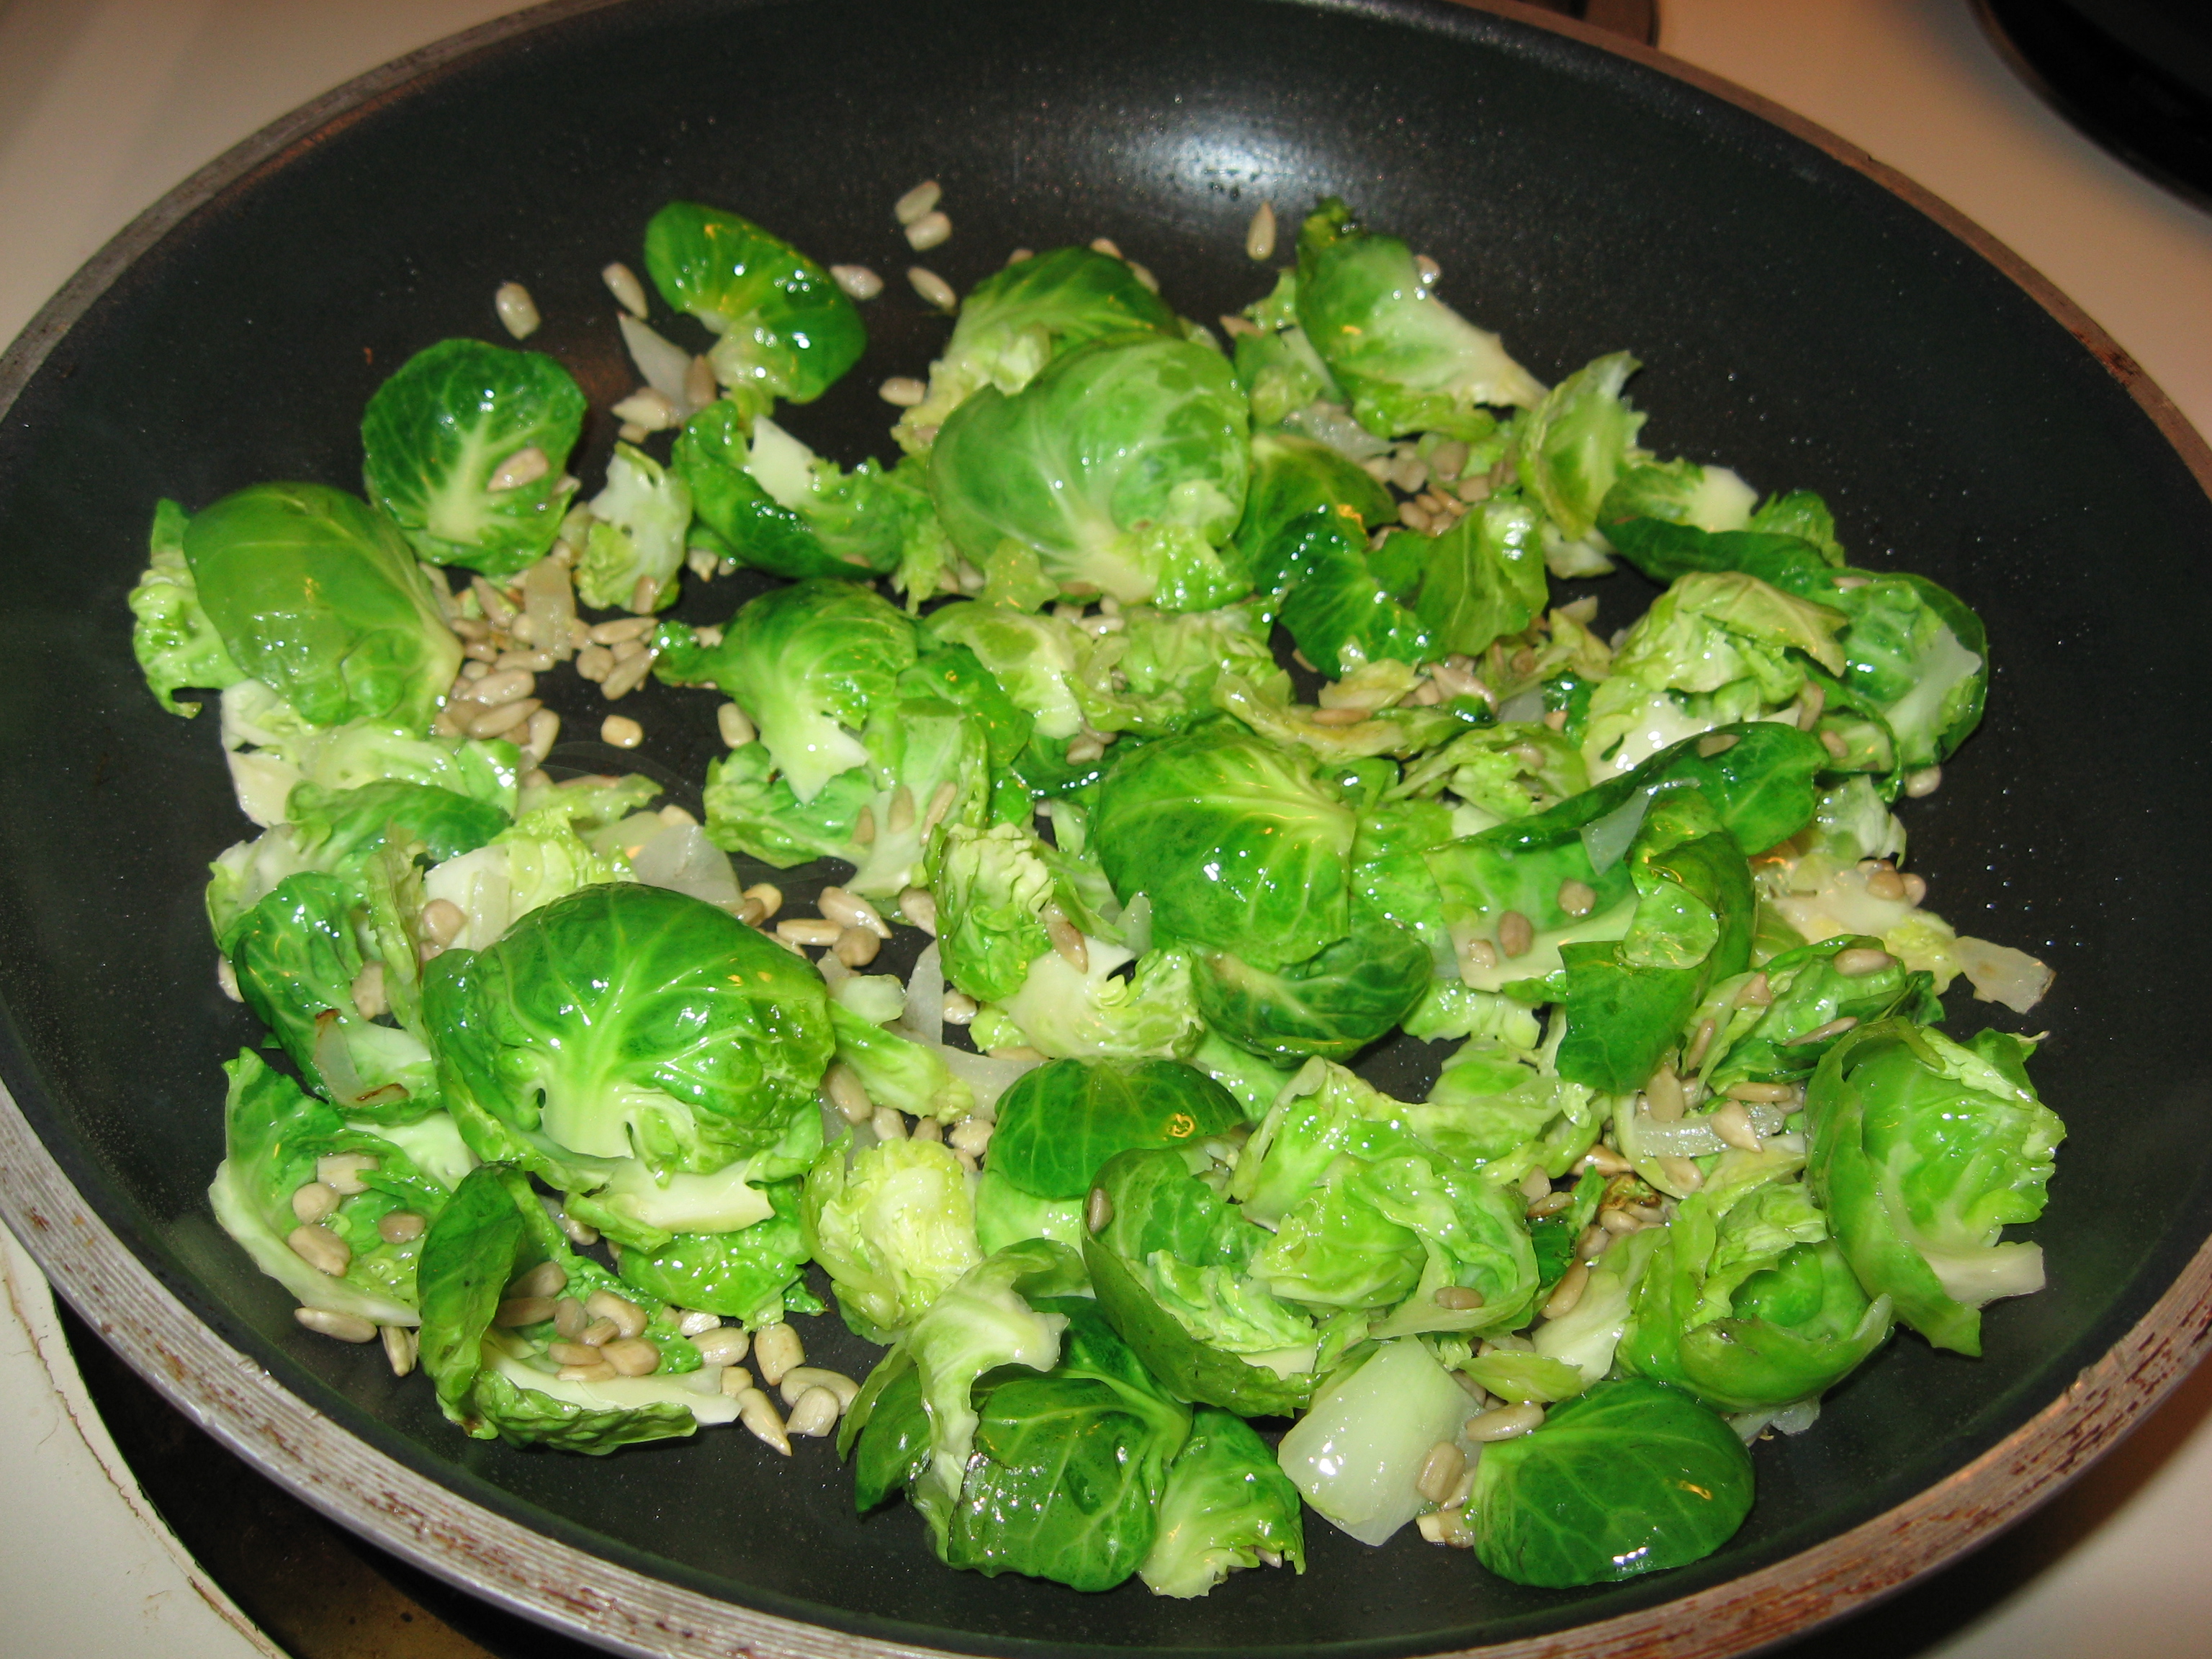
- Stir-Fry: Peel the outer leaves off the heads; slice thinly the nubby center; stir-fry all in a bit of olive oil for about 2 minutes with some minced fresh ginger and red pepper flakes; when the leaves are tender, stir in slivered scallions, lemon zest and a bit of butter.
- Sauté: Cut into quarters and sauté with butter, caraway seeds, bits of real bacon and chopped onion (or thinly sliced onion); then add a splash of apple cider vinegar and let that cook down to glaze the sprouts.
- Use Raw: Slice thinly and toss with very thinly sliced radicchio, toasted pine nuts, sharp goat cheese and red-wine vinaigrette.
- Carmalized: Slice thinly or in quarters. In a skillet, melt some butter and olive oil and add the sprouts to brown for about 8-10 minutes. Then add some brown sugar and/or honey and keep on stirring till the sprouts are well covered with this mixture and done the way you would like. Taste for adjustments. If you wish add a bit of ginger, cinnamon or paprika and/or some chicken bouillon, a dash of orange juice, lemon juice, vinegar or even brandy to finish it off. You can really use your imagination here however don’t use too many ingredients at once.
- Roast: Trim and halve sprouts lengthwise. In a bowl mix 1-3 Tblsp. olive oil, S&P, and a bit of lemon juice. Toss the sprouts with this mixture. (Don’t wash the bowl yet.) Then arrange the sprouts cut side down in a baking dish with tall sides and lined with parchment paper. Place the sprouts evenly spaced towards the pan sides as much as possible. Roast in a 425 oven until tender and browned, about 15 minutes. No need to flip. They will be very brown but good. Before serving toss in the olive oil bowl once more. (Now you can clean that bowl.)
- Roasted with gomasio: If you wish, pair the roasted sprouts with gomasio (sesame salt). To make this take 2 Tblsp. sesame seeds and toast them over medium heat in a small dry skillet, stirring almost constantly until light golden-brown-3-5 minutes. Add the salt and cook, stirring for about 30 seconds. Transfer to a small bowl and cool completely. Put the salted seeds in a clean spice grinder and pulse a few times to grind coarsely—or smash them with a rolling pin in a plastic bag. You should have a few whole seeds in the mixture. Toss about 2 tsp. sesame salt per pound of sprouts with them after roasting. If need be, save the remainder of the gomasio for other roasted veggies such as asparagus, broccoli, green beans, parsnips, sweet potatoes and turnips.
- Italian-Style: Cook your sprouts in which ever manner you wish and add the following well whisked vinaigrette to the sprouts when cooked: 1 Tblsp. Dijon mustard, 2 Tsp. lemon juice, 2 Tsp. balsamic vinegar, 1 minced clove of garlic; add 2 Tblsp. shaved Parmesan Cheese over the top. You could even add to the sprouts some shavings of raw sprouts.
- Thanks to Alex duMauriee, here is one more recipe: 3 Tblsp. grape seed oil; 1 Tblsp. minced shallot; 12 large Brussels sprouts trimmed and leaves separated from the cores (about 8 C.); 3/4 C. shelled pistachios (salted or not); 2 Tblsp. lemon juice. Heat oil in large nonstick skillet over med. hi; add shallot and stir 20 seconds; add Brussels sprout leaves and pistachios and sauté until leaves begin to soften but are still bright green(about 3 min.); drizzle lemon juice over; season with S&P. YUM. Thank you Alex.
For easy access and printing of this and past recipes, visit Margot’s blog http://blog.tempinnkeeper.com Call Margot for personal cooking help @ 721-3551.
Margot is a self-taught enthusiastic & passionate cook. Having been an inn-keeper for 5 years at her own inn, she accumulated a lot of good recipes which she loves to share.
 Sliced Canadian Bacon with Rosemary and Sweet Italian Chicken Sausage Slices with Rosemary and white vermouth


