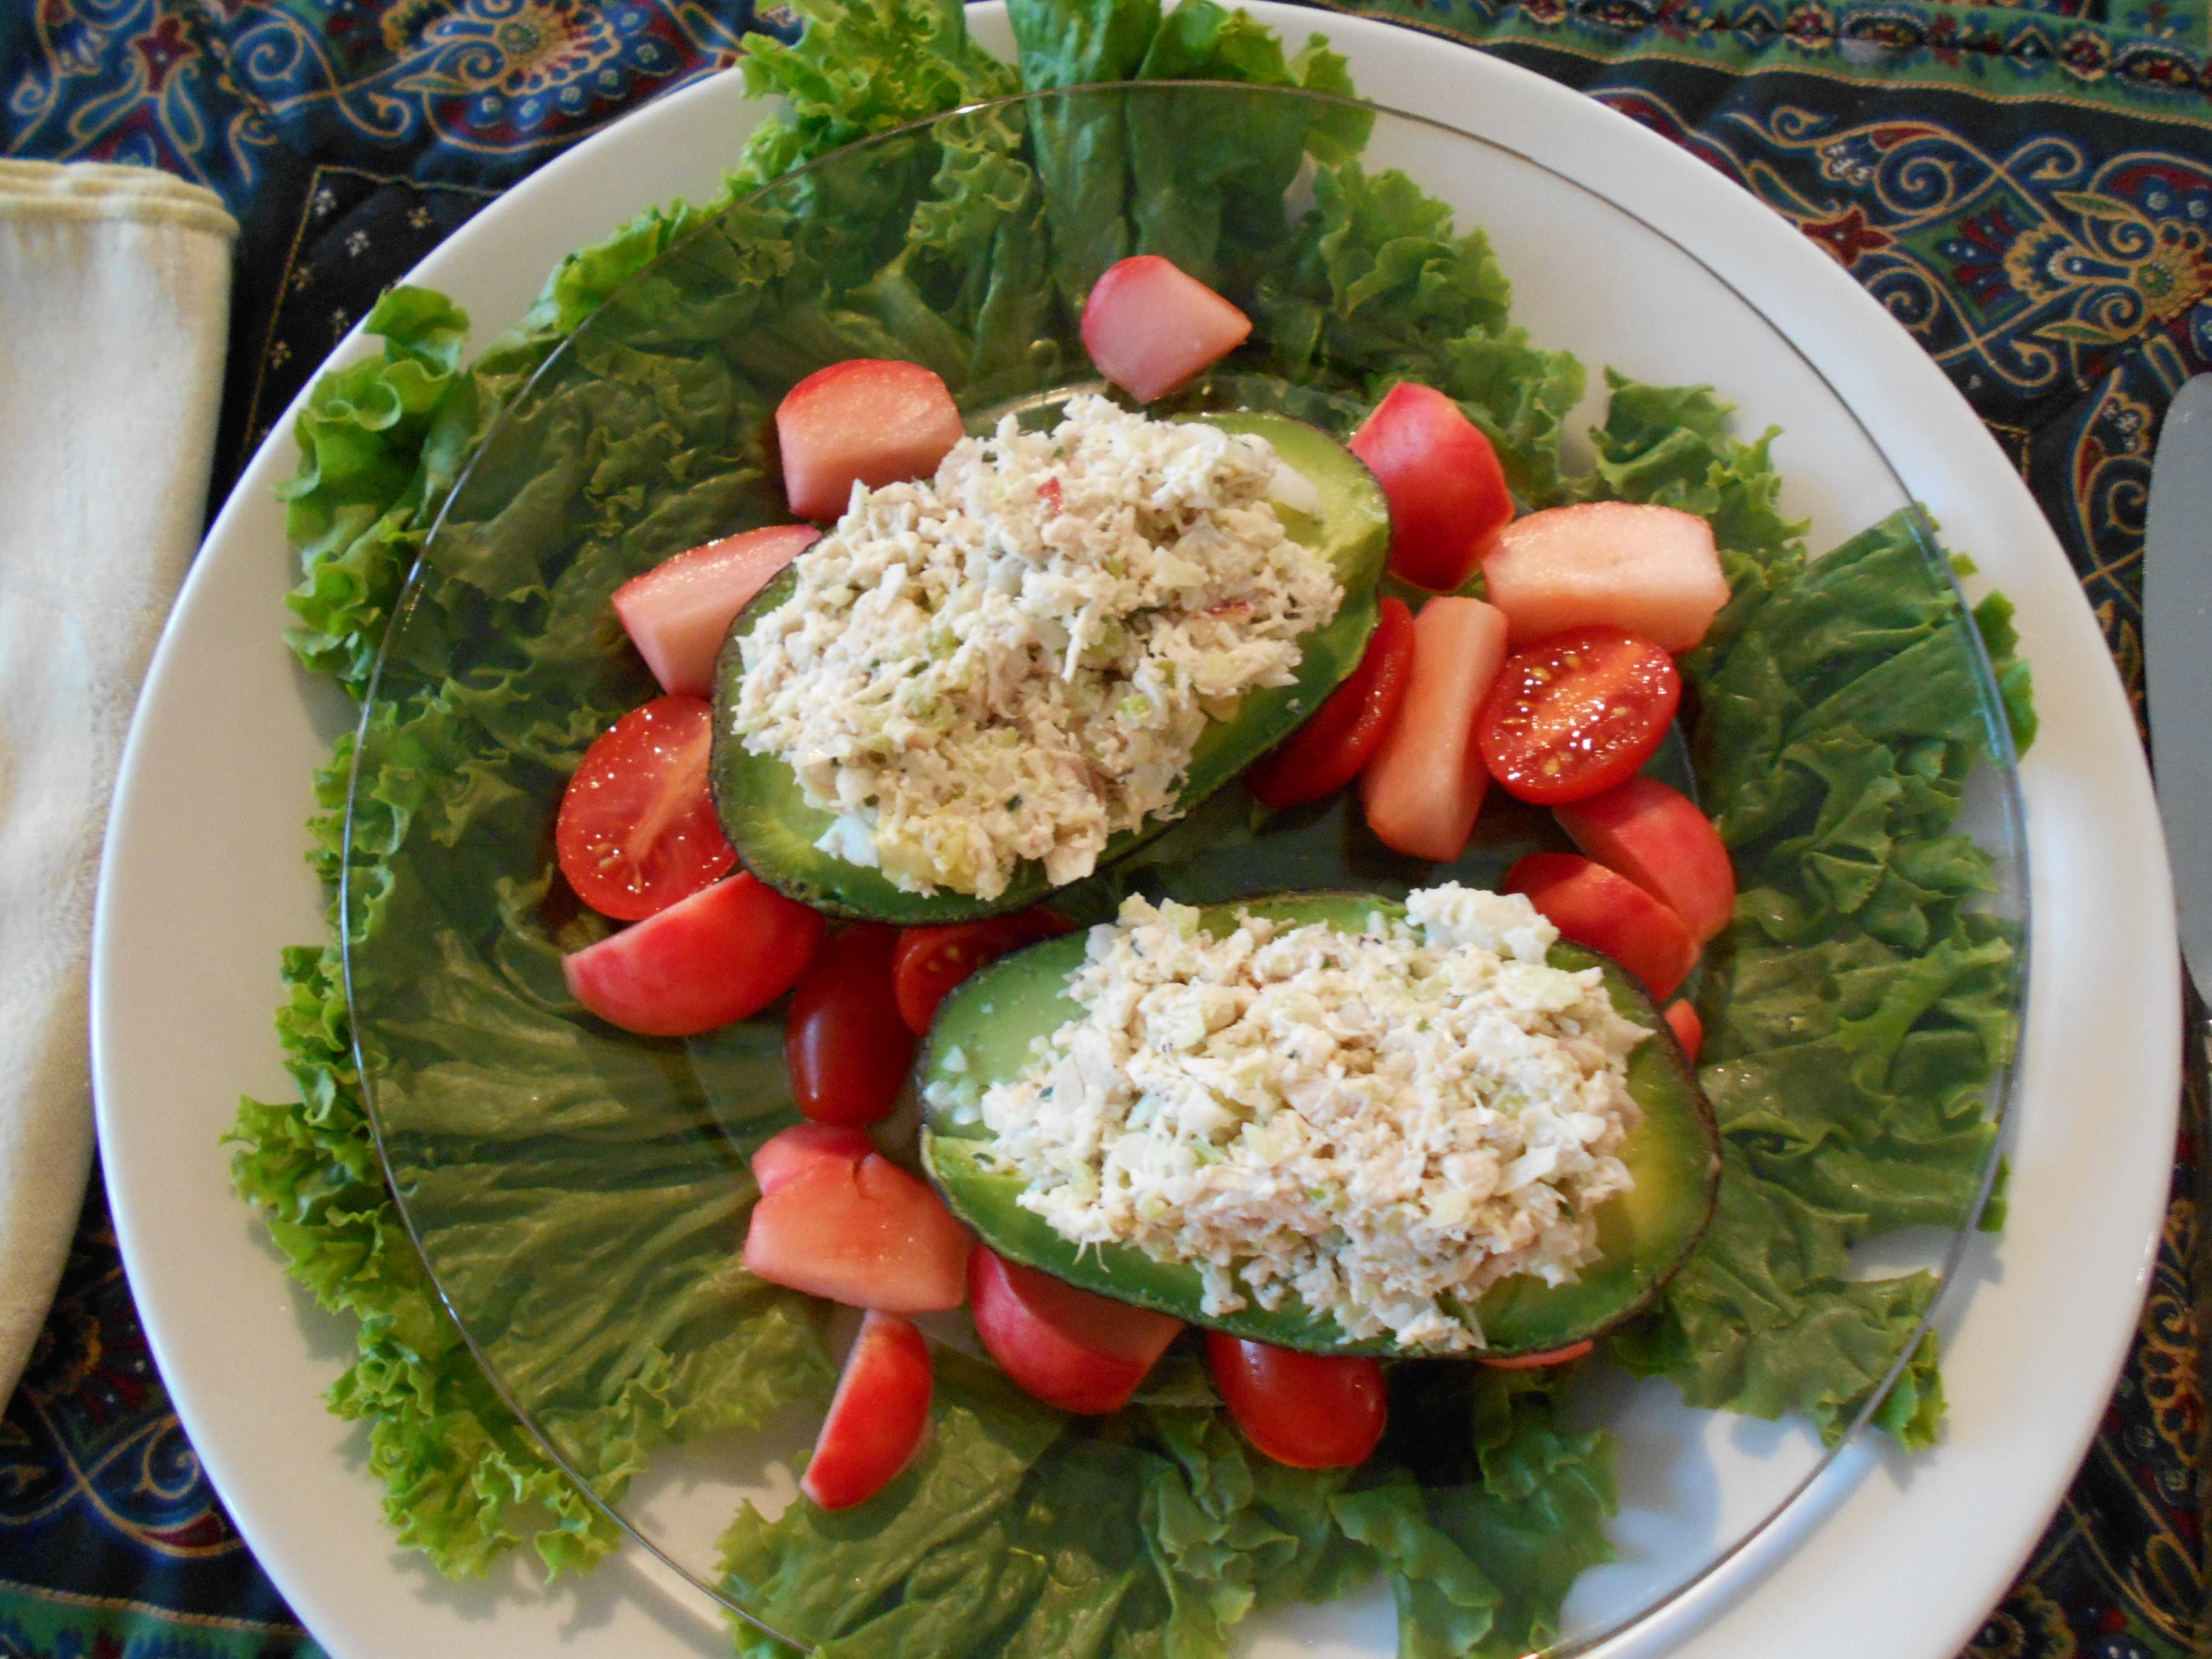
Tag Archives: chicken

Standard

Cassoulet, the easy way     serves 6-8 finis Originally the cassoulet originated in the South of France and was named after the traditional earthenware pot, a casserole vessel that was used specifically for it.  It was a “peasant’s” dish and utilized all sorts of left-over’s.  It was a slow cooking dish that traditionally contained pork, sausages, goose, duck, mutton, pork skin and white haricot beans.  But it has transformed itself by cooks worldwide to now even containing fish.  This is such a versatile dish and it can be quite healthy.  It can be a little time consuming due to the chopping of the veggies and the browning of the meats so give yourself a minute or two to this creative dish.  The end result will be well worth it.  Also, if you wish to vary the meats such as using pork, go for it. The fun thing with this dish is that you can make it your own by using your imagination with many different kinds of variations.

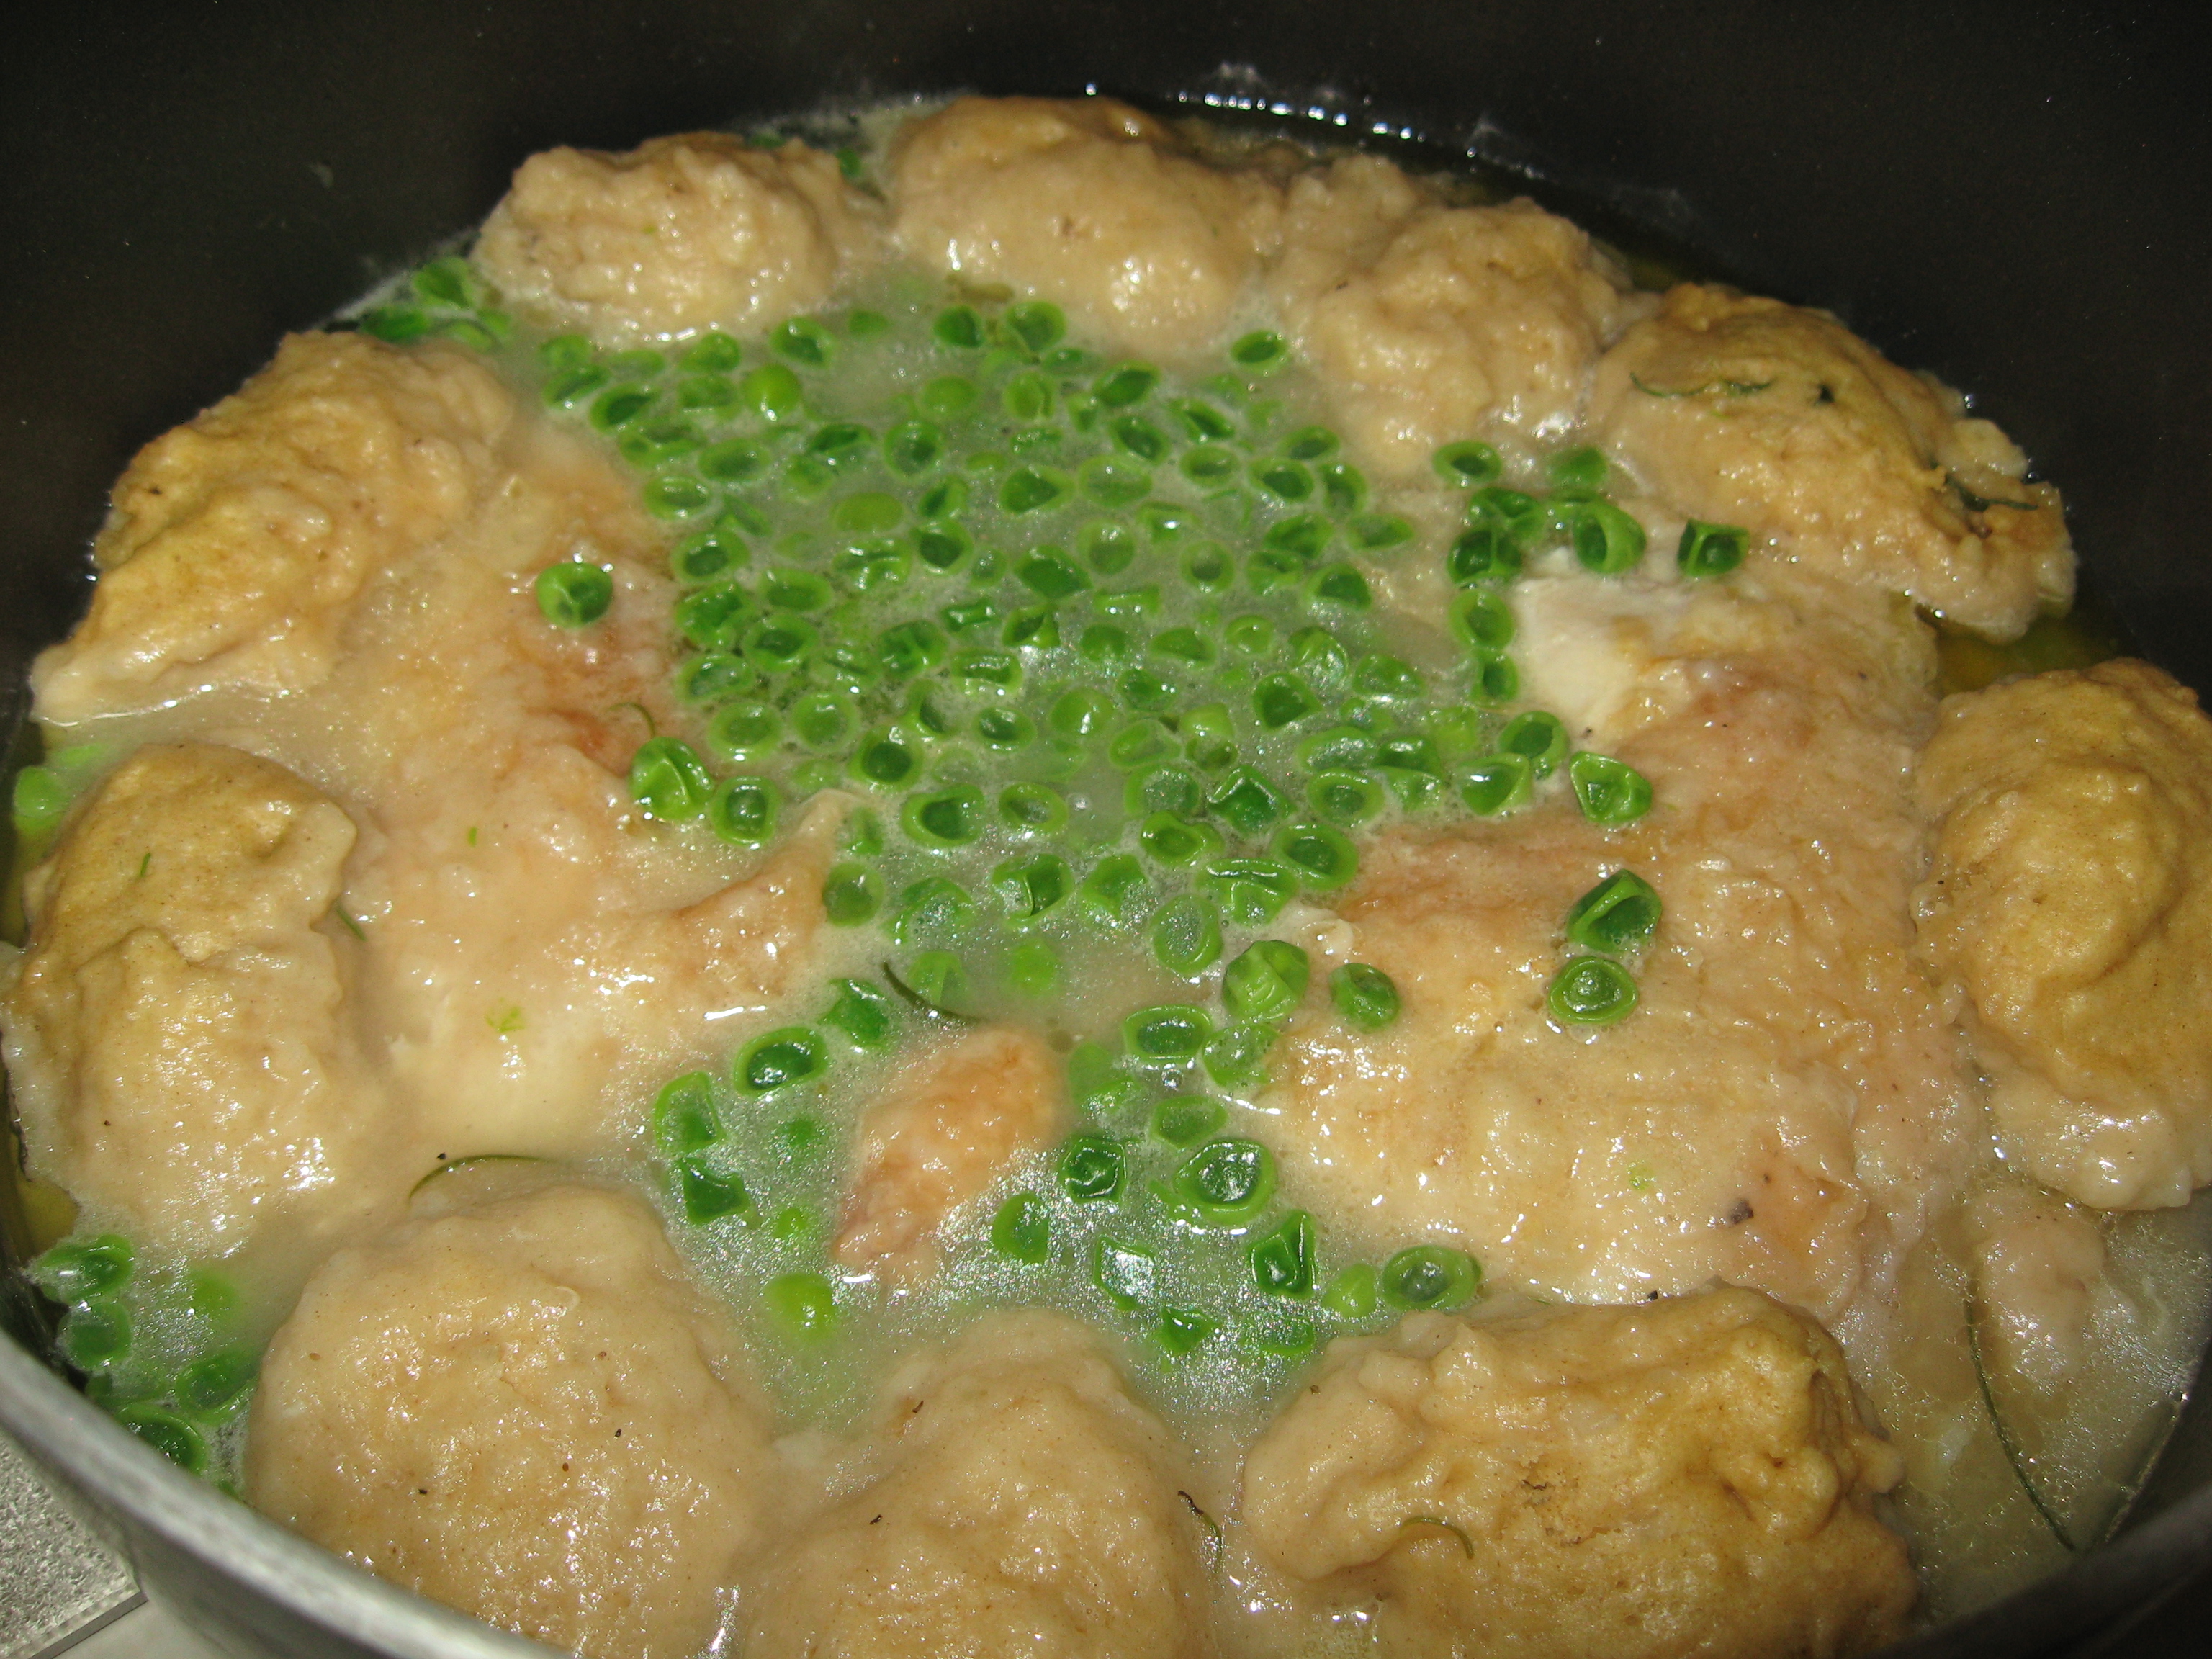
Ingredients for the cassoulet pictured above:

  • 2 lbs. lamb shoulder slices (bone in)
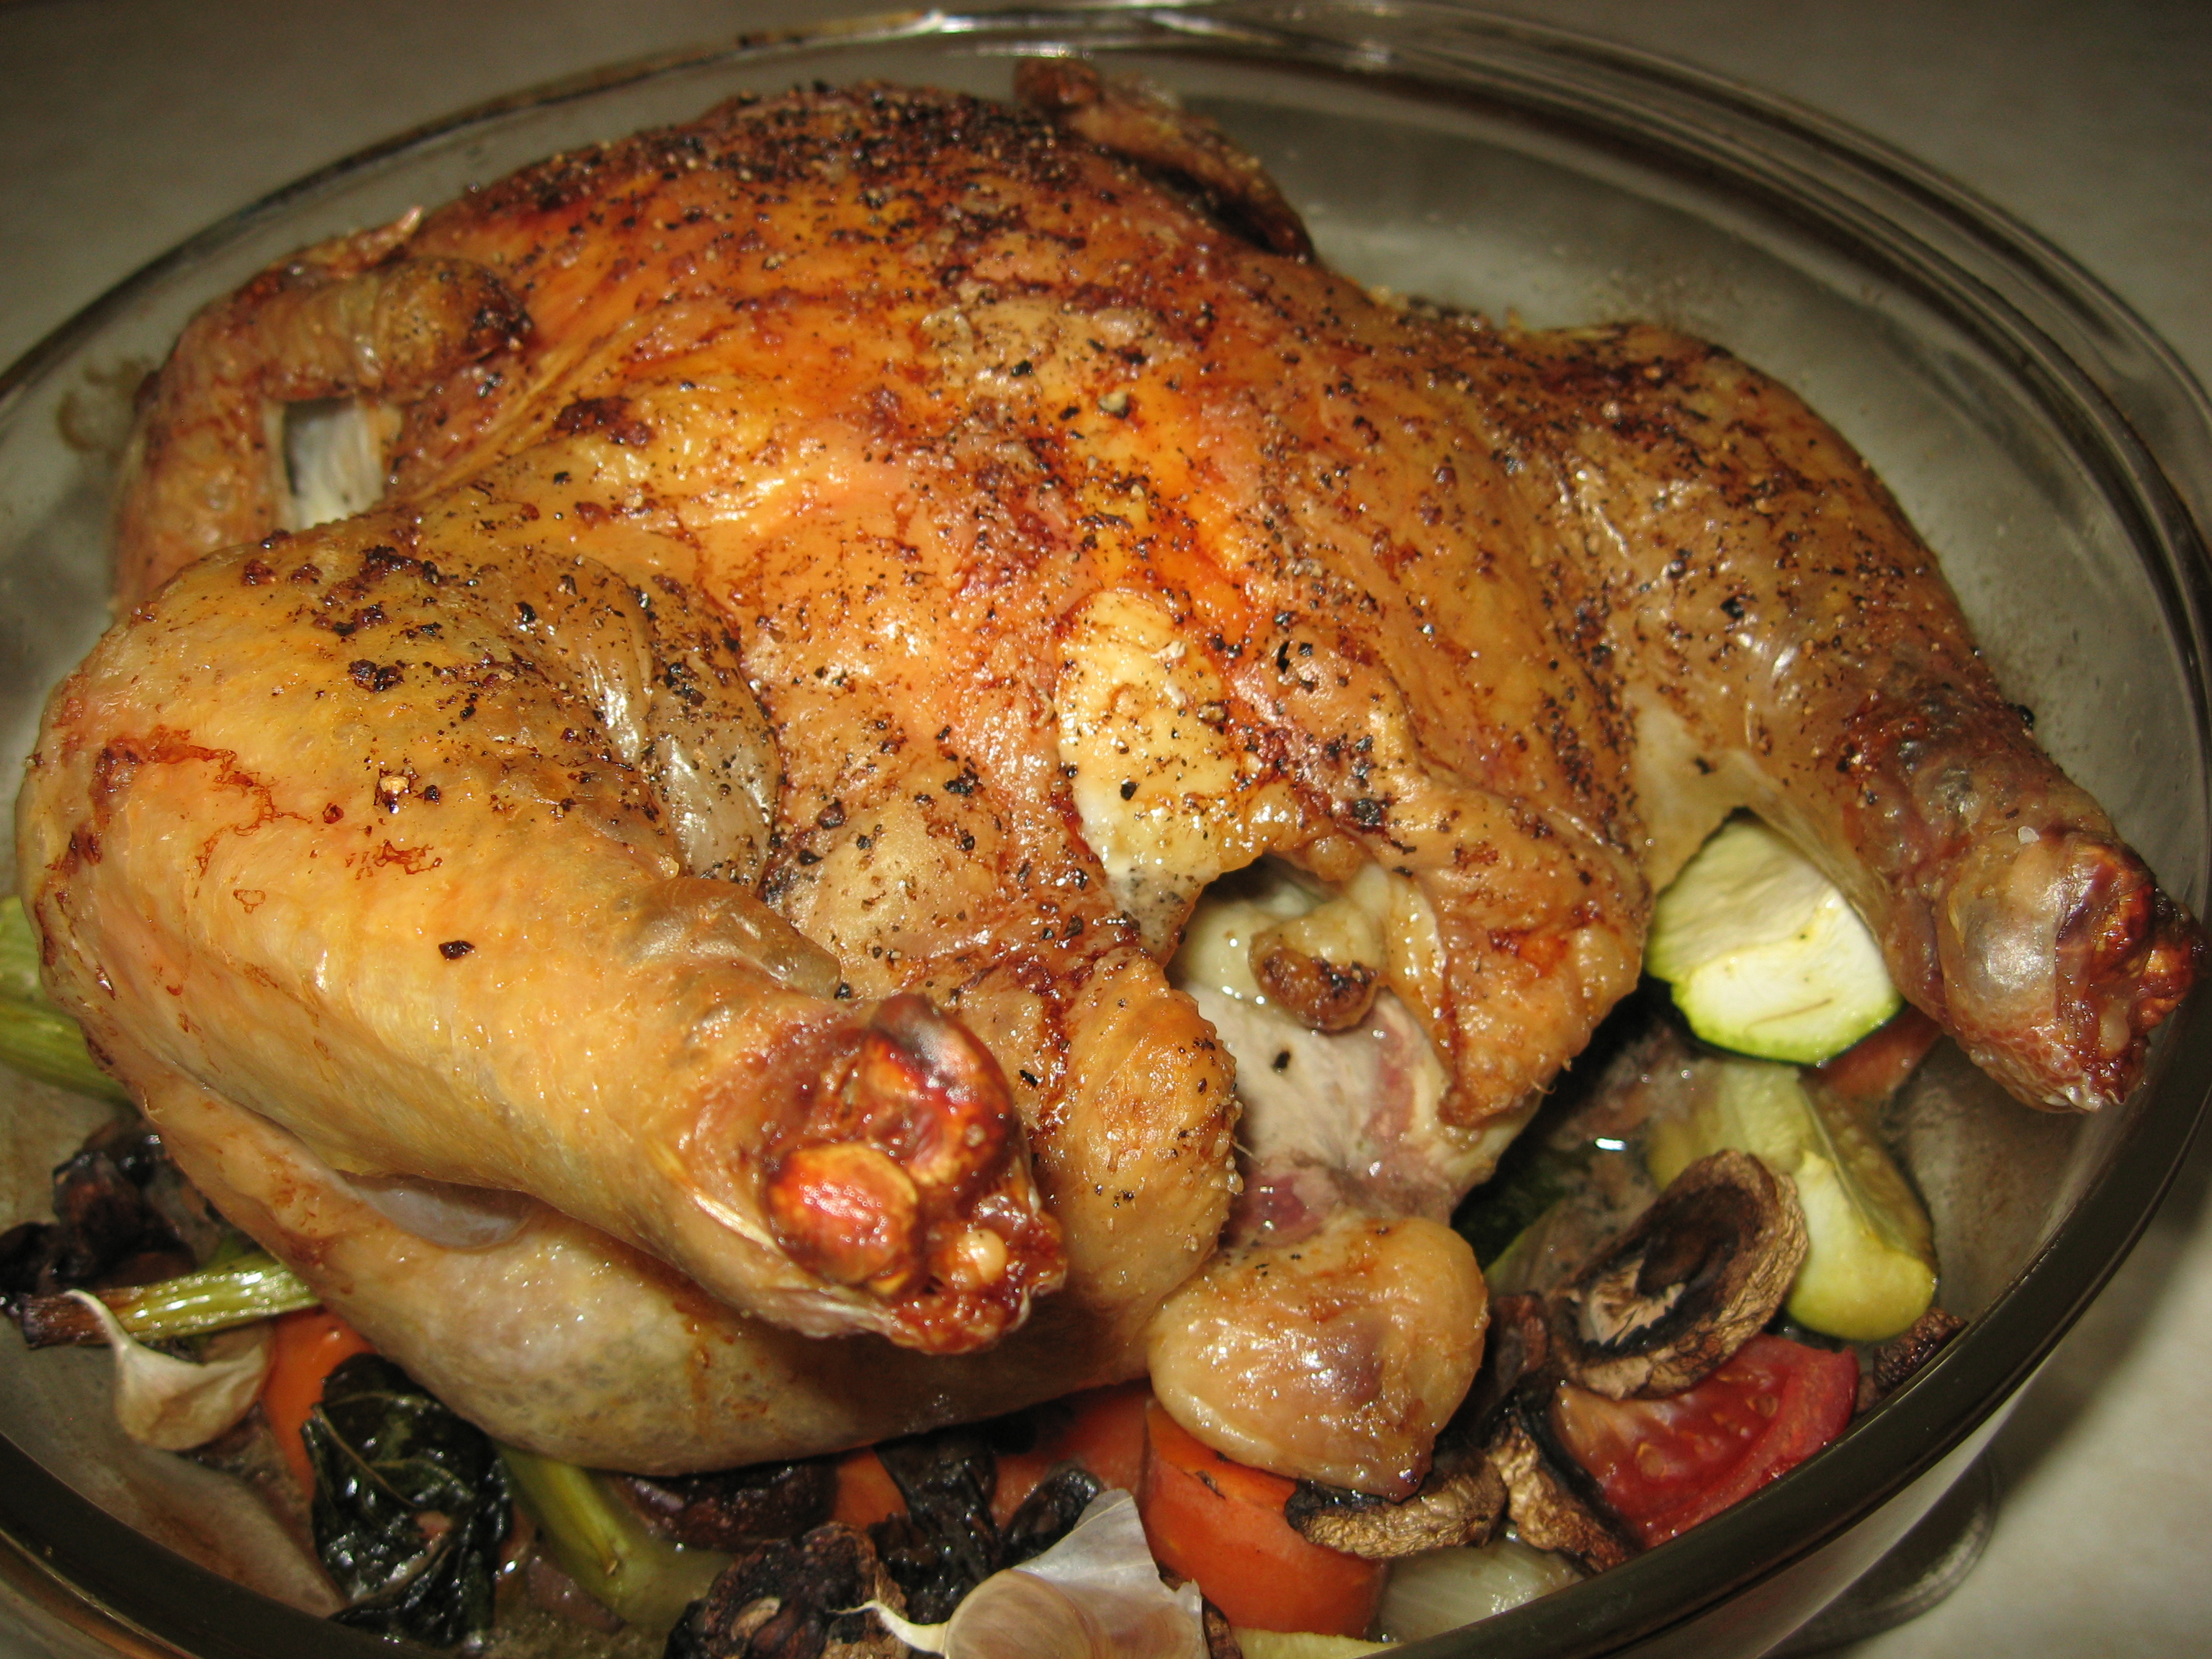
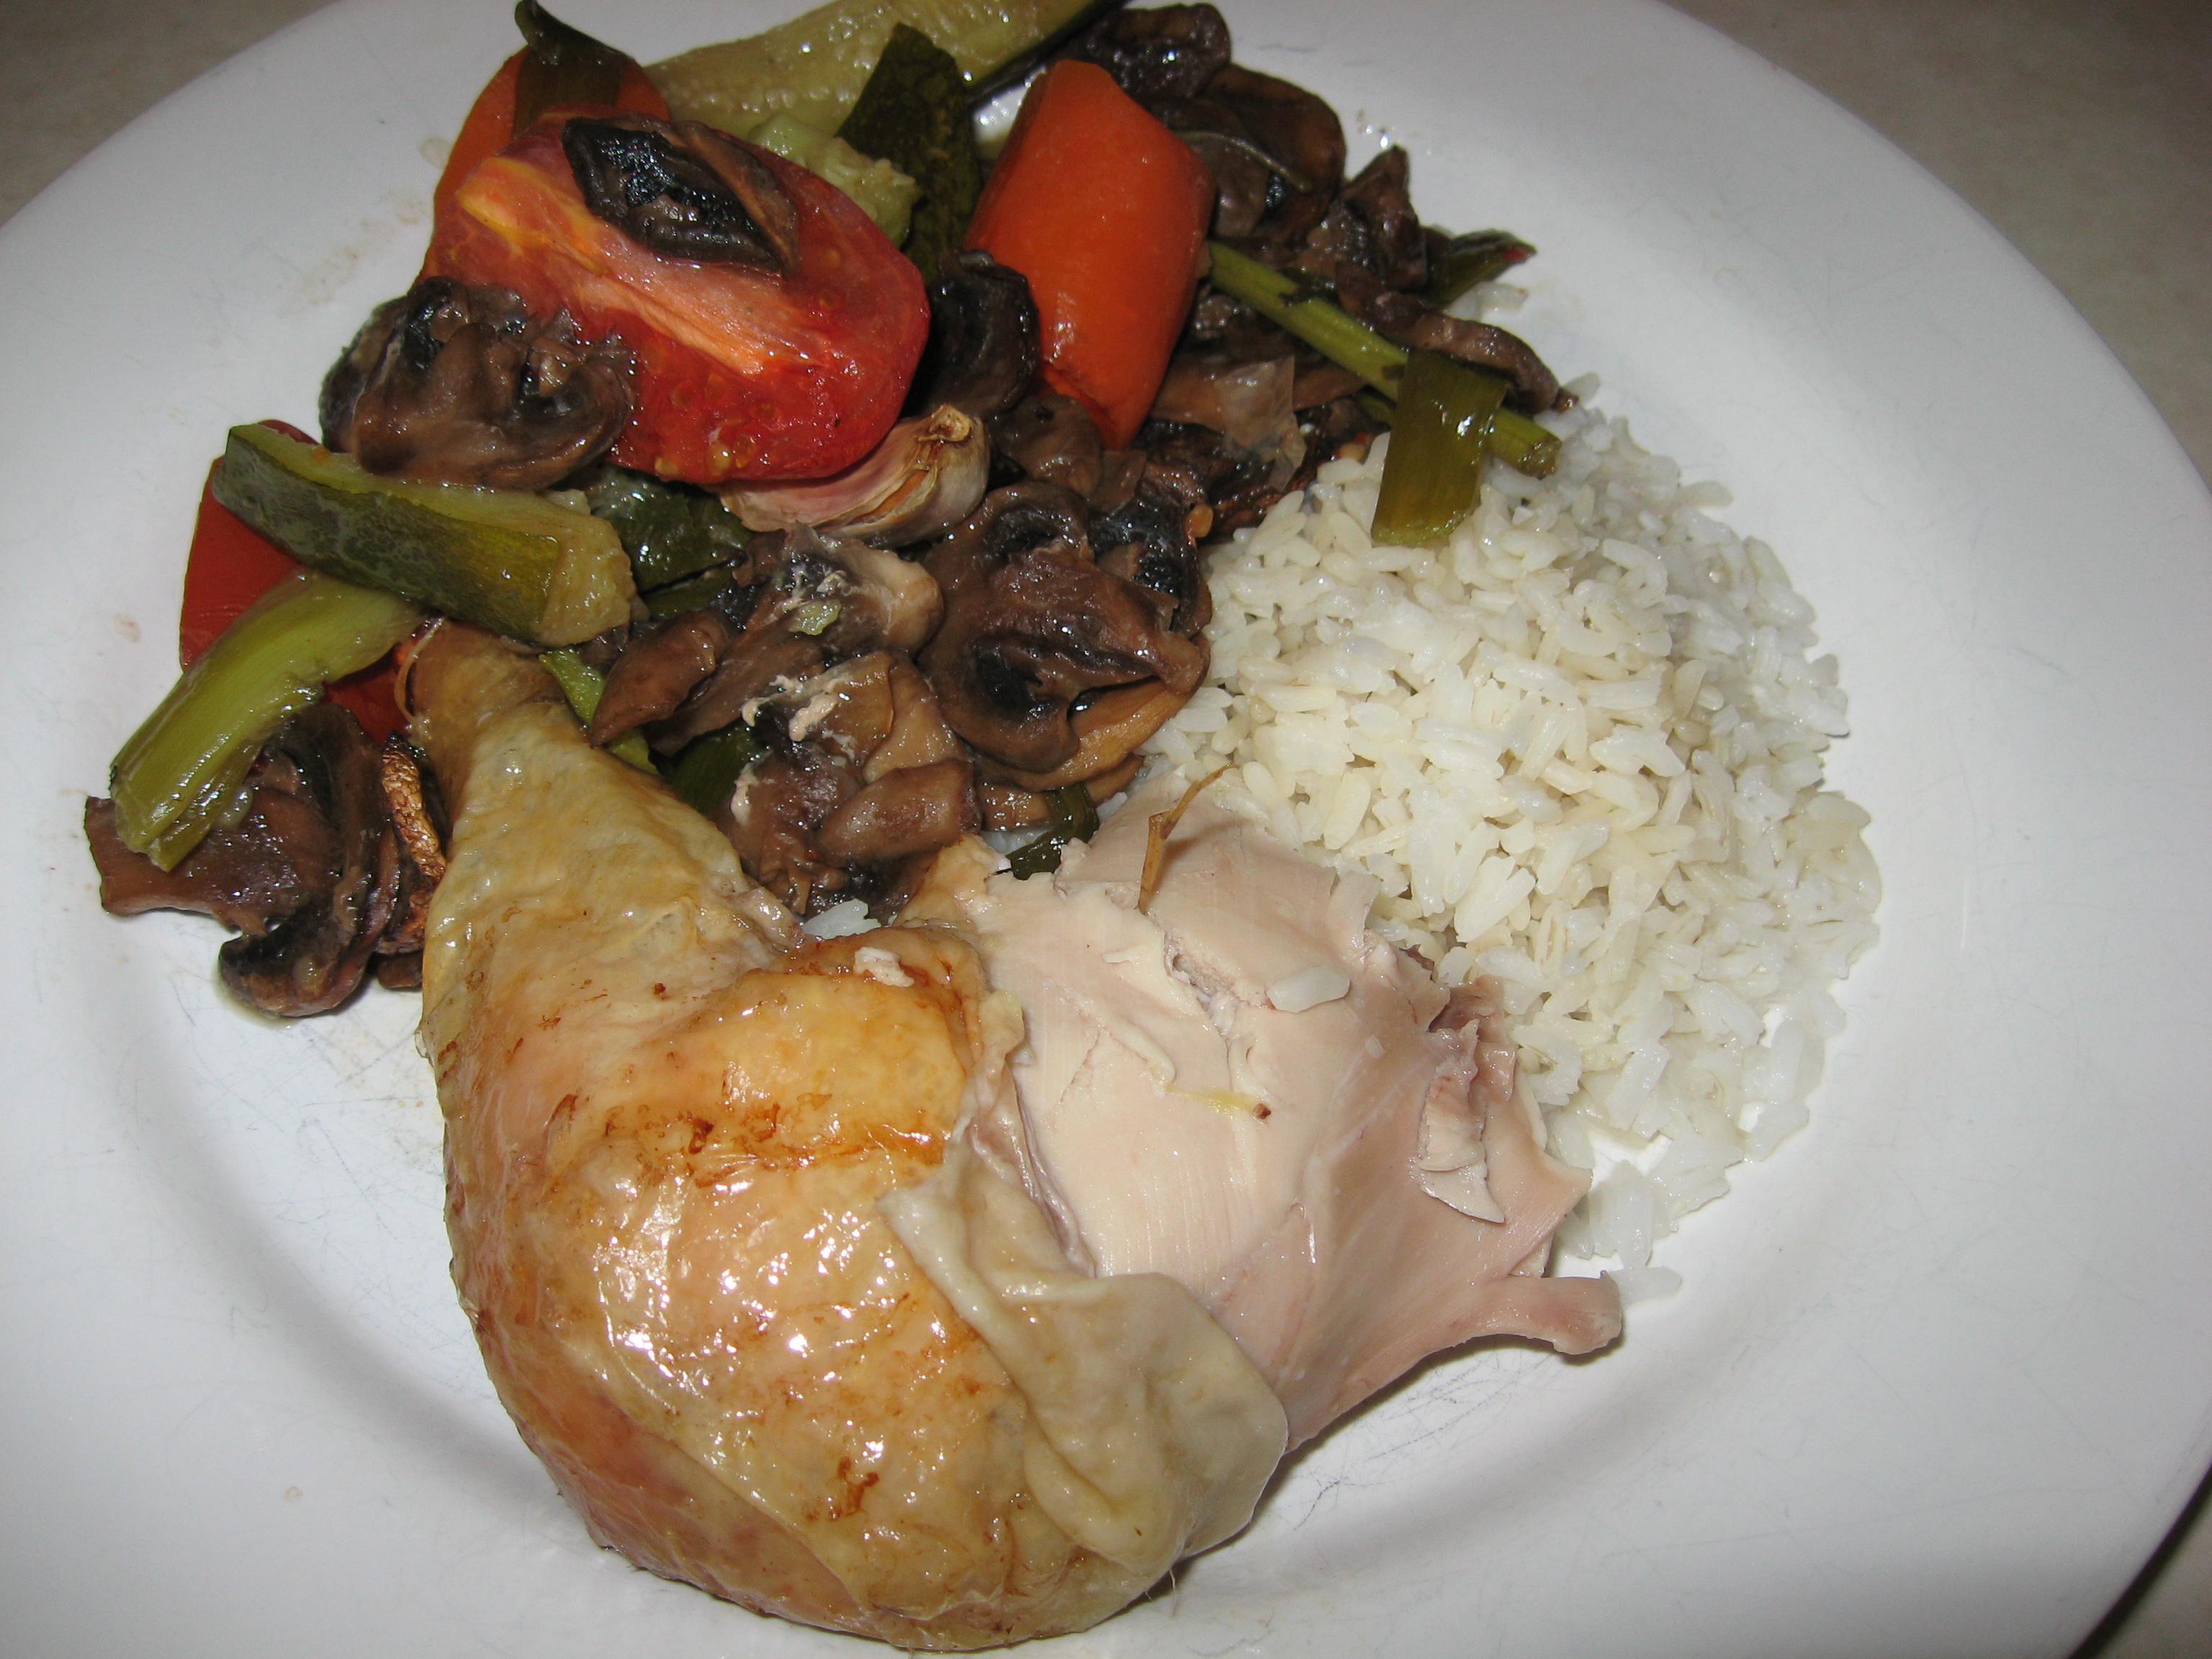
  • 1 ½ lbs. organic chicken thighs-skin on
  • 12 ounces Cajun Style Andouille Smoked Pork Sausages-cut crosswise in large 1 inch or more slices
  • Bacon-chopped about 1/4 cup or so.
  • 1 shallot, 1 yellow onion, 2-4 garlic cloves–all finely chopped
  • 2 large peeled carrots, 1 large peeled turnip, 1 large peeled rutabaga, 1 large peeled parsnip, several celery stalks with their tops all chopped in large chunks
  • 1-14.5 ounce can of chopped tomatoes—do not drain and 2 tablespoons tomato paste
  • 2 or more 15 ounce cans of cannellini white beans—drained, placed in a colander and well rinsed with cold water
  • 1-3 cups of organic chicken (or beef) stock (I used chicken but beef is good too.)
  • At least 1/4 cup white wine or white vermouth (taste as you go)
  • Seasonings: use as you please and pinches only: all spice, cardamom, coriander, nutmeg, paprika, cayenne, cloves, ginger, nutmeg, a pod of anise.
  • Herbs: sprig of Rosemary, thyme, bay leaf, chopped parsley or even dry parsley flakes
  • Olive oil—could be up to 1/2 cup

Directions:

  • Pre-heat oven to 350F
  • Place your 10 inch cast iron skillet on top of the burner
  • Place all of your meats in a separate bowl—if you wish you can S&P them.
  • Place your finely chopped shallot, onion and garlic cloves in a small bowl or maybe like I did you’ve made it easy for yourself and used your Cuisinart.
  • Place all of your chopped root veggies in a bowl
  • Open your chopped tomatoes can and remember the 2 tablespoons of tomato paste.
  • Drain and rinse the cannellini white beans and place in a bowl.
  • Heat the skillet over medium heat and cook the bacon in it (about 5 minutes). When the bacon is done, scoop the bacon bits out but leave the bacon drippings in the pan.
  • Over medium heat, add 2-3 tablespoons of olive oil to the bacon drippings and gently sauté the onion, shallot and garlic (about 5 minutes) till softened. Remove the ingredients to a separate dish.
  • Now, still over medium heat, add to the skillet the chopped veggies and sauté them till slightly brown—stirring every now and then.
  • Remove the veggies to its separate bowl.
  • To the skillet, still over medium heat, add the meats (maybe in several sessions) and brown, turning every now and then (about 10 minutes)
  • Remove the meats to its separate dish.
  • Over medium heat in the skillet add the chopped tomatoes with its liquid, the tomato paste, the onion, garlic, shallot and 2 cups chicken broth and bring to a slight boil. Add which ever spices you like tasting as you go.  Add the white wine or vermouth.  Keep on tasting.  Add the herbs.  If you like the sauce—go for it.
  • At this point add the beans, meats and veggies. Now if you need some more liquid add some more stock but you don’t want the mixture to be drowning in the liquid.  If you have too much liquid, spoon it out.
  • Place the whole skillet, UNCOVERED, in the pre-heated 350F oven and bake for 1 hour. Watch every now and then to see that your liquid has not evaporated.  If so, add some more chicken stock.
  • Serve with crusty French bread and wine of course.

veggiesmeat-browningbefore-the-oven


Avocados Stuffed with Lemon-Tarragon (etc.) Chicken Salad Sided with Pickled Radishes

Standard

avocados,chick salad, pickled radishes 1

Bandit and IBBA display 003

Avocados Stuffed with Lemon-Tarragon (etc.) Chicken Salad Sided with Pickled Radishes and Halved Tomatoes   3-6 servings

September is my birthday month so I plan to have lots of friends over for lunches and such to celebrate my longevity on this earth as we know it. Cooking and smoozing are some of my favorite activities therefore to celebrate another year gone by, I plan to do a lot of that this month.


To start the month off, I had today a little mid-day lunch for one old friend and one newfound friend.   That’s a nice combination, don’t you think? Avocados were on special at our markets, so this is the recipe that I served. I sided it with a platter containing a bit of goat cheese and antipasto meats, a basket of crusty, fresh French baguette slices, and on the individual serving plates I surrounded the stuffed avocados with fresh halved cherry tomatoes and quickly homemade pickled radishes.   I also shared a bit of wine for those of us who are winos and for my non-alcohol drinking friend, my wonderful homemade lemon/lavender drink.  For desert, I made a bit of coconut/lemon non-churn ice cream and topped it with fresh raspberries—a really wonderful combination. Of course a nice good strong cup of coffee and lots more great conversation followed. Before we knew it, my 1pm lunch turned into a 5:45pm good-bye. Nothing like a long lingering luncheon with good food and great people to help make your birthday month very special indeed!!!!


Oh yes, I almost forgot, for the background music, Bandit, my green singing finch, serenaded us with his songs, symphonies and sonatas.   Perfect indeed!!!!!


Ingredients for the Chicken Salad Mix:

  1. 1 Tblsp. or a bit more fresh tarragon
  2. 1/3 C. onion
  3. 1 ½ C. diced cooked chicken
  4. 2 celery stalks
  5. 1/4 C. chopped apple
  6. S&P
  7. 2 Tblsp.( or 1 more Tblsp. if you wish a creamier version) mayonnaise
  8. 1 ½ Tblsp. lemon juice plus some to sprinkle over the freshly cut avocados to keep them green
  9. 3 small/medium avocados and one extra to make sure you have enough good ones for your luncheon because I have found that some avocados are decidedly better than others.
  10. Lettuce leaves for serving.


Directions for the Chicken Salad Mix:

  1. In a processer, process for just a couple of pulses, so as to make a rough diced mix, ingredients # 1 through # 6.
  2. In the processer bowl (or if you wish, another bowl in which you have added the mix), add the mayonnaise & lemon juice.
  3. Put in the refrigerator for at least an hour or two or better yet, overnight.


To Serve:

  1. Halve and pit the avocados. Gently rub some lemon juice over the exposed flesh to prevent them from browning. Scoop 1/4 (more or less) of the chicken salad mix into each of the avocado halves.
  2. I served my stuffed avocado halves on a glass plate which sat on top of a larger white plate that I had lined with fresh large lettuce leaves. Each glass plate had 2 small stuffed avocado halves surrounded by halved cherry tomatoes and quartered pickled radishes.
  3. Below, please see the recipe for the pickled radishes (easy and not time consuming).


Pickled Radishes:

Ingredients for the Pickled Radishes:

  1. 1 bunch radishes
  2. 3/4 C. white wine vinegar, apple cider vinegar or champagne vinegar
  3. 3/4 C. water
  4. 3 Tblsp. honey, maple syrup or agave nectar
  5. 2 Tsp. salt
  6. 1 Tsp. red pepper flakes or less if you prefer less spice
  7. 1/2 Tsp. mustard seeds (optional)
  8. Optional add-ins: garlic cloves, peppercorns, fennel seeds, coriander seeds—use your imagination


Instructions for the Pickled Radishes:

  1. Prepare the radishes by slicing off the tops and bottoms; slice or cut into small quarters or eighths.
  2. For the brine, in a small sauce pan, combine ingredients # 2 through #8 and bring mixture to boil, stirring occasionally.
  3. Take pan off heat and place radishes in pan; let mixture cool to room temp; or if you have just an hour to make this, cover the pan and place in frig. till cool.


Braised Chicken Thighs with Collards & Mushrooms

Standard


DSCN0593DSCN0602

Braised Chicken Thighs with Collards and Mushrooms

Serves 4

This could easily be a very economical company dish—but it’s good for your lonesome as well as for your family. Chicken thighs really are very economical to buy and frankly, though I know they are dark meat and have skin, I feel are much better tasting than your almost tasteless skinless chicken breasts—which by the way have become terribly pricey. Collards are so good for you but if you insist, you can use kale, spinach or some other kind of green. You can also introduce carrots in this dish to give it some color jazz. I really like this served over rice or some pasta, however the scales were not kind to me this morning and our fresh corn is in, so that’s the way I had it—sided with an ear of corn. I used my large cast iron skillet for this and it was perfect for the cooking of this dish.

Ingredients:

  1. 8 chicken thighs with skin
  2. 1-8-oz basket of mushrooms
  3. 4 or 5 garlic cloves—cut in half
  4. 1/4 C. balsamic vinegar or red wine but I like the vinegar and save the wine for the drinking
  5. 1 Tblsp. butter
  6. 3 cups chicken broth
  7. S&P to taste
  8. 1 bunch of collards (or some sort of similar greens) washed well, rough chopped and include the better part of the stems also rough chopped.


Directions:

  1. Pre-heat the oven to 400.
  2. After having rinsed and pat dried the chicken thighs, brown them over medium high heat in the skillet. When they are nice, crisp and brown, remove them to a platter.
  3. Add 1 Tblsp. butter to the skillet and over medium heat brown the mushrooms until they become moist and glistened; add the garlic and keep on stirring. Then add the vinegar or wine and keep simmering till the liquid is reduced by half. S&P to taste.
  4. Place the chicken thighs back in the skillet and add the chicken broth. The broth should ALMOST reach the top of the thighs, but it should NOT cover the thighs. You want them to remain crispy.
  5. Place the skillet in the oven and bake uncovered for 45 minutes to 60 minutes (depending on the size of the thighs). At 45 minutes, test the thighs to see if they are done because you don’t want them to dry out.
  6. When the thighs are done, take the skillet out of the oven, remove the thighs to a warm platter. Place the skillet on the stove top over medium heat and add the greens. The collards will take longer to cook than spinach. The collards take about 10 minutes of cooking where as if you use spinach, that should take just a couple of minutes. Just to make sure everything is equally heated, you can add at the last minute the thighs back to your pan and finally after the thighs are really warm, place the mushrooms and greens on top of each thigh and keep on a low heat for several minutes more.

Versatile Vegetable Soup

Standard

DSCN0551

Versatile Vegetable Soup

8 Servings


This is such a healthy and easy dish to make. You can really use any kind of vegetables (even frozen though I love the fresh variety) that you wish so almost every ingredient mentioned here is optional. You also can add rice or pasta along with the chick peas; or you can use white beans instead of the chick peas. You can omit the meatballs and use ingredient combinations like pasta or rice plus beans to make a complete protein. (Look online to find the food combinations that make a complete protein.) You can use chicken or vegetable stock instead of beef stock. You can change the Italian slant of this dish a make instead a Mexican one (add enchilada sauce and tortillas) or German (add slice bratwurst) or Indian (add curry seasoning and Nan) or—well I leave it up to you. Just use your imagination and it’ll come out superb and healthy. It’s also a very economical dish and can be served for lunch or dinner; and why not serve it for a very healthy and filling breakfast? Lastly, for the busy ones, if you have a slow cooker, you can cook it in there (5-6 hours on low), leave home and come back to an almost cooked meal. You just have to add the last half hour ingredients when you are home. I love dishes like and this and it’s one that the whole family can participate in—including of course the kids.


Ingredients:

  1. 1 onion, finely sliced
  2. 2 garlic cloves, rough chopped
  3. 3 Tblsp. olive oil
  4. 1/4 head cabbage, rough chopped
  5. 6 Brussels sprouts, sliced
  6. 1/2 to 3/4 head of Boston lettuce, rough chopped
  7. 1 C. Swiss chard, chopped
  8. 1 C. spinach, chopped (or a 10 oz. package of frozen spinach)
  9. 2 celery stalks, rough chopped
  10. 1/2 (or more) large head of broccoli, finely chopped
  11. 8-10 cups beef stock
  12. S&P to taste
  13. 1/2 to 1 Tsp. dried Italian seasoning
  14. 1/4 C. sherry, Madera or Marsala (optional)
  15. 1 bay leaf
  16. One small basket of cherry tomatoes, sliced in half
  17. 1 small can of chick peas, drained and rinsed in cold water
  18. Ground beef, chicken or turkey to make into meatballs (see ingredients needed and instructions below)
  19. 8 oz. shelled fresh peas or frozen ones
  20. 6 slices coarse country-style bread which has been rubbed with garlic and toasted in the oven. (optional)
  21. Shaved Parmesan
  22. 1 Tblsp. chopped parsley

Instructions for the soup:

  1. In a large pot, warm the olive oil and then sauté the onion and garlic until translucent. (about 5 minutes)
  2. Add the ingredients numbering 4 through 10 and cook gently, stirring from time to time, for about 15 minutes.
  3. Add the ingredients numbering from 11 to 15, bring to a boil, turn down to a simmer, cover and cook for 1 ½ hours.
  4. Add the ingredients numbering from 16 to 18 for one more 1/2 hour.
  5. Serve over the optional French bread and/or topped with the shaved Parmesan and chopped parsley.

To make the meatballs you’ll need the following ingredients:

  1. 1/2 lb. ground beef, turkey or chicken
  2. 1 beaten egg
  3. 1/2 to 3/4 C. Italian or plain bread crumbs
  4. 1 dash of tobacco

Instructions for forming the meatballs:

Mix everything together till not too soppy and form into one-inch diameter meatballs.

Whole Chicken Fryer Casserole (for the busy cook)

Standard

chicken fryer casseroleplated chicken fryer casserole

Whole Chicken Fryer Casserole

4 servings

 Here’s another easy, financially economical and healthy chicken veggie dish for a busy mom or dad to make. It’s also easy for a single person who comes home to weary to really cook and also wants some good left over’s for the rest of the week.  The 3.5 lb. fryer coast under $7 at Atkinsons’ and the veggies I used didn’t cost that much and actually were what I already had in the frig.  I used a large round deep Pyrex casserole dish and it baked at 375F in an hour and a half.  It was delicious and will easily feed 4.  It’s a breeze to assemble and I warrant that the kids will like it as well.

Ingredients:

  1. One 3.5 whole fryer chicken
  2. One 8-oz pre-packaged fresh  brown or white sliced mushrooms
  3. 1 Zucchini cut in half and then cut the halves in half so you have 4 long pieces
  4. 2 peeled carrots cut in huge chunks
  5. 2 celery ribs cut in huge chunks
  6. 4 Green onions—cut in chunks
  7. Fresh basil—place some in the chicken cavity and more within the veggies and if you wish a bay leaf to put in the veggies.
  8. 4-8 cloves of garlic—unpeeled or peeled—left whole—put one or two in the chicken’s cavity
  9. 1 large tomato cut in chunks
  10. Any other veggie you have and think might go well including parsley, etc.
  11. S&P to taste
  12. Up to 3/4 C. olive oil

Instructions:

  1. Pre-heat oven to 375F.
  2. Smear or spray some olive oil all over the inside of your dish.
  3. Place the veggies in the dish and mix well with some S&P to taste and some olive oil as well.
  4. Place whole rinsed and pat dried chicken which has some basil and garlic cloves in the cavity on top of the veggies and pour more olive oil on it.  Then S&P it to your taste.
  5. Place in oven and bake for about 1.5 hours.

I served this with rice and if you wish, a green salad on the side.  Desert? I had some of my homemade no-churn Mango Ice Cream only I had put fresh blue berries in it which turned out very yummy.  I  now am almost never without some sort of version of this ice cream in my freezer.  Enjoy!!!!

Roasted Cornish Game Hens and Grapes

Standard

pic grapes

Roasted Cornish Game Hens and Grapes

Serves 4


This is a very light and deliciously healthy dish and if presented correctly, a gorgeous looking one as well.  So enjoy and go for it!!!!! Perfect for just you if you cook just one hen or for guests—if you cook more of these little guys. 


Ingredients:

  1. 1 ½ lbs. mixed red and green seedless grapes
  2. 8 shallots, root intact and halved if large
  3. 6 sprigs thyme, plus leaves for hens
  4. 2 Tblsp. olive oil
  5. S&P
  6. 4 Cornish game hens-1 to 1 ¼ lbs. each


Directions:

  1. Preheat oven to 450.
  2. On a rimmed baking pan, toss the grapes and the shallots with the thyme sprigs, oil, 1 tsp. salt and ¼ tsp. ground pepper.
  3. Nestle hens among the grapes on the baking sheet, breast side up.  Brush hens with some more olive oil and season them liberally (or as you wish) with some more S&P; lastly sprinkle them with thyme leaves.
  4. Roast the hens in your preheated oven basting them occasionally with pan juices until an instant-read thermometer inserted in the thickest past of the leg (avoiding the bone) registers 160 degrees—30 to 35 minutes but could be as long as 45 minutes.  So watch diligently but try not to overcook.
  5. Serve on a pretty platter surrounded by the grapes and shallots. I usually serve this dish with a side of wild rice which has been enhanced with some of my favorite green fresh veggies such as snappy pea pods or long string beans—but it could be any kind of veggie that you love including maybe some more colorful ones.  Imagination is always a good ingredient to use for this kind of presentation.

Chicken or Rabbit–au Vin–Up to you

Standard

Zivi’s Lapin au Vin

Feeds 4-6

I do love this dish made with rabbit, however, you can easily make it with chicken.

Ingredients:

  1. 1 large FAT PLUMP rabbit—cut up in pieces (or chicken)
  2. 1/4 C. flour
  3. S&P to taste
  4. 1/4 Tsp. Paprika
  5. 4 Tblsp. combination of butter and olive oil
  6. 1/2 onion—chopped
  7. 1 garlic-diced (optional)
  8. 1-2 C. chicken stock
  9. 1/2 to 3/4 C. hearty red wine
  10. 1-2 bay leaves
  11. Thyme, Basil or Rosemary to taste (optional)


Directions:

  1. Wash and pat dry the rabbit.  In a bag, place the flour, S&P and paprika, shake to mix well; put rabbit in bag and shake once again till rabbit is well coated.
  2. In a heavy such as a cast iron deep sided skillet or pot, heat the butter/olive oil; stir in the onion and garlic for about 4 minutes, over medium heat, till soft and glistening.  Remove to a side plate.
  3. If you need more butter/olive oil at this point, add some.  Make sure the oil is hot before adding the rabbit.  Brown thoroughly on all sides over medium heat (about 5-8 minutes).  Be sure your heat is not too high so that you are not burning the rabbit.
  4. Add the stock, wine, set aside onion and garlic and bay leaves and other optional spices if you wish and place a cover on the pot.
  5. Cook at a simmer for about 1 hour. Do check it every now and then to see if it might need more stock or wine.
  6. I serve this with white rice and a nice fresh vegetable.

Blanquette de Poulet

Standard

chickens

Blanquette de Poulet

Serves 4-6

My mother was not that crazy about cooking however, every Sunday, this is what she made.  So, of course, I grew very fond of it and now have to make it so as to remind myself about the good and sociable Sundays that she created around this dish.  She teamed this up with fresh veggies or sometimes, I hate to say, canned, a nice salad and her really splendid rice, a sort of risotto. To top off our mid-Sunday repast, she served her excellent open faced apple tart or a zabaglione or some home made meringues with ice cream.  To start off the whole affair, it was either a slice of cantaloupe or canned fruit cocktail. The cantaloupe would be doused by our European friends with sugar.  So, now when I mention the canned stuff, you’ll know that the era was the 40’s and 50’s.  This is not a complicated dish and it’s the sauce that makes it—or at least that’s what I think. Blanquette equates to a totally white sauce in French culinary terms. There is also a more famous version of the blanquette—Veal en Blanquette. The recipe for that is a bit different.  Anyway, here’s to memories and I hope that you’ll enjoy this dish.


Ingredients:

  1. 1 nice sized whole chicken, rinsed
  2. Water–enough to cover the whole affair
  3. 2 or 3 carrots, peeled and cut into large pieces
  4. 2-3 celery stalks, washed and cut in half or thirds
  5. 1 onion-peeled and cut into quarters
  6. Several cloves of garlic-peeled and chopped
  7. 3-4 sprigs of garlic
  8. Some peppercorns
  9. A couple sprigs of fresh thyme or tarragon or rosemary—your choice of one
  10. S&P to taste
  11. 2 Tblsp. flour
  12. 2 Tblsp. butter
  13. 1 C. heavy cream (but ½ and ½ will do it except it won’t taste as wonderful)
  14. 2 egg yolks put in a small bowl that will also hold the heavy cream
  15. 1/2 Lb. small mushrooms, sautéed in a bit of butter (optional)


Instructions:

  1. In a large pot, place the chicken, water to cover and the ingredients mentioned from item #3 through item #10.  Bring to a boil and simmer, covered for at least one hour or till chicken is done. (You can also put all of these ingredients except the carrots in a large cheesecloth bag and place that in the stock).
  2. Set aside the chicken and carrots. Strain the stock, discard the strained ingredients (or the cheesecloth bag) and put the stock back in the pot.
  3. Bring stock to a boil and reduce to a slower boil until broth is reduced about 2/3rds.
  4. In a small bowl, cream the butter and flour (I do this with a fork) and add a bit of the hot broth and mix well till smooth and no lumps remain.
  5. Add the flour/butter mixture to the broth in the pot and boil 1-2 minutes.
  6. In the meantime, mix the cream with the yolks with a whip. If you wish, you can add some lemon juice to this mixture.  As I remember, mother didn’t.
  7. Reduce heat of broth till barely simmering and add the cream/yolk mixture. DO NOT LET BOIL or it will curdle (YUK!)
  8. Whip the broth until it’s nice a smooth.
  9. Place the chicken on a platter with the mushrooms and carrots around and pour the sauce over all.  Or if you would rather, serve the chicken, carrots and mushrooms plain and put the sauce in a gravy boat and let your guests pour the sauce themselves on their individually plated dishes.


P.S.  There are many other excellent and a bit more complicated recipes for Blanquette de Poulet however the one I gave you is the one my mother made and frankly, I enjoyed the simplicity of it because it made the sauce really stand out.    

Chicken, Dumplings and Peas

Standard

chicken dumpling

Chicken, Dumplings and Peas

Serves 6


I love dumplings and I also love chicken and peas—so if you do too, here’s a simple recipe you’ll love.  I bet the family and kids will love it too.  I made it real simple and just used peas for the veggies, however, if you wish, you can add or substitute carrots, onions, celery, mushrooms, ———-and————well you get the picture.


If you add carrots, let there be two diced; celery, another 2 diced; onion, 1 large diced; mushrooms as many as you wish for the last 15 minutes.  If you decide to add the additional veggies, brown the chicken and set aside on a plate; then brown the above mentioned veggies (except for the mushrooms) until softened (about 5-7 minutes) and then add the liquids.  For the last 15 minutes, add the mushrooms and peas.


Imagination my dear———and I hope that I didn’t confuse the issue to much.


Ingredients:

For the stew:

  1. 2 lbs. whole skinless or with skin chicken breasts or thighs
  2. 2/3 C. all purpose flour
  3. 2 Tbls. Olive oil
  4. S&P to taste
  5. 3 roughly chopped peeled garlic cloves
  6. 2 sprigs of fresh rosemary or 1 tsp. of dried rosemary
  7. 1 C. water
  8. 3 ½ C. vegetarian broth
  9. 1 ½ C. frozen or fresh peas

For the dumplings:

  1. 1 C. whole-wheat flour
  2. 1/2 C. all purpose flour
  3. 1/2 Tsp. baking soda
  4. S&P to your taste
  5. Fresh or dried rosemary to taste
  6. 3/4 C. buttermilk ( if you don’t have that, try milk and 1 Tblsp. lemon juice or vinegar that has sat for about 10 minutes)

Directions for the stew:

Cook the stew for a total of 60 minutes

  1. Toss chicken with the 2/3 C. all purpose flour mixed with S&P to your taste.
  2. In a large deep skillet, heat the oil over medium high heat; add the chicken to the pot and brown for about 5 minutes.
  3. Stir in water, broth, garlic cloves, rosemary and S&P to taste; bring to a boil and turn down the heat to medium so that the broth is just simmering.  Stir every now and then.
  4. Add peas and dumplings the last 15 minutes.

Dumpling directions:

  1. Whisk flours, baking soda, S&P, and rosemary in a medium sized bowl.  Quickly add the buttermilk and spoon the dough 1 Tblsp. at a time over the simmering chicken stew.  Makes about 18 dumplings (about 3 per person).  These dumplings are the hearty kind.  You won’t need another starch but a nice salad would be nice to have as an additional side dish.

Chicken and Cabbage Soup to cure the bbbbrrrrs

Standard

chicken cabbage soup 2The Creative Cooking Edge on A Very Cold Day

Chicken and Cabbage Soup (to cure the bbbbbbbrrrrrrs)

Serves as many as you wish

OK—enough I say.  It’s 2:37 pm on a Monday afternoon, January 14th to be exact, and it’s only 6 degrees.  Actually my outdoor thermometer had been registering the below -0- F mark most all day and in keeping with that thought, my refrigerator was sort of empty and extra cold as well. In it I had 6 partially still frozen chicken legs, a head of green cabbage, some celery, and 2 carrots. Oh my-not very appetizing.  On the counter top, I had one onion and one head of garlic.  Yes indeed like Mother Hubbard, my cupboards were bare.  I was up for the challenge mainly because I didn’t feel like braving the cold outdoors; I was shivering, even indoors; so what to make to warm myself with my few at home ingredients?: soup of course—including the special ingredients that  I do keep in my freezer such as a stash of herbs as well as cilantro and parsley.  So, I used those, but if I hadn’t them, I would have used my dried variety(substitution mix is usually 1 Tblsp. of fresh equating to 1 Tsp. dried). This clear and delicate tasting soup actually turned out so nice that I wanted to share it and my lovely creative experience with you.

Ingredients:

  1. Chicken parts- 6 legs or what ever else your heart desires
  2. 1 small green cabbage cut into 6 (more or less) wedges
  3. 1 onion- cut as above for the cabbage
  4. 4 or 5 stalks of celery—cut into 4 inch pieces- leaves included up to you
  5. 2 carrots—peeled and also cut into 4 inch pieces
  6. Bacon-I chopped the ends of some whole bacon that I had frozen
  7. Parsley—5 sprigs—once again from my frozen stash
  8. Thyme- 3 sprigs- once again from my frozen stash
  9. Basel Leaves-chopped-from my frozen stash
  10. Whole Star Anise- 1/2 of one
  11.  Whole Cloves-3 or 4
  12.   Bay Leaf—1
  13.   Pepper Corns- 4
  14.  Salt—1/2 Tsp.  and more if you wish
  15. Potatoes (peeled if need be and cut into smaller chunks) optional

Instructions:

  1. In a tallish pot, place enough water to cover the chicken and veggies-that’ll probably be a couple of quarts or more.  Bring water to boil.
  2. Throw everything in that water except for the green cabbage and potatoes.
  3. Bring back to a boil and then turn to simmer.  Simmer for half hour.
  4. Add the cabbage and the optional potatoes and bring back to a simmer for another half hour.

I didn’t feel like potatoes, so I made myself some noodles. Boy my soup warmed me up immediately. Additionally, I enjoyed the light and fresh taste of the seasonings that I had randomly chosen for the broth. Finally, the challenge of using the few ingredients that I had in my space kept me on my toes on a freezing cold day and gave me a creative challenge and an ending satisfaction.  So, that’s what I really wanted to share with you because you too can do this or maybe something even better.  If so, email the Sun with your unplanned and sudden creative dish. Don’t be shy!!!