Tag Archives: lunch

Pork Steak, Economical & the Easy and Delicious Way for a Dinner Fix

Standard

 pork steak

Pork Steak, Economical & the Easy and Delicious Way for a Dinner Fix

6 servings


Pork steaks present such an economical value and can be so tasty. Here is a very easy way to fix them and I am sure that you will enjoy them greatly. A side of fried potatoes or even a potato salad along with coleslaw would be a perfect accompaniment.


Ingredients:

  1. 6 Pork Steaks or 3 large ones like the one I cooked (shown in picture)
  2. 1/4 C. Butter
  3. 1/4 C. Soy Sauce
  4. 1 Bunch green onions or one medium regular onion, chopped
  5. 2 cloves garlic, minced

Directions:

  1. In a large skillet, melt the butter and mix in the soy sauce.
  2. Sauté the onions and garlic until lightly browned
  3. Place the pork steaks in the skillet, cover, and cook 8-10 minutes on each side.
  4. Remove cover and continue cooking 10 minutes or to an internal temp of 145 degrees in the chops.

pork steak

Want a recipe? Take a look at http://blog.tempinnkeeper.com

Baked Trout with Sour Cream Parmesan Sauce

Standard

 all in one pan end result


Baked Trout With Sour Cream Parmesan Cheese Sauce

Serves 4

I love Idaho trout and yesterday, I was in the mood for just that. I also was in the mood for an easy dinner fix and that’s what this was. I sliced some new baby potatoes very thin and added some olive oil and sliced onions plus herbs and put them in aluminum foil which I folded to close. I did the same for some broccoli crowns but you could have used squash, whatever. The trout I made as this recipe calls for and left the aluminum foil open. Into the oven it all went and voila, 25 minutes later a glorious meal. I made the trout with the larger amounts written for the sauce but actually wished I had only used 1/2 of the amounts because frankly that was too much sauce for me. So, that’s why I put the amounts of the ingredients the way I did. If you like a lot of sauce use the larger amount and if you are not a huge sauce person, go for the lesser amounts.

Ingredients

  • 1 pound trout fillets
  • 1/2 to 1 cup (8 ounces) sour cream
  • 1/8 to 1/4 cup grated Parmesan cheese
  • 1/2 to 1 tablespoon lemon juice
  • 1/2 to 1 tablespoon finely chopped onion
  • 1/4 to 1/2 teaspoon salt
  • Paprika

Directions

  • Place fish in a greased shallow 3-qt. baking dish.
  • In a small bowl, combine the sour cream, cheese, lemon juice, onion and salt; spread over fish. Sprinkle with paprika.
  • Bake, uncovered, at 350° for 20-25 minutes or until fish flakes easily with a fork.

Pork Chops-stove top and baked featuring cumin and mustard; easy and delicious

Standard

cumin baked pork chop

Pork Chops—stove top and baked featuring cumin and mustard— easy and delicious

This particular recipe serves 4 however it can just serve one or more than 4 if you have a very large skillet.

Ingredients:

  • 4 8-ounch thick pork chops
  • 1 Tsp. kosher salt
  • 4 Tsp. grainy Dijon mustard
  • 2 Tblsp. crushed cumin seed or ground cumin will do as well
  • 1 Tsp. cracked black pepper
  • 1 Tsp. canola oil and another generous tsp. or more for the iron skillet (or any skillet that can be used stove top as well as in the oven)

Instructions:

  • Preheat oven to 450 degrees.
  • In a small bowl mix the salt, mustard, cumin, black pepper and 1 tsp. canola oil
  • Spread the mixture above on both sides of the pork chop
  • Stove top, heat the other Tsp. canola oil in the iron skillet
  • Put the pork chop(s) in the heated skillet and brown for 2 minutes on each side.
  • Put the skillet in the pre-heated oven and bake until the chops are just cooked through—about 12 minutes but it can be before, so watch carefully. You don’t want your chops to be tough.
  • There you go—easy and delicious.
  • Now, that you have the basic recipe, try to imagine other variations to spread on your chops and let me know what you like the best.

Bon Appétit—From Margot’s Table to Yours and http://blog.tempinnkeeper.com


Margot’s Beet & Beet Salad and Greens

Standard

beet in basket #1 beet salad

Margot’s Beet and all about beets

Roasted Beet Salad with Orange Vinaigrette and Nuts—serves 4

Lots of us don’t like beets because of the poor maligned red beet. Well, frankly I sort of agree. I am not crazy about the red beet unless it is very fresh and mild tasting. I do however like the other colored beets which are now so prevalent in our grocery stores. So, here is a recipe for a salad that you can vary to your heart’s content and totally ignore if you just want to eat the roasted beets by themselves. Additionally, DO NOT THROW AWAY THOSE BEET GREENS—because they too are delicious. No waste here!!!! As a little aside about the benefits that beets offer free of charge to our bodies think about this: they are a powerful antioxidant, reduce inflammation, are packed with vitamins and promote a healthy circulation and cardiovascular system. Some say that they are nature’s Viagra. So, now, will you eat beets?

Ingredients:

  • 1 bunch medium sized beets-preferably sized about the same-stem cut off but leave about 1 inch worth on each beet; scrub beet thoroughly.
  • Fresh lettuce, kale, spinach whatever kind of greens your heart desires
  • Scallions—one bunch will do (optional)
  • Baby tomatoes (optional)
  • White mushrooms (have you noted how healthy mushrooms have all of a sudden become) (optional)
  • 1 medium sized orange and/or 4 tangerines or 1 lemon (you will zest and juice these except for the tangerines which you might want to juice and zest but also you will use some for segments in the salad.)
  • 1/2 Cup olive oil
  • Fresh thyme (optional)
  • S&P to taste
  • Honey (optional)
  • 1/2 cup toasted walnuts (but they can be pecans as well)
  • 1/2 cup goat cheese crumbles (optional)

Directions:

To roast the beets do the following:

  • Pre-heat oven to 400F.
  • Place each beet in 2 pieces of foil, sprinkle some olive oil and S&P on them wrap well in the foil. Put foil opening at the top and place on a baking sheet.
  • Bake from 45 minutes to 1 ½ hour—depending on how fresh the beets are. Around here, mine get done in 45 minutes. To test if the beet is done, carefully open the foil (watch out for the steam) and stick a sharp knife into it. If it goes in easily, it’s done.
  • So now, you can if you wish take the skin off (try a paper towel or a sharp knife), slice it and place more butter or olive oil on top and devour.
  • But if you are going to save the beets for your salad, put the beets in the tin foil in your frig to cool. They’ll stay good for several days.
  • I slice mine horizontally however it’s up to you how you wish your beets to look in your salad. You might like to cut them in cubes.

While the beets are cooking, make your vinaigrette:

  • In the olive oil, add the zest of one orange, or lemon or even two tangerines.
  • Also, add the juice of one orange,one lemon or 2 tangerines.
  • You might want to add some honey—but I didn’t.
  • You might want to add some thyme
  • You might want to add some S&P
  • You can whisk this, put it in the blender and just shake it well.

I also added some homemade croutons that I had made from my beer bread recipe. So good!!!!! Later for that. But of course you could add cooked couscous, lentils, whatever. Anyway, I am sure that I don’t need to tell you how to assemble your salad—so just go for it and use your imagination. I love pretty colors and often take pictures of my food presentations. I would love to see some of your pictures so don’t forget to send me some.

This salad could be a whole meal or just a light side to a lovely dinner you’ve invented.

beet greensbeet greens

OK—now for your well washed beet greens:

  • Cook uncovered for about 2 minutes in a pot of lightly salted boiling water.
  • Drain in colander under very cold water to stop the cooking process. Once cooled, chop coarsely.
  • In a large skillet, heat some olive oil over medium heat. Stir in some garlic and red pepper flakes (I use these lot) and stir them well in the heated olive oil (about 1 minute and till fragrant).
  • Stir in the greens, season with salt to taste and cook just until greens are hot and taste good.
  • I serve them with a side of lemon wedges.

Once again: NO WASTE HERE!!!!! and so healthy.

Bon Appétit-From Margot’s Table to Yours

For more excellent recipes visit http://blog.tempinnkeeper.com and email margot@eyeonsunvalley.com for small group catering needs or even for help inventing in the kitchen.

Crepes, The Easy & Painless Way

Standard

# 1 crepes to eat

Crepes, The Easy and Painless Way

No measuring is daring and it can be fun. It’s certainly the quick way to cook and you might be surprised at how well you can do this.

Crepes are a good substitute for morning pancakes and they certainly are good for lunch, dinner or dessert. They are so versatile. So, it’s up to you with what you want to fill or top them: ricotta cheese and berries? Jam? Veggies and cheese? Chicken bits with a lovely sauce over it all? Or topped with a delicate orange or lemon Crepe Suzette sauce? Variations are endless and fun to invent. You can even have an array of fillings on the side and let guests or your family invent themselves. What I myself had this morning were crepes filled and topped with ricotta and fresh berries. Yum, they were delicious!

I could go on and on about fillings and toppings but what I am giving you here is just the basic crepe recipe. The trick with this recipe is to use the SAME SIZED cup or glass for placing the eggs, flour, milk and butter because you are going to eyeball your amounts within these four vessels. A vessel that holds about 2 cups (oops—I shouldn’t have said that—sorry) will make enough crepes for 4. My picture showing my vessels with the ingredients are for half of the listed ingredients i.e. 1/2 a vessel of eggs, 1/2 vessel flour, slightly less than 1 vessel full of milk & 1/8th vessel of melted butter.

I use a Teflon crepe pan but if you don’t have one, then make sure to put a little oil or butter in your pan first. I like to make sure my pan is quite hot (when an entered droplet of water sizzles). If your first crepe doesn’t turn out quite right, fear not because you’ll know whether to turn the heat up or down to make the next one right.

To keep your crepes warm, you can have a double boiler top all ready to put them in; or wrap them in foil or in a dish covered with foil in a 200F or 250F oven. I also have had left over batter which when whisked again make fine crepes the next day. You also can freeze left-over already made crepes. So see how versatile these guys are?

#2 cups full bowl whisk yes

Ingredients:

  • Eggs-1 vessel full
  • All-purpose flour-1 vessel full
  • Whole milk-1 ¾ vessel full
  • Melted unsalted butter-1/4 vessel full
  • Pinch salt
  • Pinch baking powder (optional)
  • Pinch powder sugar (optional
  • Drop or so vanilla (optional)
  • Lemon or orange zest (optional)

Instructions:     #3 crepe in pan

  • In a bowl that has a pouring spout is the best, whisk well or beat with electric beaters the eggs.
  • Add the remainder of the ingredients. Whisk or beat till you have a smooth batter.
  • Heat your crepe pan or a small size skillet. Add a bit of the batter, just enough to partially cover the bottom because then you want to roll your pan around so the batter slides smoothly over the whole pan bottom. You don’t want a thick crepe. You want a crepe that is fairly thin.
  • Cook until the edges begin to brown—anywhere from 30 seconds to 1 minute. Flip over with a spatula and cook for another 30 seconds or more. You can peek to say how brown the bottom of the crepe is getting.
  • Pile them up on your oven warmed platter and cover; or place in the top of your double boiler that is warm by boiling some water in the bottom part.


Bon Appétit —-From Margot’s Table to Yours

 Want some more recipes or small group catering: visit http://blog.tempinnkeeper.com or email Margot at margot@eyeonsunvalley.com


Onion Soup the Slow Cooker Way

Standard


onion soup 1

SLOW COOKER ONION SOUP (6 Servings)

 Here’s a yummy soup that will warm your bones, body and soul

 January here in our snowy valley is always a good time to have a repast to warm up the bones, body and soul. After a hard day’s skiing either on our BCRD cross country trails or down-hilling on Mt. Baldy, a delicious hot soup that is easy to make because most of it will be cooking while you are skiing is very desirable indeed. And by the way, you can also after caramelizing your onions, take half of them out and freeze for future use on pizzas, etc. and so just make half of this recipe for your soup.

For the caramelized onions:

  • 8 cups thinly sliced yellow onions, (about 2 very large onions or 4 medium sized ones)
  • 10 to 12 clove garlic, minced or 8 garlic minced garlic gloves and 2 thinly sliced shallots
  • 4 tablespoon olive oil or peanut oil and 2 tablespoons melted sweet butter
  • Salt and ground black pepper to taste

For the soup:

  • 1 Tablespoon all-purpose flour
  • 1/2 cup dry sherry
  • 1/4 cup white wine or white vermouth
  • 2 teaspoons fresh thyme or 1 teaspoon dried
  • Sprig fresh rosemary
  • 4 cups good beef broth (I like the Better Than Bouillon brand but there are others however, of course, the best is the one you’ve made with beef bones, etc. at home)
  • 1/2 to 1 cup mushroom broth which is different than most recipes but I like it in this soup (optional)
  • 2-3 cups water
  • 1 tablespoon lemon juice (a last minute deal option—I like it)
  • 3 egg yolks (a last minute deal option and it will make your soup a bit creamier—I like this too)
  • 6 or more thin slices baguette, toasted in a 400 degree oven until golden and quite dry and more slices for your bread basket—and you could just toast it in your toaster to make things easier.
  • 1/2 cup grated Gruyere, Parmesan, Romano, Swiss or any kind of the MUST cheese you can envision for this dish.
  • Serving idea: This wonderful soup plus a green salad, a basket of more baguette slices and a side board filled with an assortment of good cheeses and dried meats would make a great meal at any time of the day—even one to break the day’s fast.

Directions:

  • Coat a 4-quart or larger slow cooker with some melted butter.
  • Add the onions, (shallots), garlic, oil and melted butter.
  • Toss well, and then season with a bit of salt and pepper.
  • Cover and cook on low for about 5 hours, until the onions are richly colored and sweet. After the first hour toss the onions and you can do this one another time in about 3 hours if you wish. I also place a paper towel under the lid to absorb the extra moisture.
  • Once the onions are ready, sprinkle them with the flour and stir until well-combined. Then add the sherry and vermouth or white wine.
  • Then add the bouillons & water (which should be well heated in the micro) and the herbs; cover and cook for another 4 hours on low or 2 hours on high.
  • Optional: Once the soup is done, stir in the lemon juice and adjust the seasoning.
  • Optional but very good: Beat the egg yolks in a small bowl and whisk in one ladle full of hot soup and then whisk in another ladle full in that bowl. Then add this concoction to the soup.
  • Set broiler to high when ready to eat. Ladle the soup into broiler-safe serving crocks. Top each crock with a thin slice of the toasted baguette and a heaping tablespoon of Gruyere. However, see below for additional hints
  • Hints: If you wish, you can place the toasted baguette on the bottom of the crock, ladle in the soup and then top with your choice of cheese; then place it under the broiler for a moment or two. Or you can just add croutons to the top of the soup, plus the cheese and broil it. Or leave out the bread and just top with cheese however no matter what you choose broiled cheese on top is a must. Decisions, decisions, decisions—and don’t forget to remove your herb sprigs before serving.
  • Place the filled crocks on a rimmed baking sheet lined with a bit of foil for easy cleaning and broil just until cheese is golden, 1 to 2 minutes.
  • Do not leave the crocks under the broiler unattended as they will burn quickly so watch carefully.
  • Serve with more toasted baguette slices or even just oven warm slices, a side board of assorted cheeses, dried meats and a green salad and of course, a cupo of vino or yes, even a good glass of bierre. Voila—magnifique!!!!

Don’t forget to check in on Margot’s blog: http://blog.tempinnkeeper.com for more than 200 recipes.

Veggie Soup Perfect For New Year Health & Diet

Standard


asian bent close up

 Veggie Soup With An Asian Bent

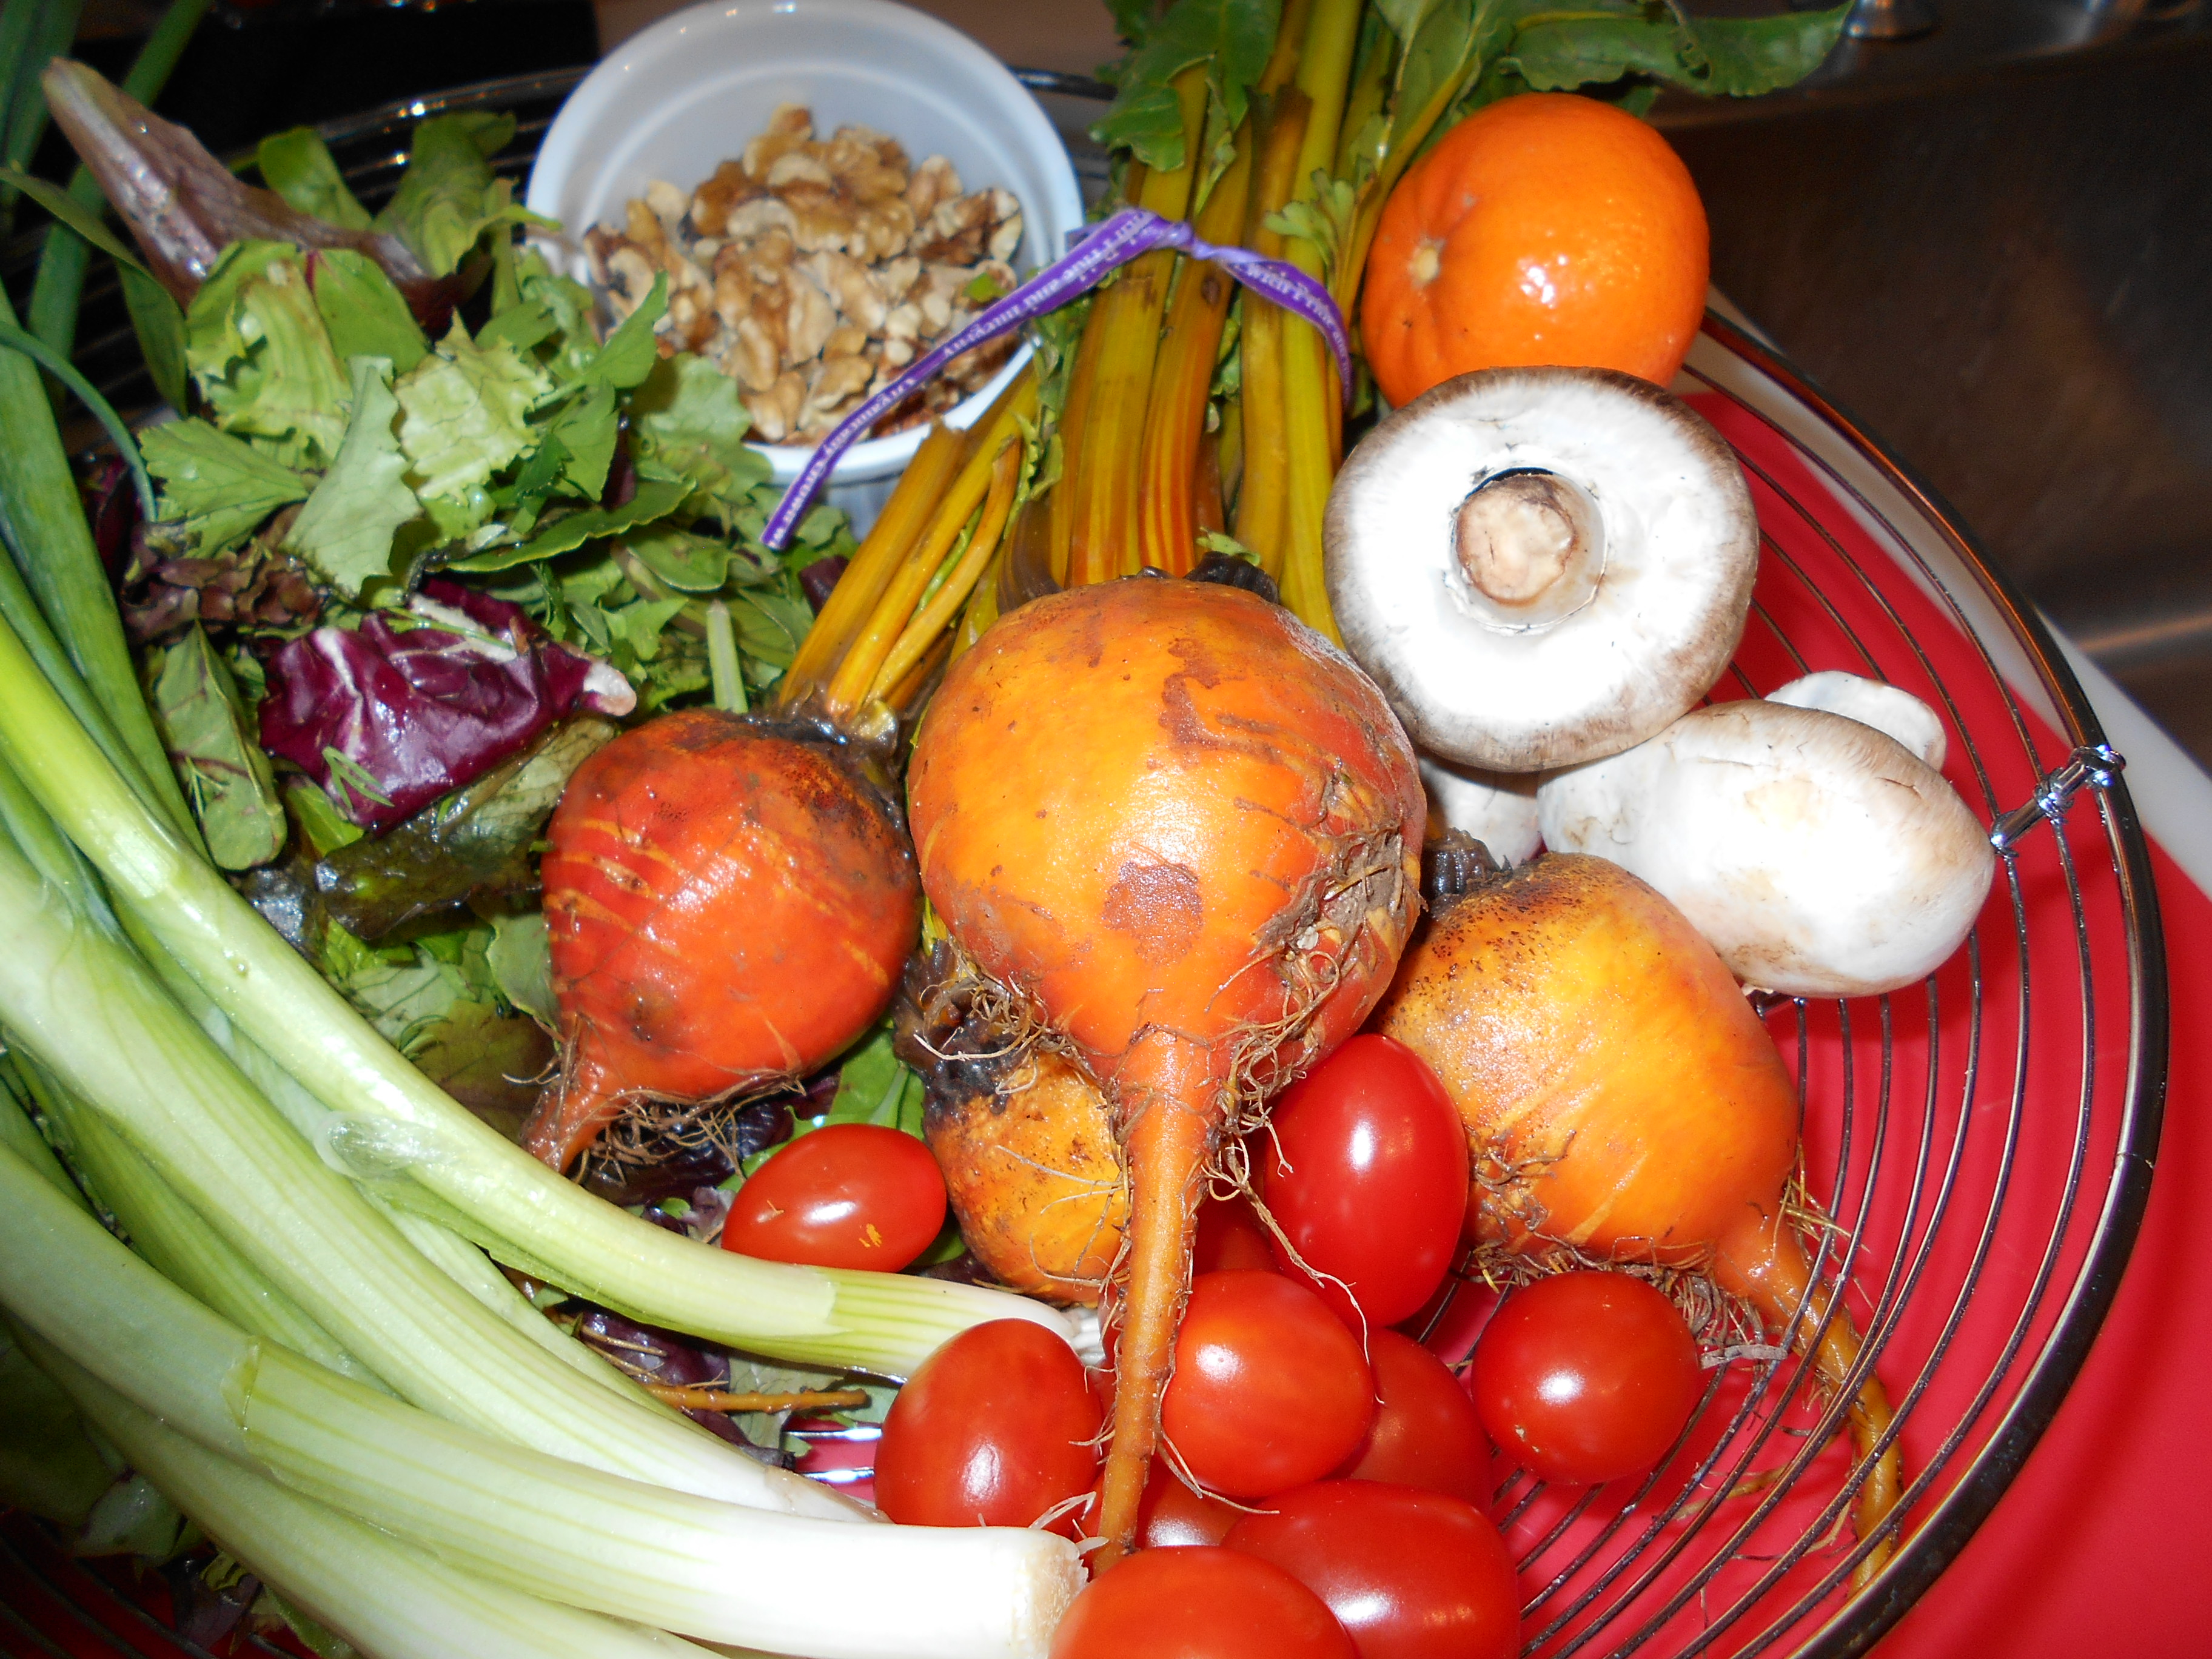
Got some left over veggies in your frig.?

Or even some very fresh ones? Even lettuce? Yes, lettuce!!! Try it and you’ll see.

Well, I did and before they went south, I made myself a delicious and very healthy soup. I also decided that I wanted to pair it with some hot Saki to warm my cold bones after a delicious day cross country skate skiing Hailey’s Croy Canyon, which by the way was perfectly groomed as usual by the BCRD. Well the moose was out and about, or so I was told by a youngling, but I didn’t encounter it. I have had one of the moose twins (yes indeed) in my front yard whereas after it, along with its brother and mother, sauntered down Hailey’s main street. Now, we do know don’t we (?)that here in Hailey territory when we see the moose(s) we don’t go up and give it(them) a hug or let the dog do that either. Now I bet you all wished you lived in Hailey to see our magnificent wild life.

But I digress and back to the soup—I am going to tell you how I made mine, but my fun in cooking is inventing dishes so here’s one that you can invent for yourself. Then, when you’ve made a really awesome concoction, be sure to email me and then I’ll post it on my eyeonsunvalley.com post. When you do this, imagine yourself becoming a famous chef because yes indeed, EOSV can help you become that.

My Ingredients That I Had & Used:

  • A bit of bacon cut into small pieces (I keep some bacon in the freezer just for this cause)
  • A little butter and a tad bit of olive oil (I like the combo taste of these)
  • One large and long green zucchini—well scrubbed of course
  • Six very large Brussels sprouts—also washed and groomed (brown ends & yellow leaves off)
  • One savory Idaho medium sized baking potato—peeled
  • One or Two garlic clove-peeled of course
  • Four cups of a mixture of vegetable and chicken stock (I love the BetterThan Bouillon brand but of course home made is the best.)
  • Lime juice to taste
  • Inglehoffer Wasabit with Horseradish –a nice healthy dash of that to make it a bit Asian
  • Worcestershire Sauce—a bit of that as well
  • S&P to taste
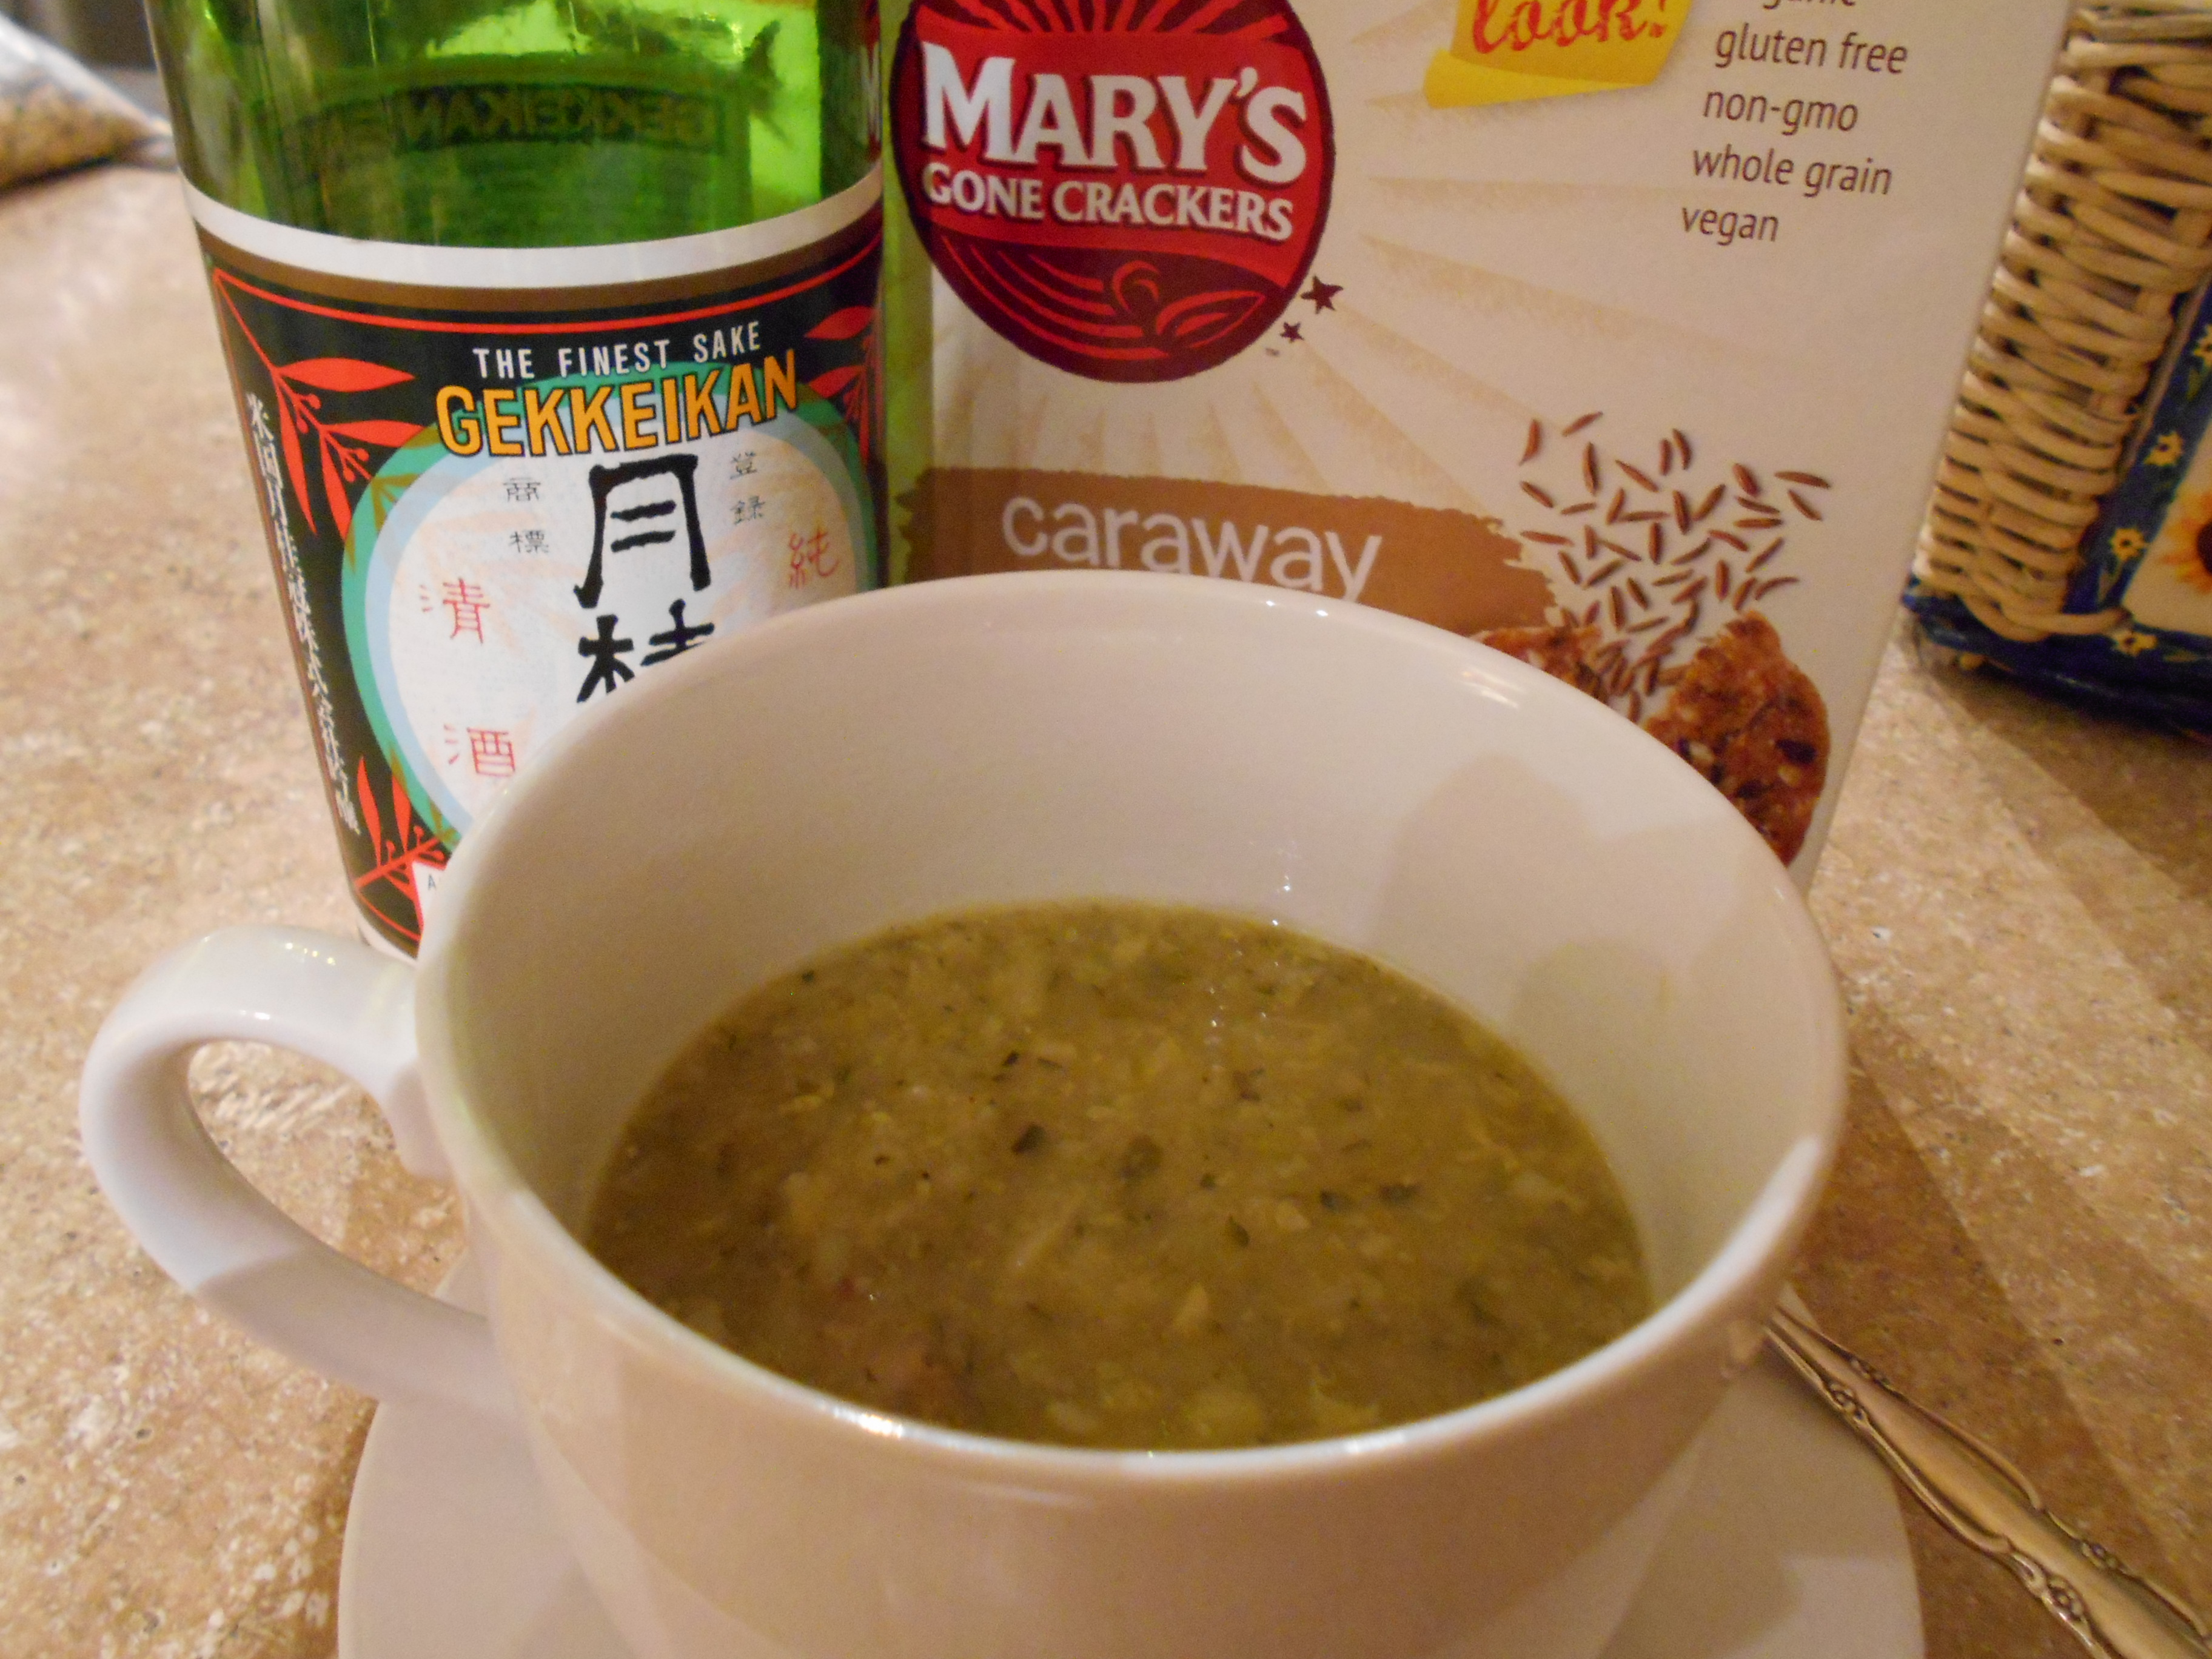
  • Mary’s Caraway Gluten Free Crackers for a topping

My directions for myself or for yourself if you wish:

  • In your food processor (or by hand) small chop the zucchini, Brussels sprouts, potato and garlic clove
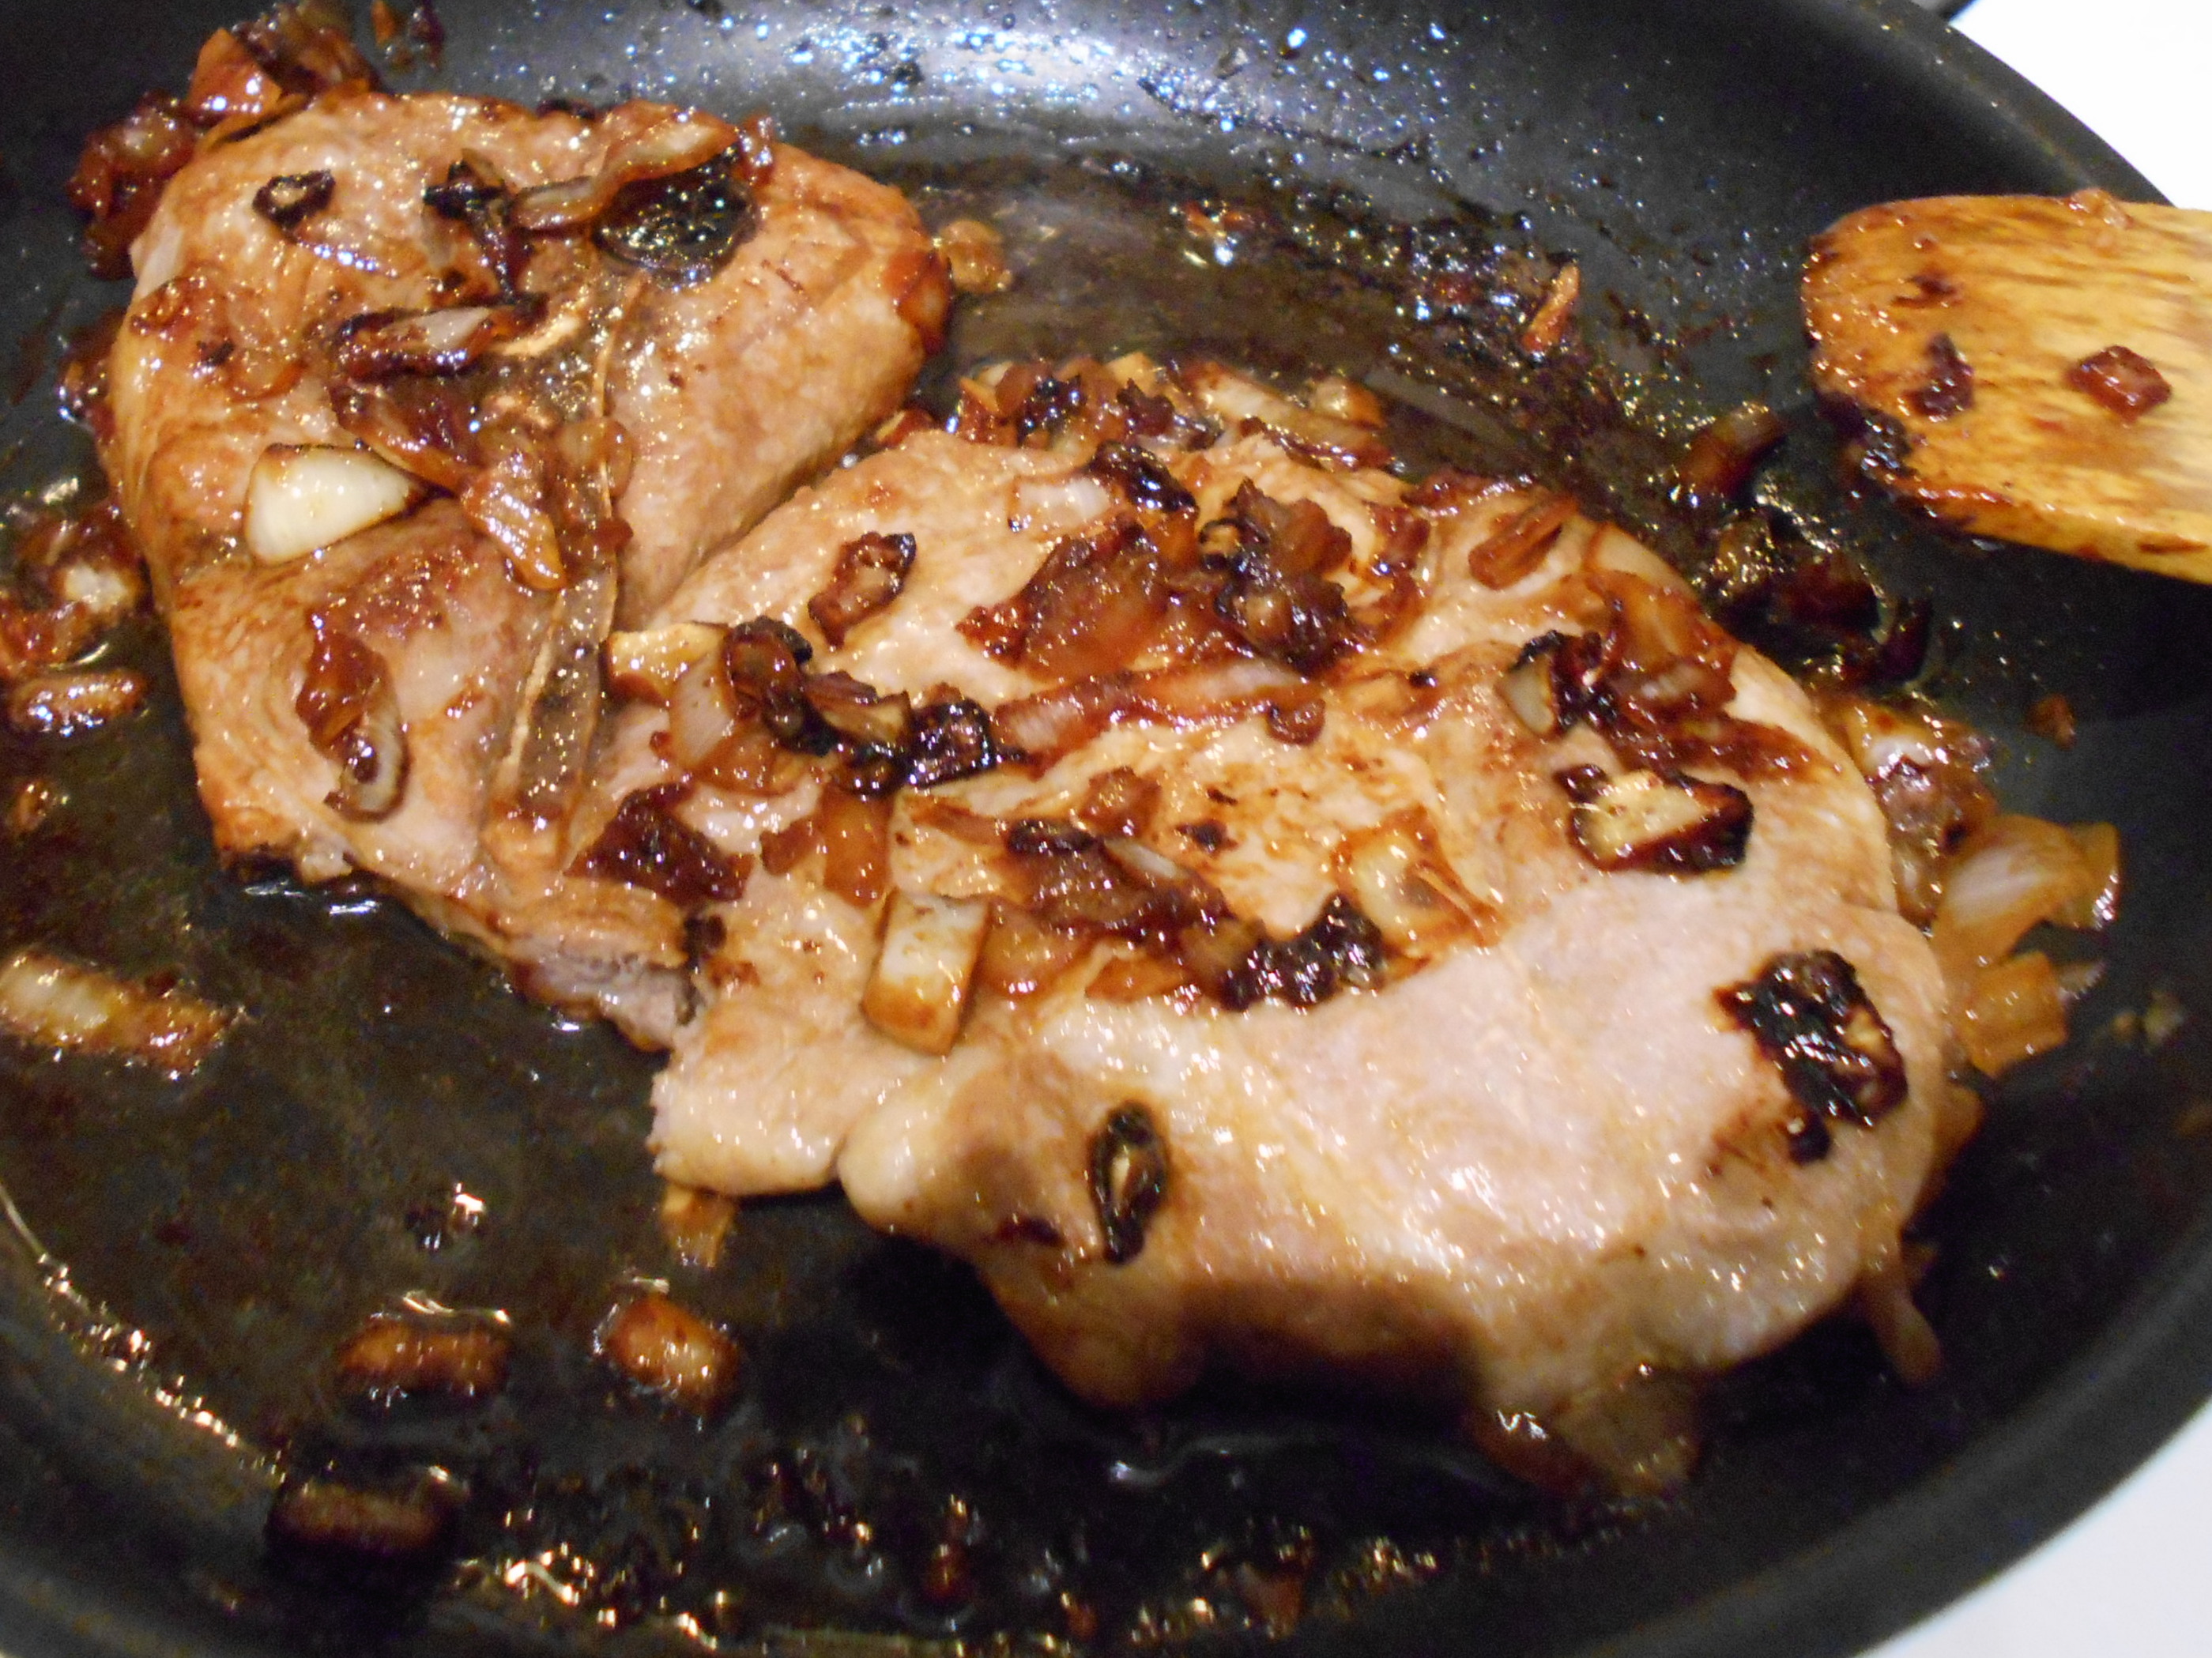
  • Brown the bacon in a medium sized pot and add the bit of butter when browned
  • Brown the chopped veggies over medium low heat (10-15minutes) in the melted oil/butter till they are soft but not browned.
  • Add the stock, lime juice, Inglehoffer, Worcestershire and S&P to taste.
  • Slow simmer for 45 minutes to 1 hour or more adding more liquid stock and seasonings of your choice if needed.


Result: This soup was easy to make, comforting and hot. I knew that it was healthy featuring all those veggies and I topped it with gluten free self-crunched caraway crackers that made it even more delicious. My treat to go with this dish was some nice hot Saki.

Now use your imagination. You can make similar soups with a German bent, Indian bent, French bent—well, you get the idea. Now that it is the New Year and we all wish to scurry away those extra pounds but still remain within the healthy diet realm, here is a recipe that you’ll love eating yourself and serving to others.


So, bon appétit and I can’t wait to see what ideas you have and post them to margot@eyeonsunvalley.com

As always—eager for a new recipe?—go to http://blog.tempinnkeeper.com where I have more than 200 yummy recipes posted and also look for this recipe on http://www.eyeonsunvalley.com

Enchilada with South of the Border Spaghetti Squash Filling

Standard

ss enchiladas 1ss plated enchiladas

South of the Border Stuffed Spaghetti Squash Left Over or just plain made stuffing for delicious Enchiladas

Maybe you don’t want a stuffed squash and have just made the stuffing and/or maybe you have served the stuffed squash and have some left over stuffing—so here is a delicious enchilada recipe using this stuffing:

Ingredients:

  1. 1 package of hand made thick styled corn tortillas (soft and flexible)—room temp
  2. 1 10-oz. can of medium (or hot if you like) enchilada sauce
  3. 1 C (or more) of shredded Mexican Styled Cheese
  4. 1 C (or more) sour cream

Directions:

  1. Pre-heat the oven to 350F.
  2. Oil an oven proof dish (the right size for however many enchiladas you will be making.)
  3. Spread a generous amount of the enchilada sauce on each side of the tortillas before filling them.
  4. Then, fill each tortilla with the cooked spaghetti squash filling, top with a tsp. of sour cream, some more cheese, roll carefully and place rolled side down in your dish.
  5. Do these with as much filling as you have to fill the tortillas.
  6. When your oven proof dish is filled, top the tortillas with more sour cream and cheese.
  7. Bake this dish uncovered in the pre-heated oven for at least 30 minutes but NOT till the enchiladas are dried out so watch carefully.
  8. Serve with a side of chopped green cabbage that has been mixed with white wine vinegar and salt (no oil) and topped with some avocado slices.

Once again, the recipe for the Filled South of the Border Spaghetti Squash

Ingredients:

  1. 1 medium spaghetti squash, halved lengthwise and seeded (save those seeds to roast in your oven. So yummy.)
  2. 2 Tsp. olive oil
  3. 1 chopped yellow onion
  4. 1 yellow (red or orange is OK as well) pepper, seeded and chopped
  5. 2 garlic cloves-chopped
  6. One 15-oz. can black beans, rinsed in a colander with water
  7. 1/2 C. corn (I used fresh, but frozen or rinsed canned is OK as well)
  8. 1/3 to 1/2 C. chopped cilantro
  9. 1 Tblsp. lime juice
  10. 6 Tblsp. medium enchilada sauce (or more if you wish—taste it first)
  11. 1/4 to 1/2 C. chunky salsa sauce
  12. 1 tsp. salt
  13. 3/4 to 1 C. of rough shredded 4 blend Mexican cheese (or something similar)
  14. Avocado slices for top garnish (optional)
  15. Sour Cream for top garnish (optional)
  16. Corn Tortilla’s for accompaniment

Instructions:

  1. Pre-heat oven to 375. In an oven proof dish, pour 1 C. of water in the dish and place your squash halves, flesh side down, in it. Place the dish in your pre-heated oven for about 35 minutes or until a sharp knife can pierce the skin easily. Take out of oven and let the squash cool for a little bit before you rake it with a fork to remove the strands—but careful, leave the shell in tack for the stuffing. Place the squash back in your dish (which now has no water) because you will be placing the stuffing in the squash and back into the oven for a bit. Turn the oven down to 350.
  2. I used my food processor to pulse quickly into chopped pieces the items listed in #3 through #5.
  3. In a large pot, over medium heat, place the olive oil and when heated, stir in the items #3 through #5 till softened and glistening (about 5 minutes). Then add the ingredients #6 through #12 and cook till well melded for about 2 minutes more.
  4. Place the stuffing you have just created in your shells and sprinkle each with the cheese.
  5. Place your dish back in the 350F oven for about 20 minutes.
  6. Voila—delicious. If you wish to garnish with the avocado slices and sour cream go ahead and do this now. And of course, some nice warm corn tortillas make for a wonderful accompaniment. As well, I’ve noticed that these two spaghetti squash recipes I have made taste even better the next day.

ss enchiladas 1 ss plated enchiladas

South of the Border Stuffed Spaghetti Squash

Standard


close up 1 south of the border 1 very close up

South of the Border Stuffed Spaghetti Squash

Here’s another yummy spaghetti squash dish that is easy to make and healthy to eat. It’s a vegetarian dish and I hope that you will like it as much as I have.

Ingredients:

  1. 1 medium spaghetti squash, halved lengthwise and seeded (save those seeds to roast in your oven. So yummy.)
  2. 2 Tsp. olive oil
  3. 1 chopped yellow onion
  4. 1 yellow (red or orange is OK as well) pepper, seeded and chopped
  5. 2 garlic cloves-chopped
  6. One 15-oz. can black beans, rinsed in a colander with water
  7. 1/2 C. corn (I used fresh, but frozen or rinsed canned is OK as well)
  8. 1/3 to 1/2 C. chopped cilantro
  9. 1 Tblsp. lime juice
  10. 6 Tblsp. medium enchilada sauce (or more if you wish—taste it first)
  11. 1/4 to 1/2 C. chunky salsa sauce
  12. 1 tsp. salt
  13. 3/4 to 1 C. of rough shredded 4 blend Mexican cheese (or something similar)
  14. Avocado slices for top garnish (optional)
  15. Sour Cream for top garnish (optional)
  16. Corn Tortilla’s for accompaniment


Instructions:

  1. Pre-heat oven to 375. In an oven proof dish, pour 1 C. of water in the dish and place your squash halves, flesh side down, in it. Place the dish in your pre-heated oven for about 35 minutes or until a sharp knife can pierce the skin easily. Take out of oven and let the squash cool for a little bit before you rake it with a fork to remove the strands—but careful, leave the shell in tack for the stuffing. Place the squash back in your dish(which now has no water) because you will be placing the stuffing in the squash and back into the oven for a bit. Turn the oven down to 350.
  2. I used my food processor to pulse quickly into chopped pieces the items listed in #3 through #5.
  3. In a large pot, over medium heat, place the olive oil and when heated, stir in the items #3 through #5 till softened and glistening (about 5 minutes). Then add the ingredients #6 through #12 and cook till well melded for about 2 minutes more.
  4. Place the stuffing you have just created in your shells and sprinkle each with the cheese.
  5. Place your dish back in the 350F oven for about 20 minutes.
  6. Voila—delicious. If you wish to garnish with the avocado slices and sour cream go ahead and do this now. And of course, some nice warm corn tortillas make for a wonderful accompaniment. As well, I’ve noticed that these two spaghetti squash recipes I have made taste even better the next day.

Mediterranean Stuffed Spaghetti Squash

Standard

mediterrean spaghetti squash close up mediterrean spaghetti squash

Mediterranean Stuffed Spaghetti Squash

Serves 4

Easy on the belly and good besides—that’s what this dish presents. You don’t have to add the shrimp so it can be a totally vegetarian dish. I also have another recipe that uses this kind of squash, so be on the look out for that. It’s a south of the border version.

Ingredients:

  1. One spaghetti squash, halved lengthwise and seeded (I save the seeds to roast in a 400 degree oven. I let the seeds dry and then sprinkle them with olive oil and red pepper flakes. It takes about 20-30 minutes to roast them.)
  2. 2 Tblsp. olive oil
  3. 1 onion-chopped
  4. 2 garlic cloves minced
  5. One 14.5 oz. canned dice tomatoes including its’ juice. (The can I used also included oregano, garlic and basil.)
  6. 1/2 C. chopped artichoke hearts (I used the slightly marinated kind.)
  7. 3 Tblsp. sliced black olives (I used the slightly marinated kind.)
  8. 2 Tbslp. chopped fresh basil
  9. Medium sized cooked deveined shrimp, defrosted, tail taken off—I used about 15 (Optional)
  10. 3/4 to 1 C. crumbled feta cheese

Instructions:

  1. Preheat oven to 375 degrees.
  2. In an oven proof dish, put in 1/2 to 3/4 C. water and place the 2 squash halves, flesh side down, in your dish. Bake about 35 minutes in the preheated oven. You can check at 30 minutes however the squash is done when you are able to insert a sharp knife with little resistance. When the squash is done take a fork to rake the flesh into your “spaghetti”. Be careful not to rake through the skin because you are going to use that for the stuffing.
  3. Meanwhile, in a large deep pot heat the olive oil and when heated, put in the onion. Sauté till it has softened. (about 5 minutes) Add the garlic and sauté for about 2 more minutes. Stir in ingredients number # 5 through # 8, place a lid on the pot and let the sauce simmer for 10 to 15 minutes.
  4. If you are using the shrimp, now’s the time to put them in the sauce for 3 or so minutes or till they are heated through.
  5. Add the feta last and stir it in quickly.
  6. Spoon the sauce into your squash halves. I surrounded mine with some cold marinated hot Italian styled red peppers which I thought tasted quite good with this.
  7. If you wish, you can serve some crusty hot French bread with this. And of course a nice crispy light white wine would be nice to have as well. But even red is good with this dish.