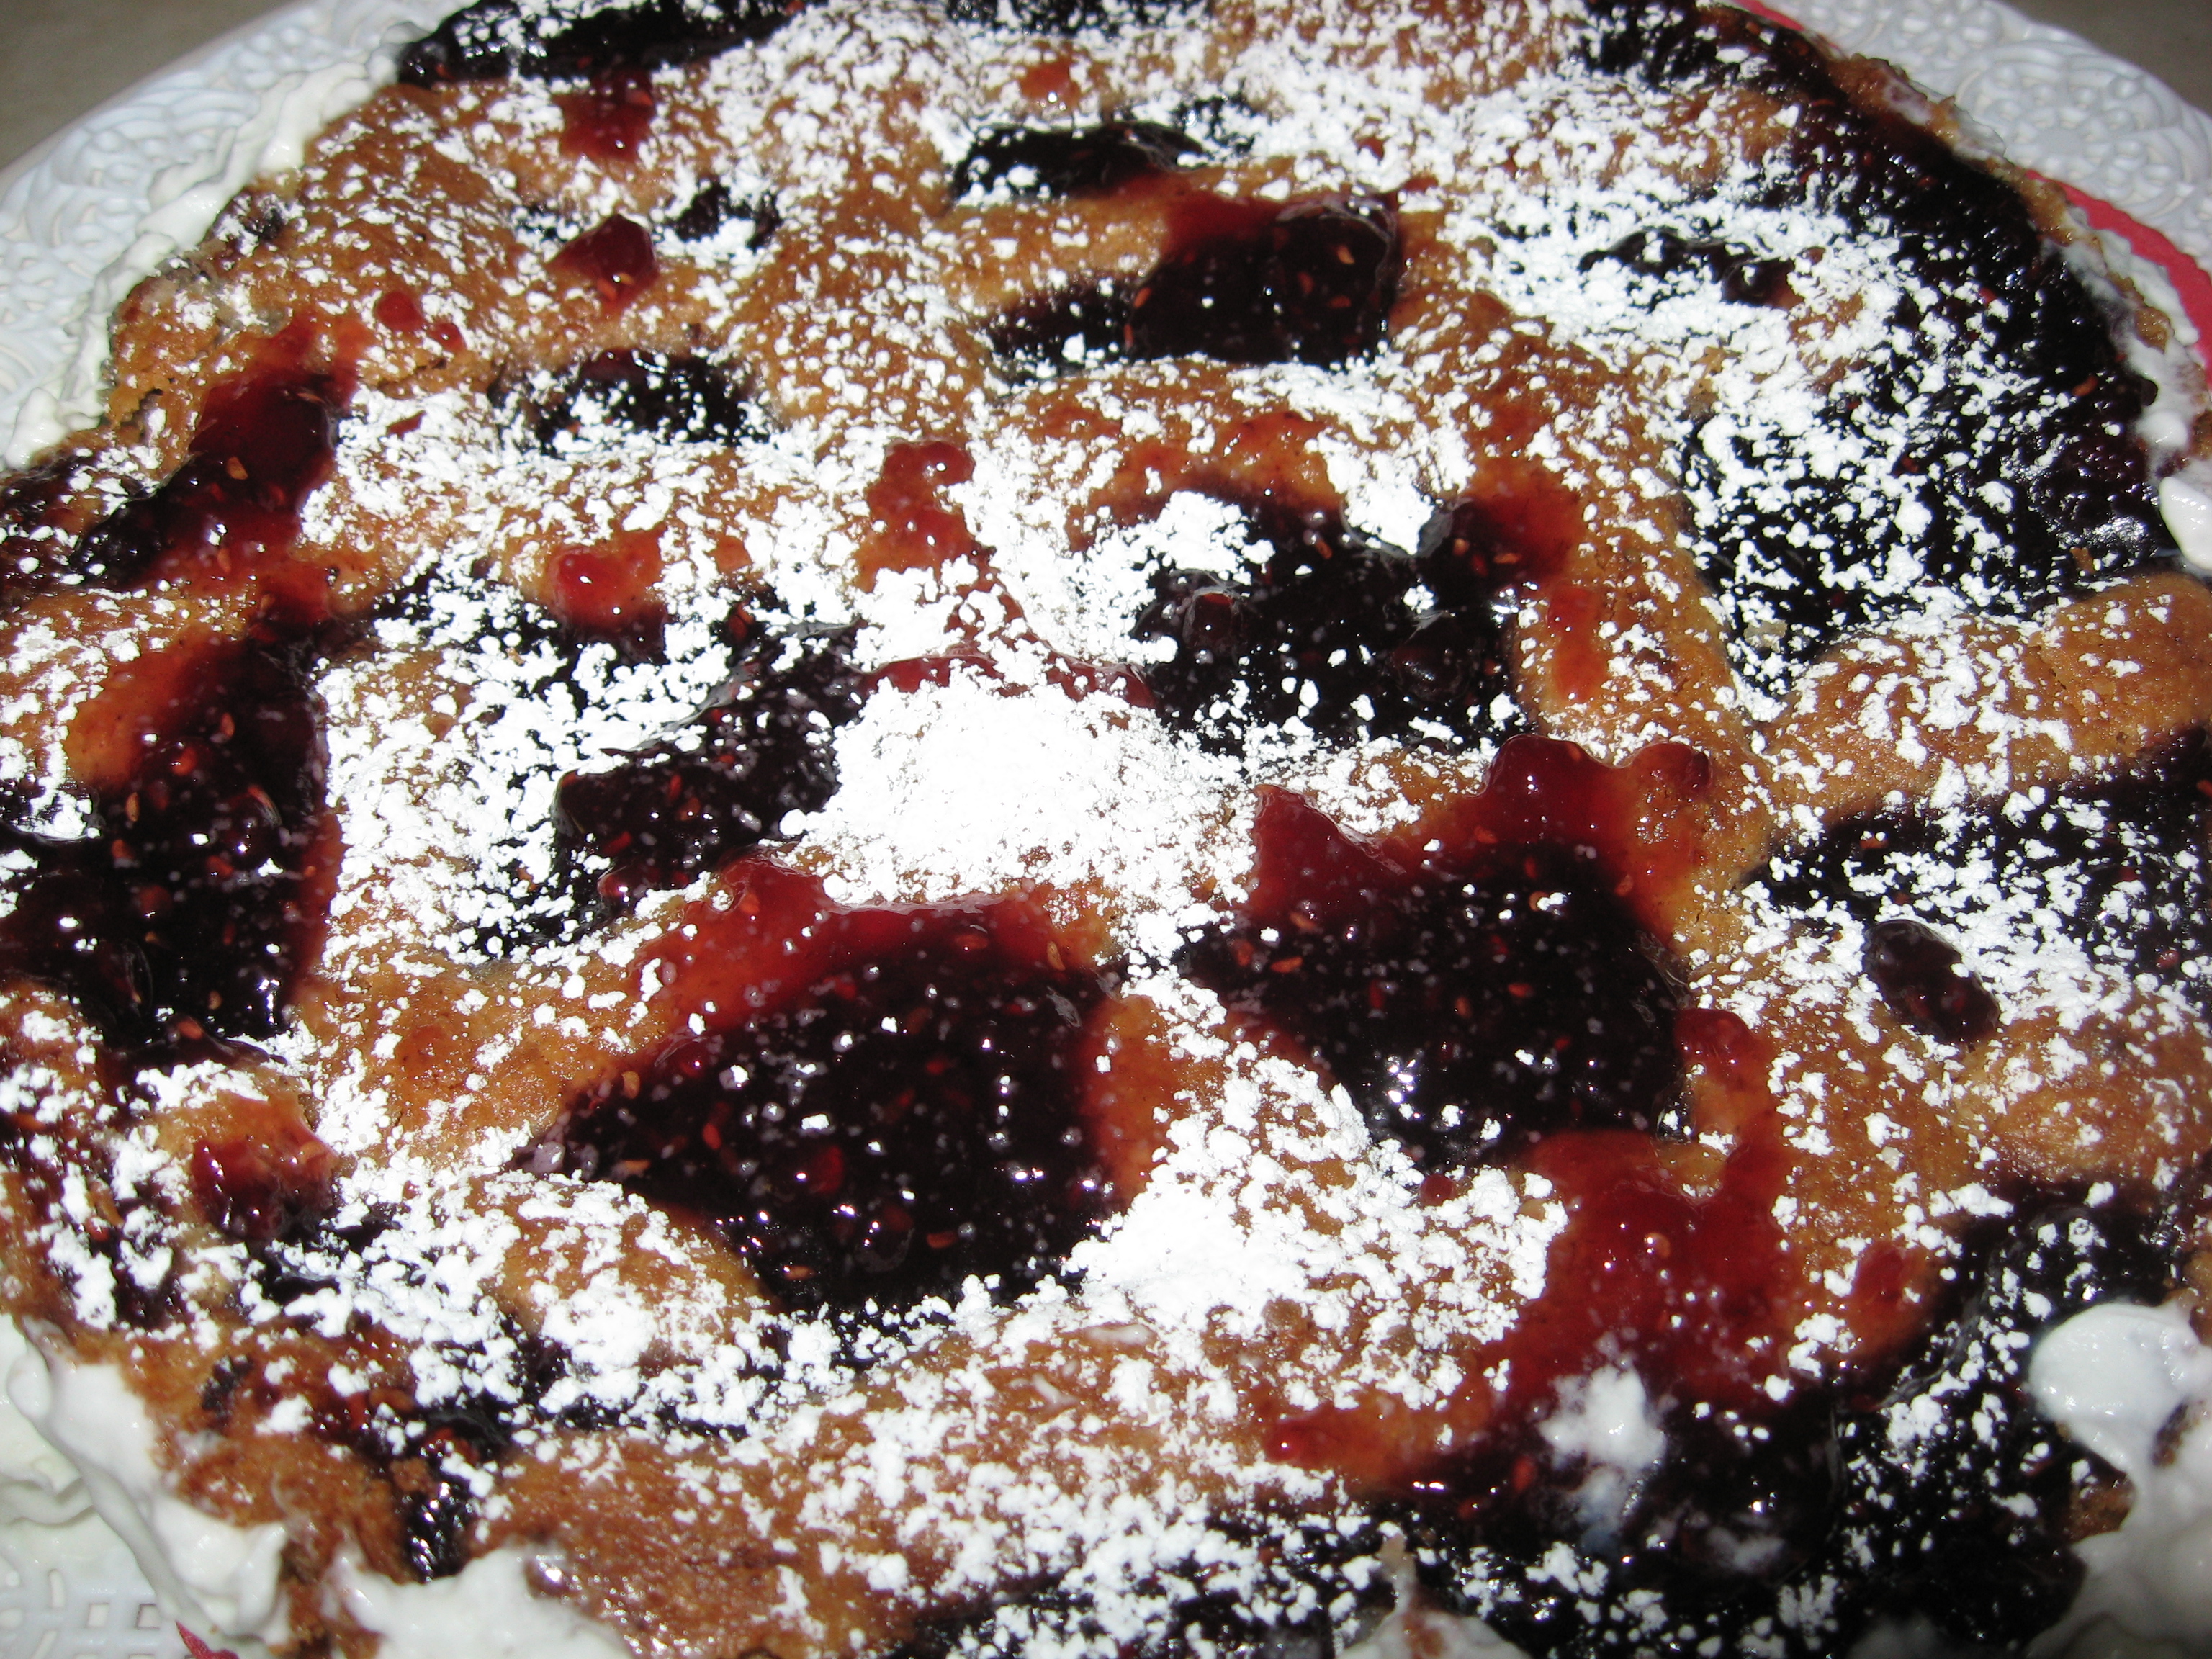
Raspberry, Lavender and Chocolate Jam

makes enough to fill six 8 oz. jam jars
I and my B&B styled catering service “ From Margot’s Table to Yours” had a wonderful fun time participating in the Sept. 22nd Sun Valley Harvest Festival’s Grand Tasting event. It was made even better by having Donna Anderson from her Lavender Acre’s Farm there to help along with a good artist friend of mine, Susan Snyder. As I had previously promised here is a very lovely lavender inspired recipe that I wanted to share. I had made it to put on my lavender thumb print cookies;however, you don’t need to use this jam just for the cookies because you’ll love having it in crepes, on ice cream and with croissants. It also makes a nice hostess gift.
Ingredients:
- 8 1/2 Cups Fresh raspberries
- 3 Cups sugar
- 2 Tablespoons freshly-squeezed lemon juice
- 1 1/2 Cups bittersweet chocolate chips
- 1 Tablespoon fresh culinary lavender buds
- 6 Sterilized, cool and dry 8 ounce jam jars
Instructions:
1. Stir to combine raspberries, sugar and lemon juice in a heavy bottomed saucepan. Turn the heat to medium and let the mixture simmer, slowly stirring, for around 5 minutes. If any foam develops on the surface, skim it off. Remove the saucepan from heat and set aside.
2. Off the heat, stir chocolate and lavender into the raspberry mixture until the chocolate has melted completely. Transfer the mixture to a large bowl. Cover the bowl with parchment paper and refrigerate it overnight so the flavors can meld.
3. Simmer raspberry mixture in saucepan over medium heat for about 10 minutes, skimming off any foam that forms.
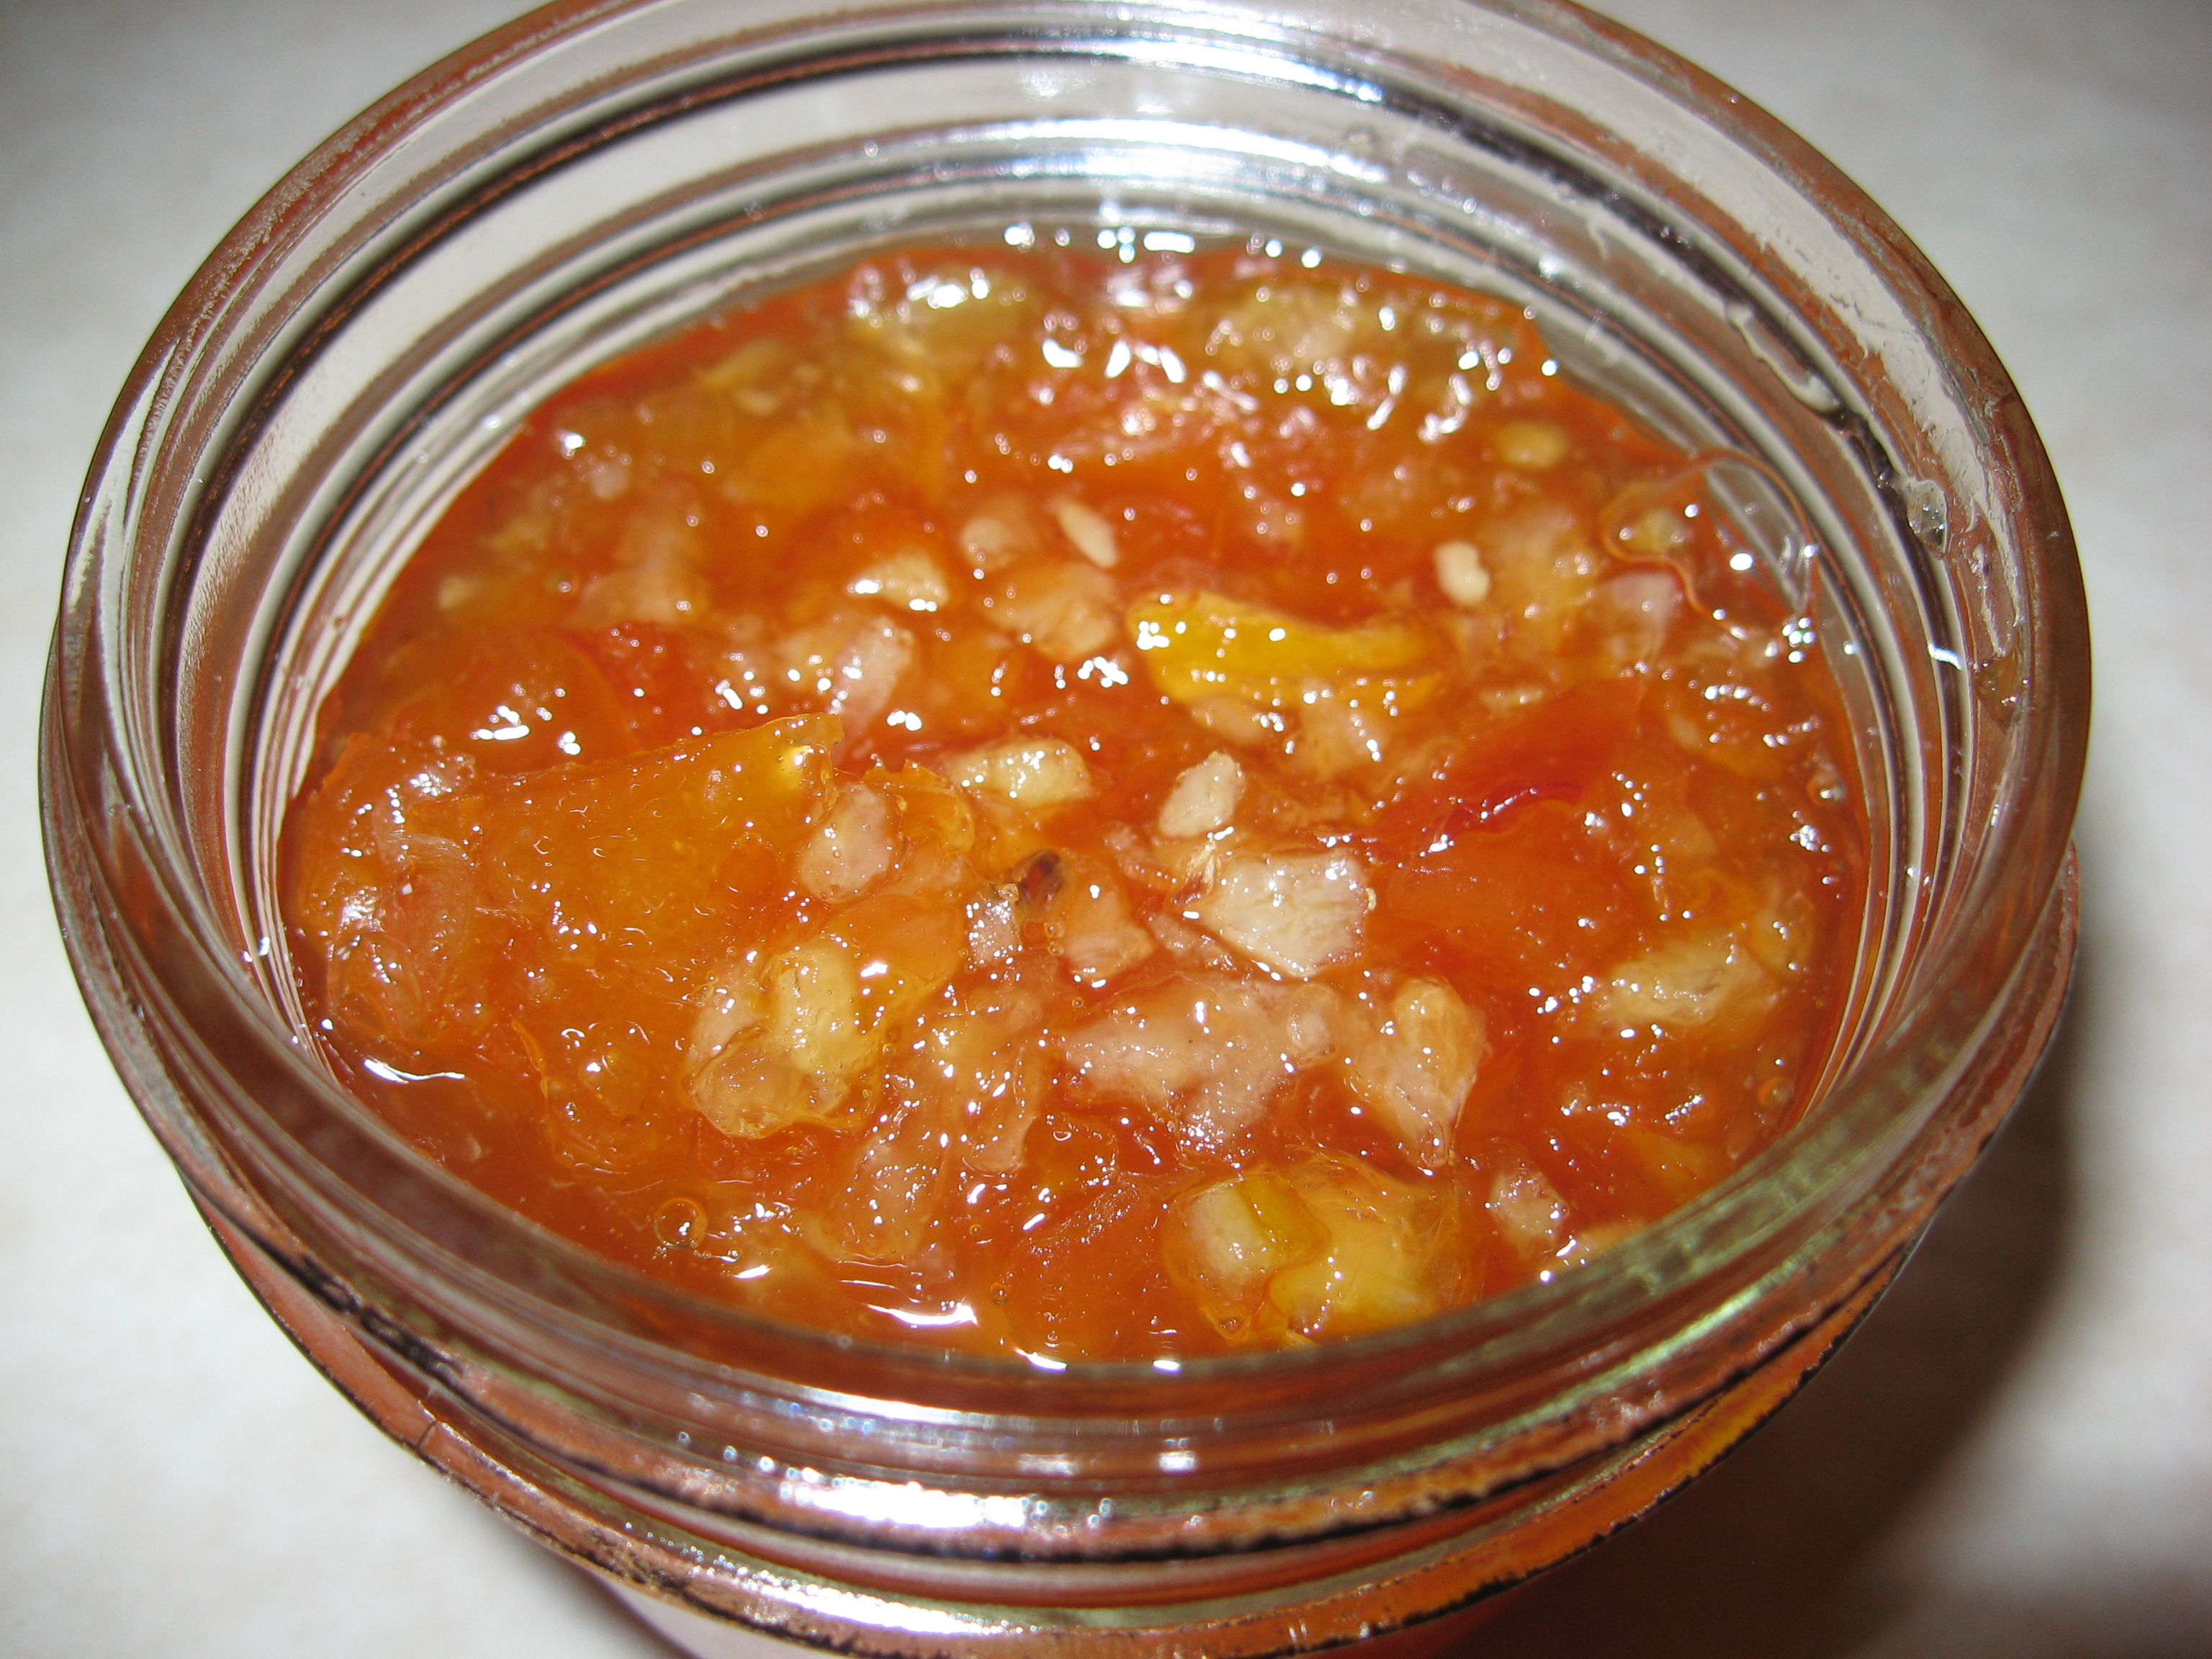
4. Remove from heat, let cool a bit and transfer to your clean jam jars. You can refrigerate without sealing for up to a month or you can place melted paraffin in the jars so as to be able to store for a longer period of time
For easy access and printing of this and past recipes, visit Margot’s blog http://blog.tempinnkeeper.com Call Margot for personal cooking help or hosting
@ 721-3551.
Margot is a self-taught enthusiastic & passionate cook. Having been an inn-keeper for 5 years at her own inn, she accumulated a lot of good recipes which she loves to share.


 Caribbean Marinade
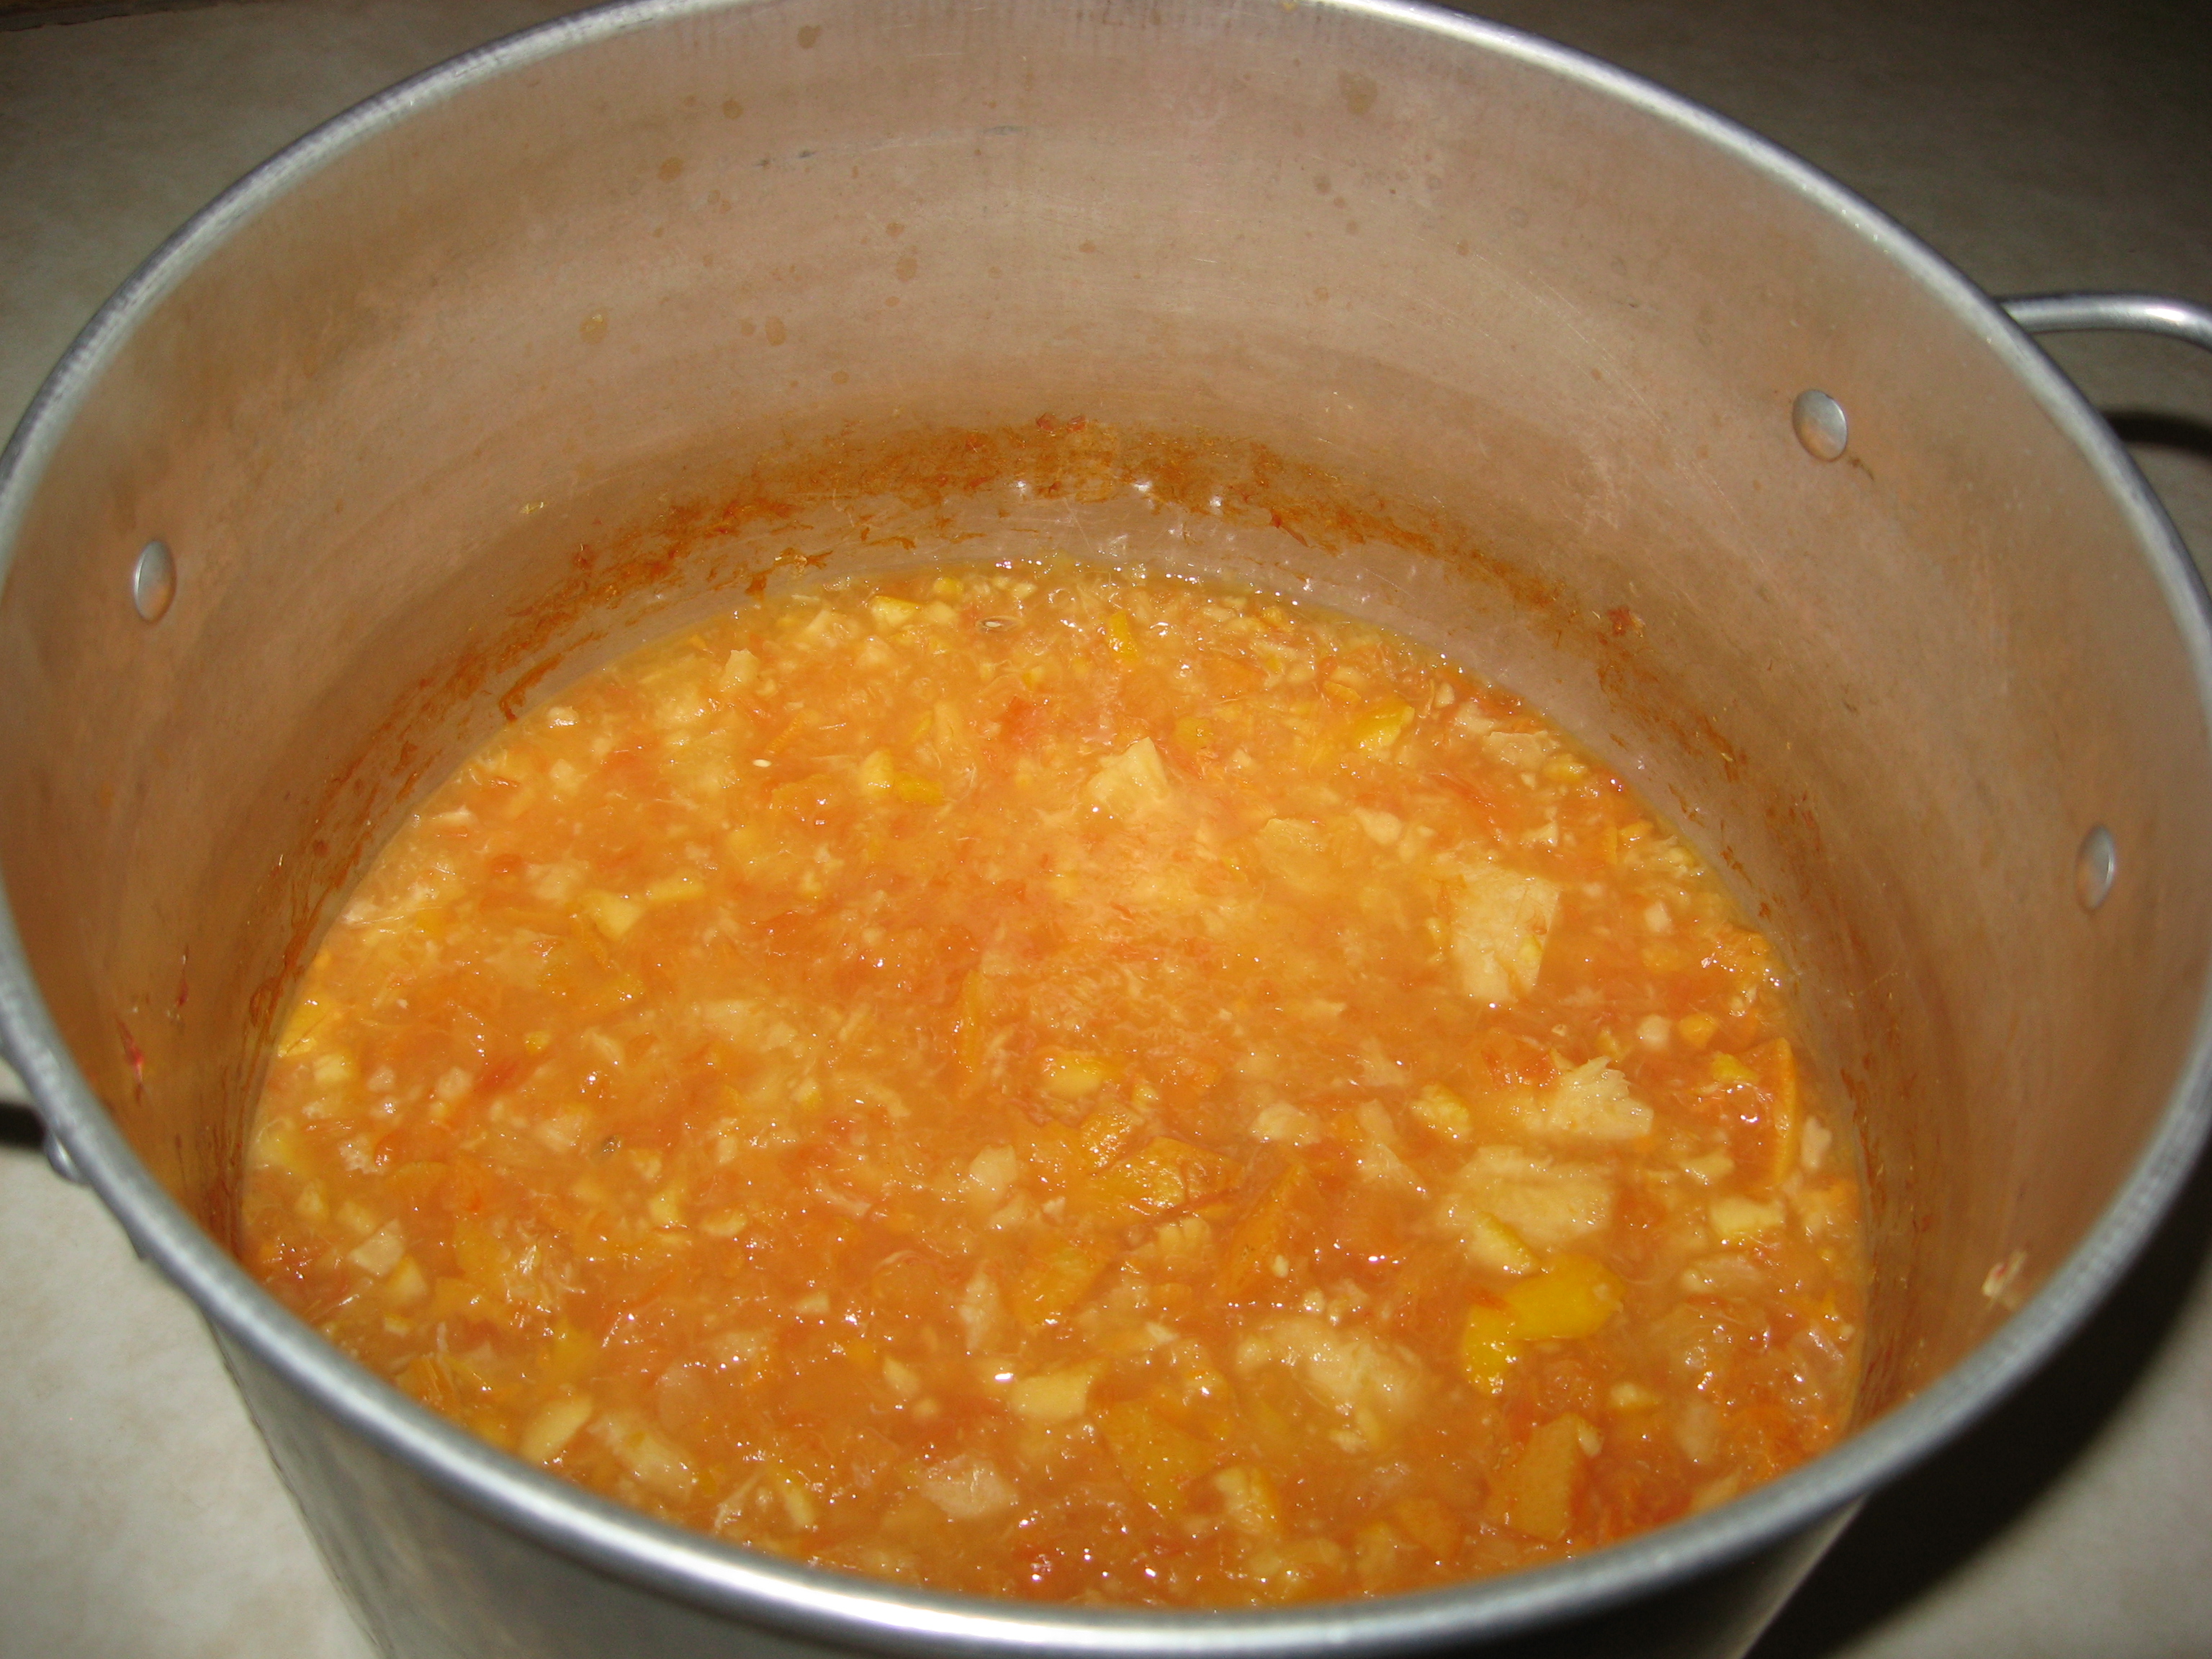


