Tag Archives: cookies and such

Cookies, Cookies–Warning–Dangerous: Can’t Stop Eating These

Standard


1 cookie med. close

Shortbread Cookies—–Warning—- Dangerous: Can’t Stop Eating These

Easy to make and they are the freezer kind, but of course are called refrigerator cookies. Shouldn’t they be called Freezer Cookies? Go figure?!!!!

So, once you make the dough (in your processor or if you prefer, in a bowl with your electric mixer) you roll the dough into two logs and freeze them for at least 2 hours or up to one month. One roll makes at least 30 delights so I bet you’ll easily have some cookie dough left over to make into yummy cookies some time later unless you are baking for a large crowd. Below, look for variation possibilities.

Ingredients: makes 60 cookies

  • 2 Cups all-purpose flour
  • 1 Cup confectioners’ sugar
  • 1 Tsp. coarse salt
  • 1 Tblsp. plus 1 Tsp. lemon zest (or whatever you choose)
  • 1 Tsp. fresh lemon juice (or whatever you choose)
  • 1 Cup (2 sticks) sweet butter, cut into pieces
  • 2 egg yolks
  • Granulated sugar (maybe 1/4 C?) for rolling the dough in before baking

Directions (easy and if you don’t have a food processor, you can use a bowl and electric beaters):

  • In a food processor, pulse the flour, confectioners’ sugar, salt and lemon zest until combined.
  • Add the butter pieces and process till crumbly.
  • Add the egg yolks and lemon juice.
  • Pulse until dough comes together. (If it hasn’t done that to your satisfaction, use your hands to form the dough into a cohesive ball)
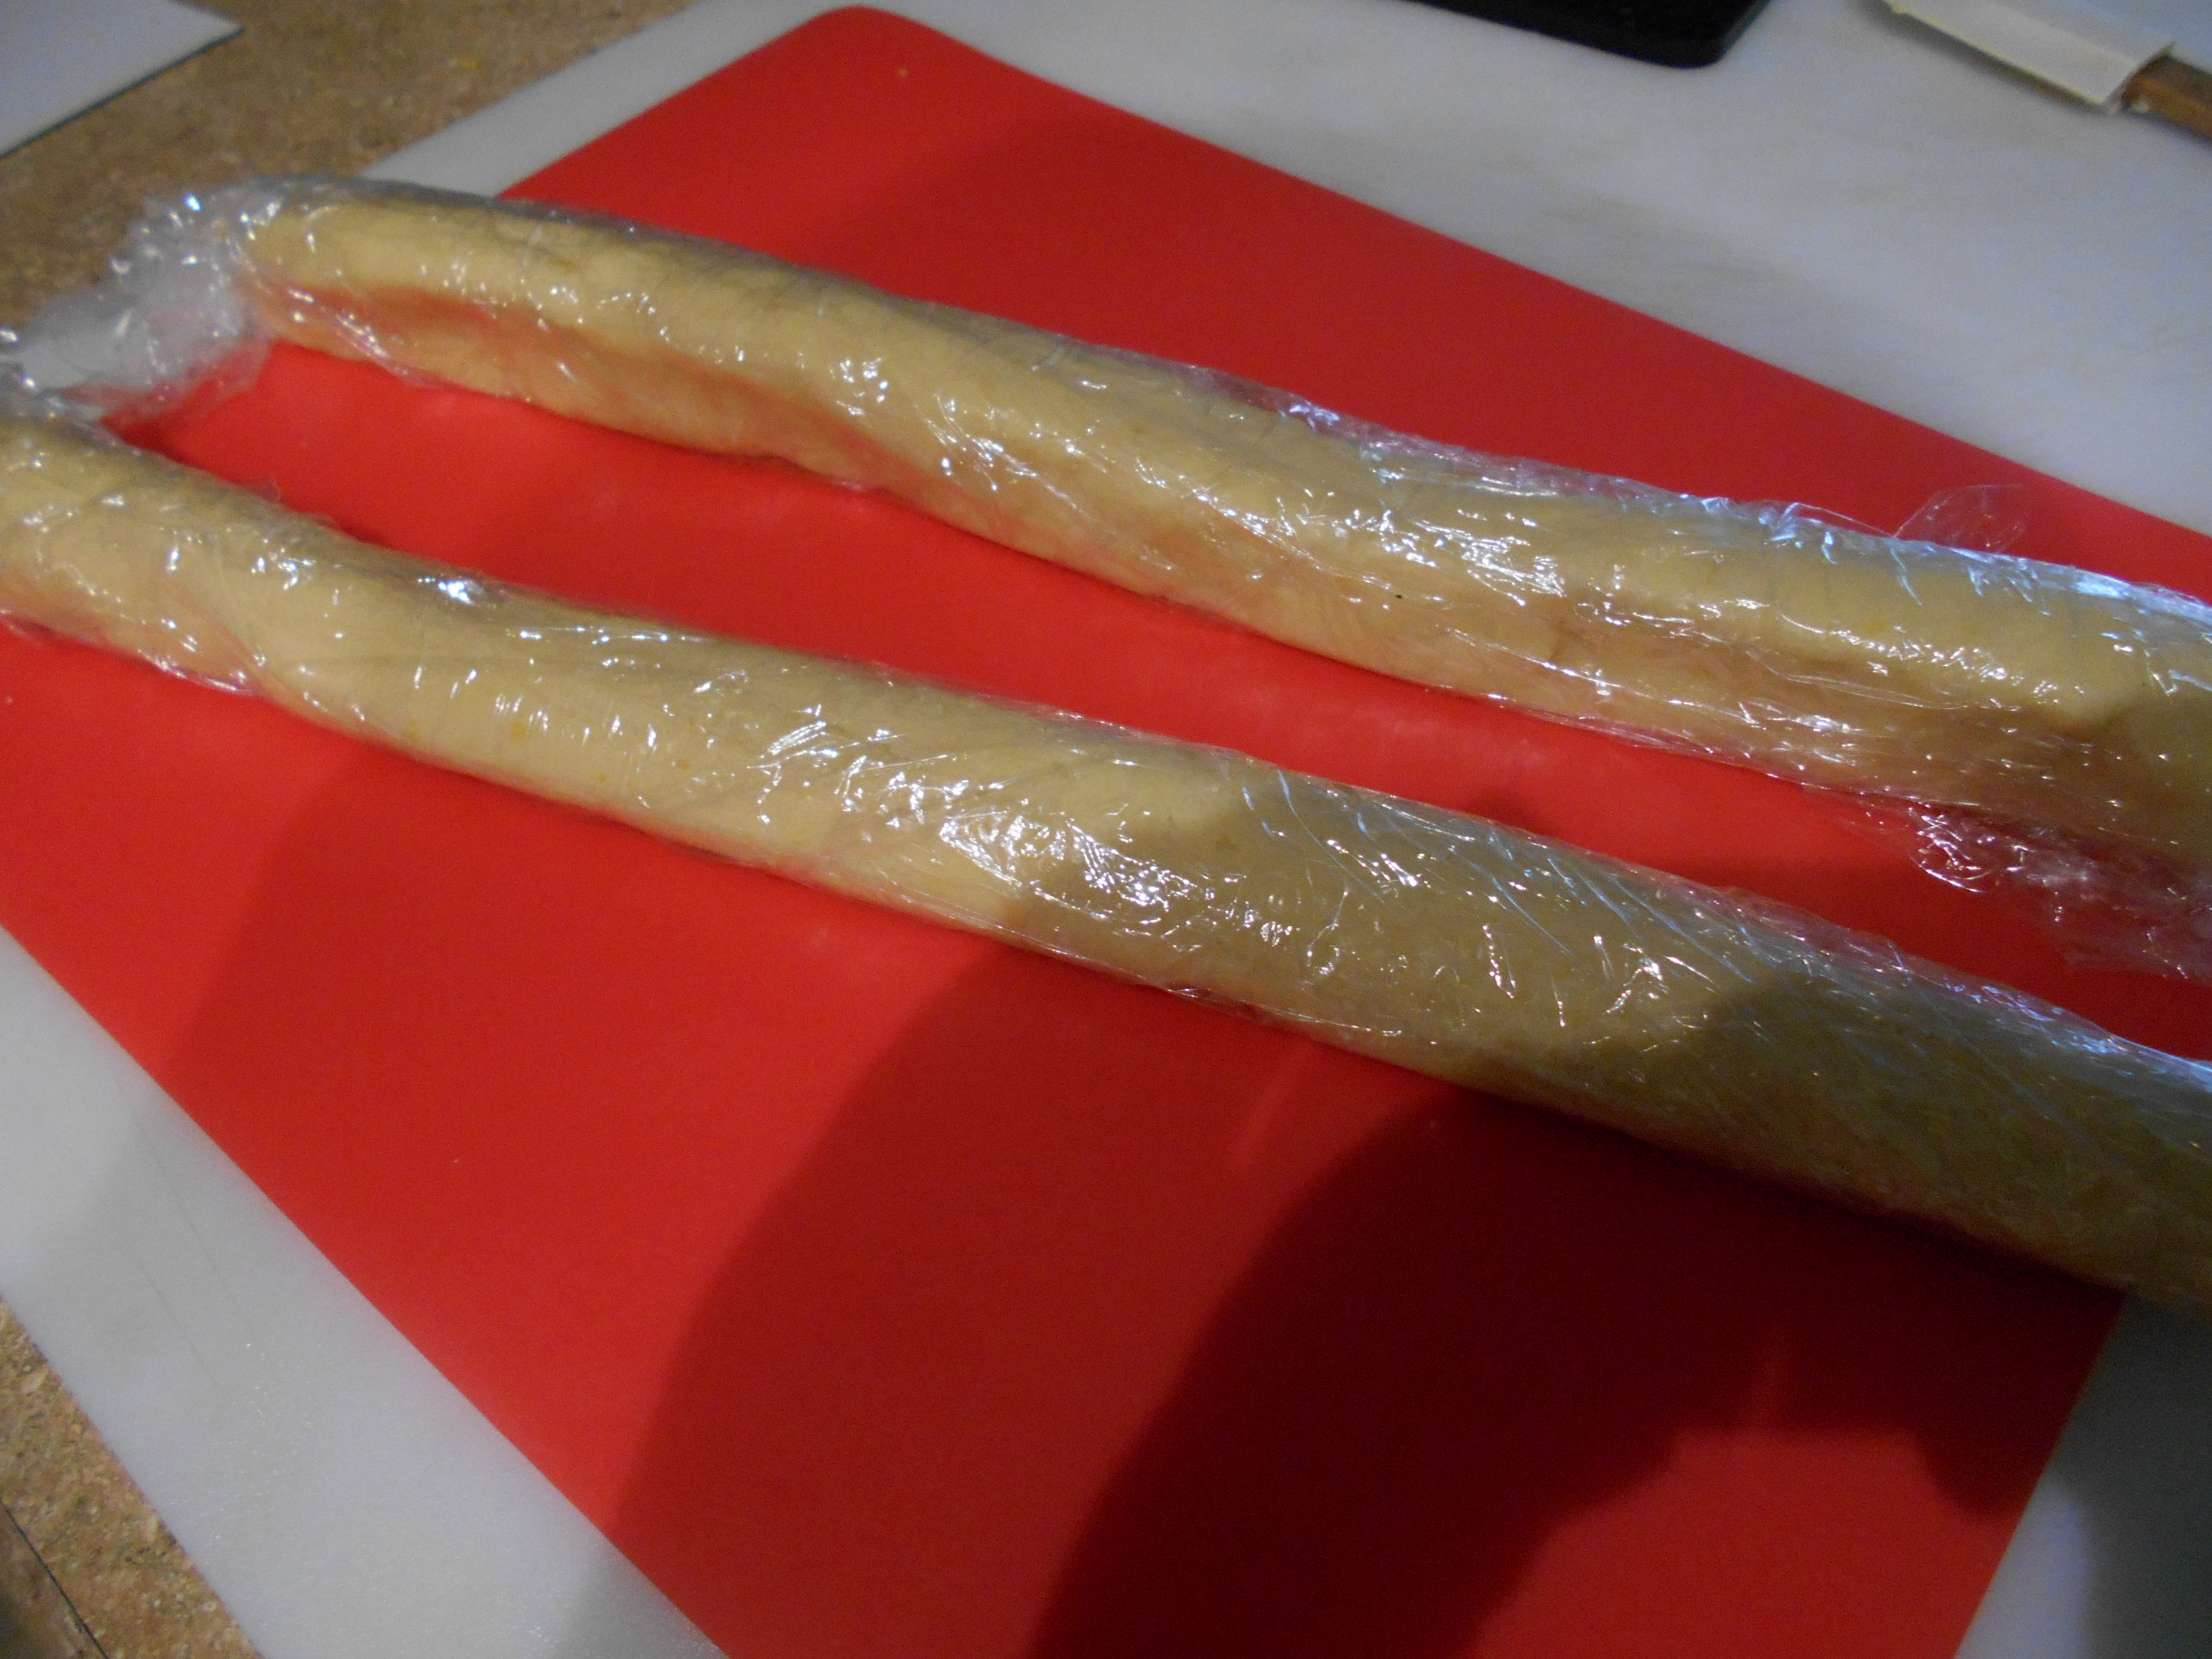
  • Divide the dough in half and form with your hands each half into a 1 ½ inch wide log.
  • Wrap in plastic wrap and freeze until firm—- 2 hours or up to 1 month.
  • 2 cookie logs

Baking Directions:

  • Pre-heat oven to 350F.
  • Place parchment paper on your baking sheet(s).
  • Spread granulated sugar on a paper towel and roll the log(s) in the sugar. If you still want more sugar on the log, use your hands to place more on the log.
  • With a sharp knife, slice the log(s) into 1/4 inch thick slices and arrange them about 1 inch apart on the baking sheets. These cookies really don’t spread so you are safe from their melding together.
  • Bake until the cookies are golden brown around the edges (about 15 minutes). They’ll be sort of white on the tops but as long as they have some brown edging, they’ll be perfect. If you are using more than one baking sheet, rotate them half way through the baking cycle.
  • Transfer the baked cookies to a wire rack or onto paper towels to cool.
  • To store, cover and keep at room temp for up to 5 days. They also freeze well.
  • Hint: want orange flavored cookies? Use orange juice and orange zest. How about lavender buds, crystallized ginger, ground almond, ground pecans? Use your imagination to alter these cookies to your very own taste and make sure to comment on what you have invented. I can’t wait to hear.

Bon Appétit: From Margot’s Table to Yours

Want some more recipes? Easy to find on Margot’s blog: http://blog.tempinnkeeper.com Want someone to help you with small time entertaining or cooking?—email me at: margot@eyeonsunvalley.com

1 cookie med. close

Nut Delight Cookies–Extra Delicious and Easy

Standard

nut delight

Nut Delight Cookies (makes 3-4 dozen cookies) Extra Delicious and Easy.

The holidays are almost upon us and before you know it, they’ll be over and gone. However, even so it’s never too late for a fast and easy cookie making. Why? Well, here are 3 reasons for the baking of this particular lacy and delicate treat.

  • They are a cinch to make
  • They will fill your home with a magnificent scent
  • They are versatile as to the ingredients and therefore I bet that you have them all in your pantry/refrigerator—so no shopping.
  • They are perfect to take for your cross country ski outing on our BCRD (Blaine County Recreation District) trails now that they and the weather are getting rather perfect.

Ingredients Needed:

  • One cup all-purpose flour
  • Half teaspoon coarse salt (regular is fine as well)
  • One cup (2 sticks) unsalted butter at room temp or if you only have the salted kind, omit the half tsp. salt
  • Three-quarters cup packed brown sugar—dark is better but if you only have light, that’s OK
  • One egg yolk
  • Two-thirds finely chopped nuts of your choice (I used almonds and I lightly toasted mine. I also used my small Cuisinart to finely chop them.)
  • Nut halves and larger pieces for last minute before baking décor.

Directions:

  • Pre-heat oven to 350.
  • Line your cookie sheets with parchment paper if you have that; if not, try to use a Teflon sheet and if you don’t have that, lightly grease your sheet.
  • Cream the butter with the sugar in a medium sized bowl. When the batter is nice and smooth mix in the egg yolk till well combined. I used my electric beaters to do all of the aforementioned and then, you will be using something like a rubber spatula or wooden spoon to add in the well chopped nuts. Stir again till well combined.
  • In a separate bowl, sift and flour and salt or put the flour and salt in a sifter and add the dry ingredients to your creamed butter concoction; mix till well combined.
  • The dough will not be really thick and that’s OK because you are going to drop medium size spoonfuls onto your lined cookie sheets— 3 horizontally and 3 inches apart because they do tend to spread and onward down on whatever size sheet that you are using. When your sheet has the spoonfuls of dough on it, place a half nut or some smaller slices of nuts into the top of each spoonful.
  • Bake for 12-15 minutes; if using two cookie sheets, rotate them half way through.
  • You want to watch carefully at the 12 minute point to see that they don’t get too brown.
  • Let them rest for a minute or so on the cookie sheet and then place the cookies on a rack to cool.
  • Store in an airtight container if need be—however, I bet they’ll all be gone before you have a chance to do that.

Need help for parties? Need a recipe? Call Margot 208-721-3551, email margot6@mindspring.com or check out her more than 200 recipe blog: http://blog.tempinnkeeper.com

Lavender (Or Not) Puffs

Standard

Lavender (or Not) Puffs

Makes 3 dozen cookies

IMG_3890
lavender

(Puff in foreground of plate pictured above)

Here’s is cookie that everyone likes.  And—it’s so very easy to make.  It also freezes well.  So what more can you want———Furthermore, you can make them without the lavender.

Ingredients:

  1. 1 ½ C. all purpose flour
  2. 1/2 C. Cornstarch
  3. 1/4 Tsp. salt
  4. 1 Tsp. culinary lavender buds
  5. 1/4 C. confectioners/powdered sugar
  6. 1 Tsp. vanilla extract (the real thing is sure better than the imitation kind)
  7. 1/4 to 1/2 C. powdered sugar for last minute dusting

Instructions:

  1. In a medium sized bowl whisk together the flour, cornstarch, salt and lavender buds.
  2. In another medium sized bowl, beat the butter and sugar until creamy and smooth (about 2 minutes).
  3. Beat in the vanilla extract and then add the flour mixture and beat until just incorporated.
  4. Cover and put in the refrigerator for an hour until batter is firm. If it seems to firm when you have removed it from the refrigerator, let it sit out for a bit.
  5. Pre-heat oven to 350 and line cookie sheets with parchment paper.
  6.  Form 1-inch balls and place on your prepared cookie sheets about 1-inch apart.
  7. Bake for about 10-14 minutes (mine took 12 minutes here in Sun Valley) until the edges just start to brown.
  8. Remove from the oven and place on wire racks that have been placed above paper towels to cool for about 3-5 minutes.
  9. Put the extra powdered sugar in a fine strainer/sieve and sprinkle the tops of the cookies with the sugar.
  10. Place in an airtight container and they will keep for a couple of weeks.  I froze mine and they taste just fine out of the freezer.  You may want to refresh the powder sugar dusting before serving if they had been frozen.

Victorian Lavender Cookies with Rose Water Icing

Standard

Victorian Lavender Cookies with Rose Water Icing

Makes 4 dozen cookies

(In the left picture, shown in the foreground and not those with the jam)

 margot 244 (2) lavender

This is another cookie that I served at the Sept. 22, 2013 Sun Valley Harvest Festival’s Grand Tasting.  It was a big hit.  The combination of the lavender and rose water is so beautiful and tasty.  I have frozen these cookies with the icing and they taste just fine; however the rose water icing doesn’t seem to have as strong a smell as when first put on but it still tastes like rose water.

Ingredients for the cookies:

  1. 1/2 C. Sweet Butter
  2. 1 C. Bakers Sugar
  3. 2 Eggs
  4. 1 Tsp. Culinary Lavender, crushed
  5. 1 ½ C. flour
  6. 2 Tsp. Baking Powder
  7. 1/4 Tsp. Salt

Directions for the cookies:

  1. Preheat oven to 375.
  2. Cream together the butter and sugar. Add the eggs and lavender.
  3. Whisk the flour, baking powder and salt together and add to the butter, etc. mixture.
  4. Drop by teaspoons onto a cookie sheet that has been lined with parchment paper.  I lined mine 3 across because they do spread out flat-about 2” or so.
  5. Bake for about 10 minutes.  Watch carefully to see that the bottoms don’t get too brown.  Mine here took about 8-9 minutes.
  6. Let cookies sit a minute on the cookie sheet and finishing cooling them on racks.

Ingredients for the Rose Water Icing: (I started with ½ of this recipe and that’s about all I used.  You may want more though.)

  1. 2 C. Powdered Sugar
  2. 5 ½ Tsp. water
  3. 6 ½ Tsp. Rose Water (can be procured at Atkinsons’-about $5)

Icing Directions:

  1. In a small bowl, mix the powdered sugar with the water and rose water.

Finishing Directions:

  1. When the cookies have cooled, drizzle over them the icing.


Lavender Shortbread Bites

Standard

lavender

Lavender Shortbread Bites

Makes about 40 square 1 inch bites

 Here’s an easy and yummy recipe to make for all the little goblins that come visiting you on Halloween or anytime for that matter.  You don’t have to put in lavender, however I did and presented this as an appetizer course at my presentation at the Sun Valley Harvest Festival’s Grand Tasting last Sept. 22nd.  I thought that the lavender gave it a nice little tasty twist but use your imagination for another like ingredient if you wish such as cinnamon, rosemary, etc.

 Ingredients:

  1. 1 ¼ C all-purpose flour
  2. 3 Tblsp. sugar
  3. 1/2 C. butter at room temp is best (1 cube and I used salt-free)
  4. 2 Tsp. dried lavender
  5. 2-3 Tsp. Lemon zest (or grated lemon rind-finely or not is up to you.)
  6. Sifted powder sugar for final dusting when bites are done

Directions:

  1. Preheat oven to 325.
  2. In a medium bowl, whisk the flour, sugar, lavender and lemon till blended.
  3. Using a pasty cutter or two knives, cut the butter into the dry, lemon, lavender ingredients till the mixture resembles fine crumbs and starts to cling.
  4. Form mixture with your hands into a ball and knead till smooth (this won’t take long).
  5. Roll or pat dough on a cookie sheet that has been lined with parchment paper.  I patted the dough on the cookie sheet sized parchment paper on my counter top and placed some saran rap (or another piece of parchment paper would do) on top. I then rolled the dough to my desired thickness.  The recommended rolled size could be anywhere from 8 X 5 inches to 12 X 10 inches.  I do the 12 X 10 inches but if you want thicker cookies, your roll size should be smaller.  When you have finished rolling the dough, place the bottom parchment paper with the dough on your cookie sheet. Discard the top saran rap sheet. Then cut/score through the dough into the size cookies you wish.  I made 1” bites.
  6. Place the cookie sheet in the oven and bake for about 18-20 minutes or till lightly browned on top.
  7. Remove from oven, let sit for just a bit and then break the bites apart gently and transfer them to a wire rack to cool.  If you place some paper towels or something similar under the wire rack, it’ll be a breeze to dust them with the powder sugar if you wish to do that.
  8. Store the bites in a tightly covered container for up to 3 days or in the freezer for up to 3 months (thaw before serving).
  9. Try hard not to eat them all at once.

Cupcakes, Nice and Easy

Standard

cupcakes 2cupcakes

Cupcakes-Coconut, Almond,  Chocolate, Lemon-The Easy Way

Makes 18-24 cupcakes

This is a super simple recipe that results in very light and rich tasting cupcakes.  They way you want them to taste is up to you—————-

Ingredients:

  1. 4 eggs
  2. 2/3 C. white sugar
  3. Dash of almond or vanilla extract or lemon zest  (optional)
  4. 1 ¼ C. all-purpose flour
  5. 1 Tsp. baking powder
  6. 3/4 C. total of the following 3 condiments—combination and amount to equal 3/4 C. wished for chosen by you (ie, it could be solely 3/4 C. coconut; or 1/4 C. coconut and 1/2 C. almonds; so-on-for the light flavor, don’t over dose):
    1. Shredded coconut
    2. Chopped or slivered almonds
    3. Chocolate chips
  7. 8 Tblsp. unsalted butter, melted

Directions:

  1. Combine the 4 eggs, sugar and optional extracts and beat for about 5 minutes until mixture is very thick, pale and forms a ribbon.
  2. Sift the flour with the baking powder .
  3. In the egg mixture, fold in some of the flour mixture and then some of your condiment selection and continue doing that till all folded in.  Lastly, fold in the melted butter.  Fold in well till you can’t see the butter any longer.
  4. Put the dough in the refrigerator for 25 minutes.  By that time, the mixture should be quite thick.
  5. When you’ve put the dough in the refrigerator, pre-heat the oven to 450. As well, spray your muffin pans or line them with paper cupcake liners.  I really like the latter.
  6. After 25 minutes take your mixture out of the refrigerator and scoop the dough out to fill the muffin pans/or liners till each is filled about 3/4 of the way full.
  7. Place on the middle rack in the 450 degree oven and bake for 5 minutes.  Turn the heat down to 400 and bake for 5-7 minutes longer or until the tops are golden brown and a toothpick will come out clear.
  8. Let cool at least 10 minutes before serving.
  9. Try not to eat them all at one sitting.

For easy access and printing of this and past recipes, visit Margot’s blog http://blog.tempinnkeeper.com  Call Margot for personal cooking help or hosting

 @ 721-3551.

Margot is a self-taught enthusiastic & passionate cook. Having been an inn-keeper for 5 years at her own inn, she accumulated a lot of good recipes which she loves to share.


A Breeze to Make Oreo Truffle Eggs Especially for Easter

Standard

A Breeze to Make Oreo Truffle Eggs Especially for Easter

Makes around 40-45egg truffles for Aubrey

You may have run into this yummy truffle recipe however it escaped my attention until I was introduced to it at a party just recently.  It was so delicious that my iron will in regards to sweet temptations broke down and I indulged in several. But, I wondered what made them so good because when I asked the gal who had brought them, she said that they were deceivingly easy to make and even kids with parental help could make them. So lo and behold, I found the recipe on the net and true enough, they are a breeze to make. You all know how I love to share good things so here is this breeze to make recipe.  I thought that one could actually form the shapes to look more like chocolate Easter eggs— give that a try—and enjoy.

Ingredients:

  1. One 16. Oz. package of OREO Chocolate Sandwich Cookies, divided
  2. One 8 oz. package of Philadelphia Cream Cheese, softened or one 8 oz. carton of softened Cream Cheese.
  3. Two 8 oz. packages Bakers Semi-Sweet Chocolate, melted. Kraft suggests placing the unwrapped chocolate in a microwaveable bowl and to microwave on high 2 ½ minutes or until chocolate is completely melted, stirring every 30 seconds.  For myself, I place the opened chocolate in a microwave bowl, put about 2 ¼  Tsp. of unsalted butter on top and micro on medium for about 2 minutes, then stir and continue microwaving on medium for 30 to 60 seconds more stirring intermittently until chocolate and butter are all melted. Sometimes I omit the butter.  If you are into professional looking exteriors, you probably should temper the chocolate which takes a bit of patience and time.  For tempering instructions, look that up on the net or a good cookbook.

Instructions:

  1. Crush 9 of the cookies to fine crumbs in food processor(about 1/4 C.); reserve this for later use.   You can also crush the cookies in a plastic bag using a rolling pin.
  2. Crush the remaining 36 cookies to fine crumbs and place in a medium bowl.
  3. Add cream cheese and mix until well blended. I used my hands.
  4. Roll cookie mixture in 40 balls or if for Easter, into egg shapes. They should be about one inch in diameter to give you a general idea of the appropriate size.
  5. Dip balls/eggs in the melted chocolate; place on a wax or parchment papered baking sheet.
  6. To easily coat the truffles with the melted chocolate, add truffles, in batches, to bowl of melted chocolate.  Use 2 forks to roll the truffles in the chocolate until evenly coated.  Remove the truffles with the forks letting any excess chocolate drip back in the bowl.  Place truffles on your papered prepared baking sheet.   If you have any left-over chocolate, store that in the frig. for some other later use.
  7. Sprinkle the balls with the reserved crumbs if you wish.
  8. Refrigerate until firm, about 1 hour.
  9. I have frozen these and they turn out just fine.  In fact, I eat them straight out of the freezer and they are delicious. I also have put some crushed lavender culinary buds in the cream cheese and that has turned out well.

I dare you not to eat them all immediately.  However, if you are that strong of will and constitution, store in a tightly covered contained in the frig. for a later serving.  Don’t plan on any left-over’s.

Seven Layer Magic Cookie Bars

Standard

7 layer magic bar (2) 7 layer magic bar 

Seven Layer Magic Cookie Bars

Makes 24 to 36 bars

This is a wicked recipe so it’s perfect for your most precious Halloween goblins and yourself as well. Don’t bother counting the calories here; just enjoy these bars in small tasty, luscious, lingering bites.  But remember, it’s also good for Christmas gifts and for Valentines.  Enjoy no matter when————–

Ingredients:

1/2 cup (1 stick) butter

1 1/2 C. graham cracker crumbs

1 (14 oz.) can Eagle Brand Sweetened Condensed Milk (NOT EVAPORATED MILK!)

1 C. (6 oz) Butterscotch Chips

1 C  (6 oz.) Semi-Sweet Chocolate Chips

1 1/3 C. Sweetened Coconut Flakes

1 C. chopped nuts (walnuts are always good but sometimes I use almonds)

Directions:

  1. Preheat oven to 325 for a 13 X 9 inch glass dish and 350 for a 13 X 9 inch metal pan.
  2. Use either a 13 X 9 inch glass or a metal baking pan. Line the pan with parchment paper and if the pan sides are not totally covered with the paper, pan spray them.
  3. Melt the cube of butter (micro is about 1 minute) and pour it evenly over the bottom of your lined pan.
  4. Top the butter evenly with the graham crumbs.
  5. With the remaining ingredients in the order listed above, top the graham cracker layer and when finished, press down firmly with a potato masher or fork.
  6. Bake for 25 minutes in either the 325 or 350 oven till the top is lightly brown.  That is always a bit hard to tell but usually 25 minutes is perfect.
  7. Cool in the dish on your counter top.  When cooled, score the top to mark out the size bars you wish.
  8. Then refrigerate before cutting totally for easier release.
  9. Store tightly covered or in a tin at room temperature.

For easy access and printing of this and past recipes, visit Margot’s blog http://blog.tempinnkeeper.com  Call Margot for personal cooking help @ 721-3551.

Margot is a self-taught enthusiastic & passionate cook. Having been an inn-keeper for 5 years at her own inn, she accumulated a lot of good recipes which she loves to share.

Lavender Shortbread Cookies

Standard

lavenderLavender Shortbread Cookies

(Makes 24 cookies)

Yes, soothing lavender!!  Having lived in Paso Robles for a bit, I really enjoyed growing lavender in my yard.  Lavender and rosemary love the Paso climates and soils.  They are to be found in abundance everywhere in that location.  As you can imagine, the smells were divine.  Now in Paso, they even feature during the summer, a Lavender faire where you can taste some lavender ice cream among other goodies.  So, thinking about a little desert item for our Pavilion picnickers here’s a little unusual recipe I thought you’d all enjoy. Don’t overdo the amount of lavender because all you want is a little hint of taste; too much will cause an overpowering bitter taste.  So, if you feel like only adding 1 Tblsp. fresh or 1 Tsp. dried, that will probably be just fine.

Ingredients:

1 ½ C. softened regular butter

2/3 C. white sugar

¼ C. sifted confectioners’ sugar

2 Tblsp. or less of finely chopped fresh lavender or 1 Tblsp. or less of dried culinary lavender ground with a pestle in a mortar

1 Tblsp. chopped fresh mint leaves

1 tsp. grated lemon zest

2 ½ C. all-purpose flour

1/2 C. cornstarch

1/4 Tsp. salt

Directions:

1 .In a medium bowl, cream together the butter, white sugar and confectioners’ sugar until light and fluffy.  Mix in the lavender, mint, and lemon zest.  Combine the flour, cornstarch and salt; mix into the batter until well blended.  Divide dough into two balls, wrap in plastic wrap and flatten to about 1 inch thick.  Refrigerate until firm, about 1 hour.

2. Preheat the oven to 325 degrees.  On a lightly floured surface, roll the dough out to ¼ inch thickness.  Cut into whatever shapes please you. Place on cookie sheets lined with parchment paper.

3. Bake for 18 to 20 minutes in the preheated oven, just until cookies begin to brown at the edges.  Cool for a few minutes on the baking sheets then transfer to wire racks to cool completely.

For easy access and printing of this and past recipes, visit Margot’s blog http://blog.tempinnkeeper.com  Call Margot for personal cooking help @ 721-3551.

Margot is a self-taught enthusiastic & passionate cook. Having been an inn-keeper for 5 years at her own inn, she accumulated a lot of good recipes which she loves to share.

Yogurt Biscuits & Apple Butter

Standard

vinaigrette & Palm Soup pics 005Yogurt Biscuits & Apple Butter

Day Light Saving time was first conceived in an essay called “An Economical Project” by Benjamin Franklin while he was in Paris in 1784.  As well, while abroad, he supposedly consistently asked his wife Deborah to ship him barrels of apples because he believed that “An Apple a Day Keeps the Doctor Away”. Therefore, just in the nick of time after Day Light Saving Time has arrived, here are two recipes that besides being delicious, take no time what-so-ever to make; so these tasks will SAVE you time and you will be able to enjoy some home made delights at your leisure even during the evening’s brighter hours.

Yogurt Biscuits

Makes about 20 really good ones

2 Cups all purpose flour

1 Scant Tblsp. Salt

3 Tsp. Baking Powder

1 Tsp. Baking Soda

2-5 Tblsp. Butter (more are better and I use the 5)

1 Cup Plain Yogurt

1. Preheat Oven to 450.

2. Mix the dry ingredients in a bowl and cut in the butter. (I use 2 knives to cut the butter, as taught in my 8th grade home-economic class and then I use my hands because the butter really needs to be thoroughly blended; or do it the easy modern way– in a food processor)

3. Stir in the yogurt till well blended.

4. Drop tablespoons of dough (and I use my hands to form a nice little flat ball) on a parchment lined cookie sheet.

5. Bake for 12 to 15 minutes or till golden brown on the tops.

They are best devoured within 15 minutes, however, I think that they are still good later in the day and they seem to freeze just fine.  I warm them up at room temp.

(My inspiration for these comes from Mark Bittman.)

Apple Butter

Makes about 2 cups

1/2 Cup Water or Apple Juice

1 Tsp. Cinnamon

3/4 Cup Sugar

1 Half-Inch Slice of Lemon

1/4 Tsp. Allspice

1/2 Tsp. nutmeg

1/4 Tsp. Cloves

1/8 Tsp. Salt

1 lb. Well-Flavored Green Cooking Apples, Peeled, Cored, and Cut Into 1/8’s

(The stores are full of them at the moment.)

1. Into a blender/processor put all of the ingredients. Cover and blend on high for 15 seconds.

2. Pour into a saucepan and cook over very low heat for 45 minutes, stirring occasionally, until the butter thickens. .

3. Pour into appropriate containers and keep in the refrigerator or into hot jars and seal.

Margot is a self-taught enthusiastic & passionate cook. Having been an inn-keeper for 5 years at her own inn, she accumulated a lot of good recipes which she loves to share. For comments, questions, and ideas please feel free to email her:margot6@mindspring.com.