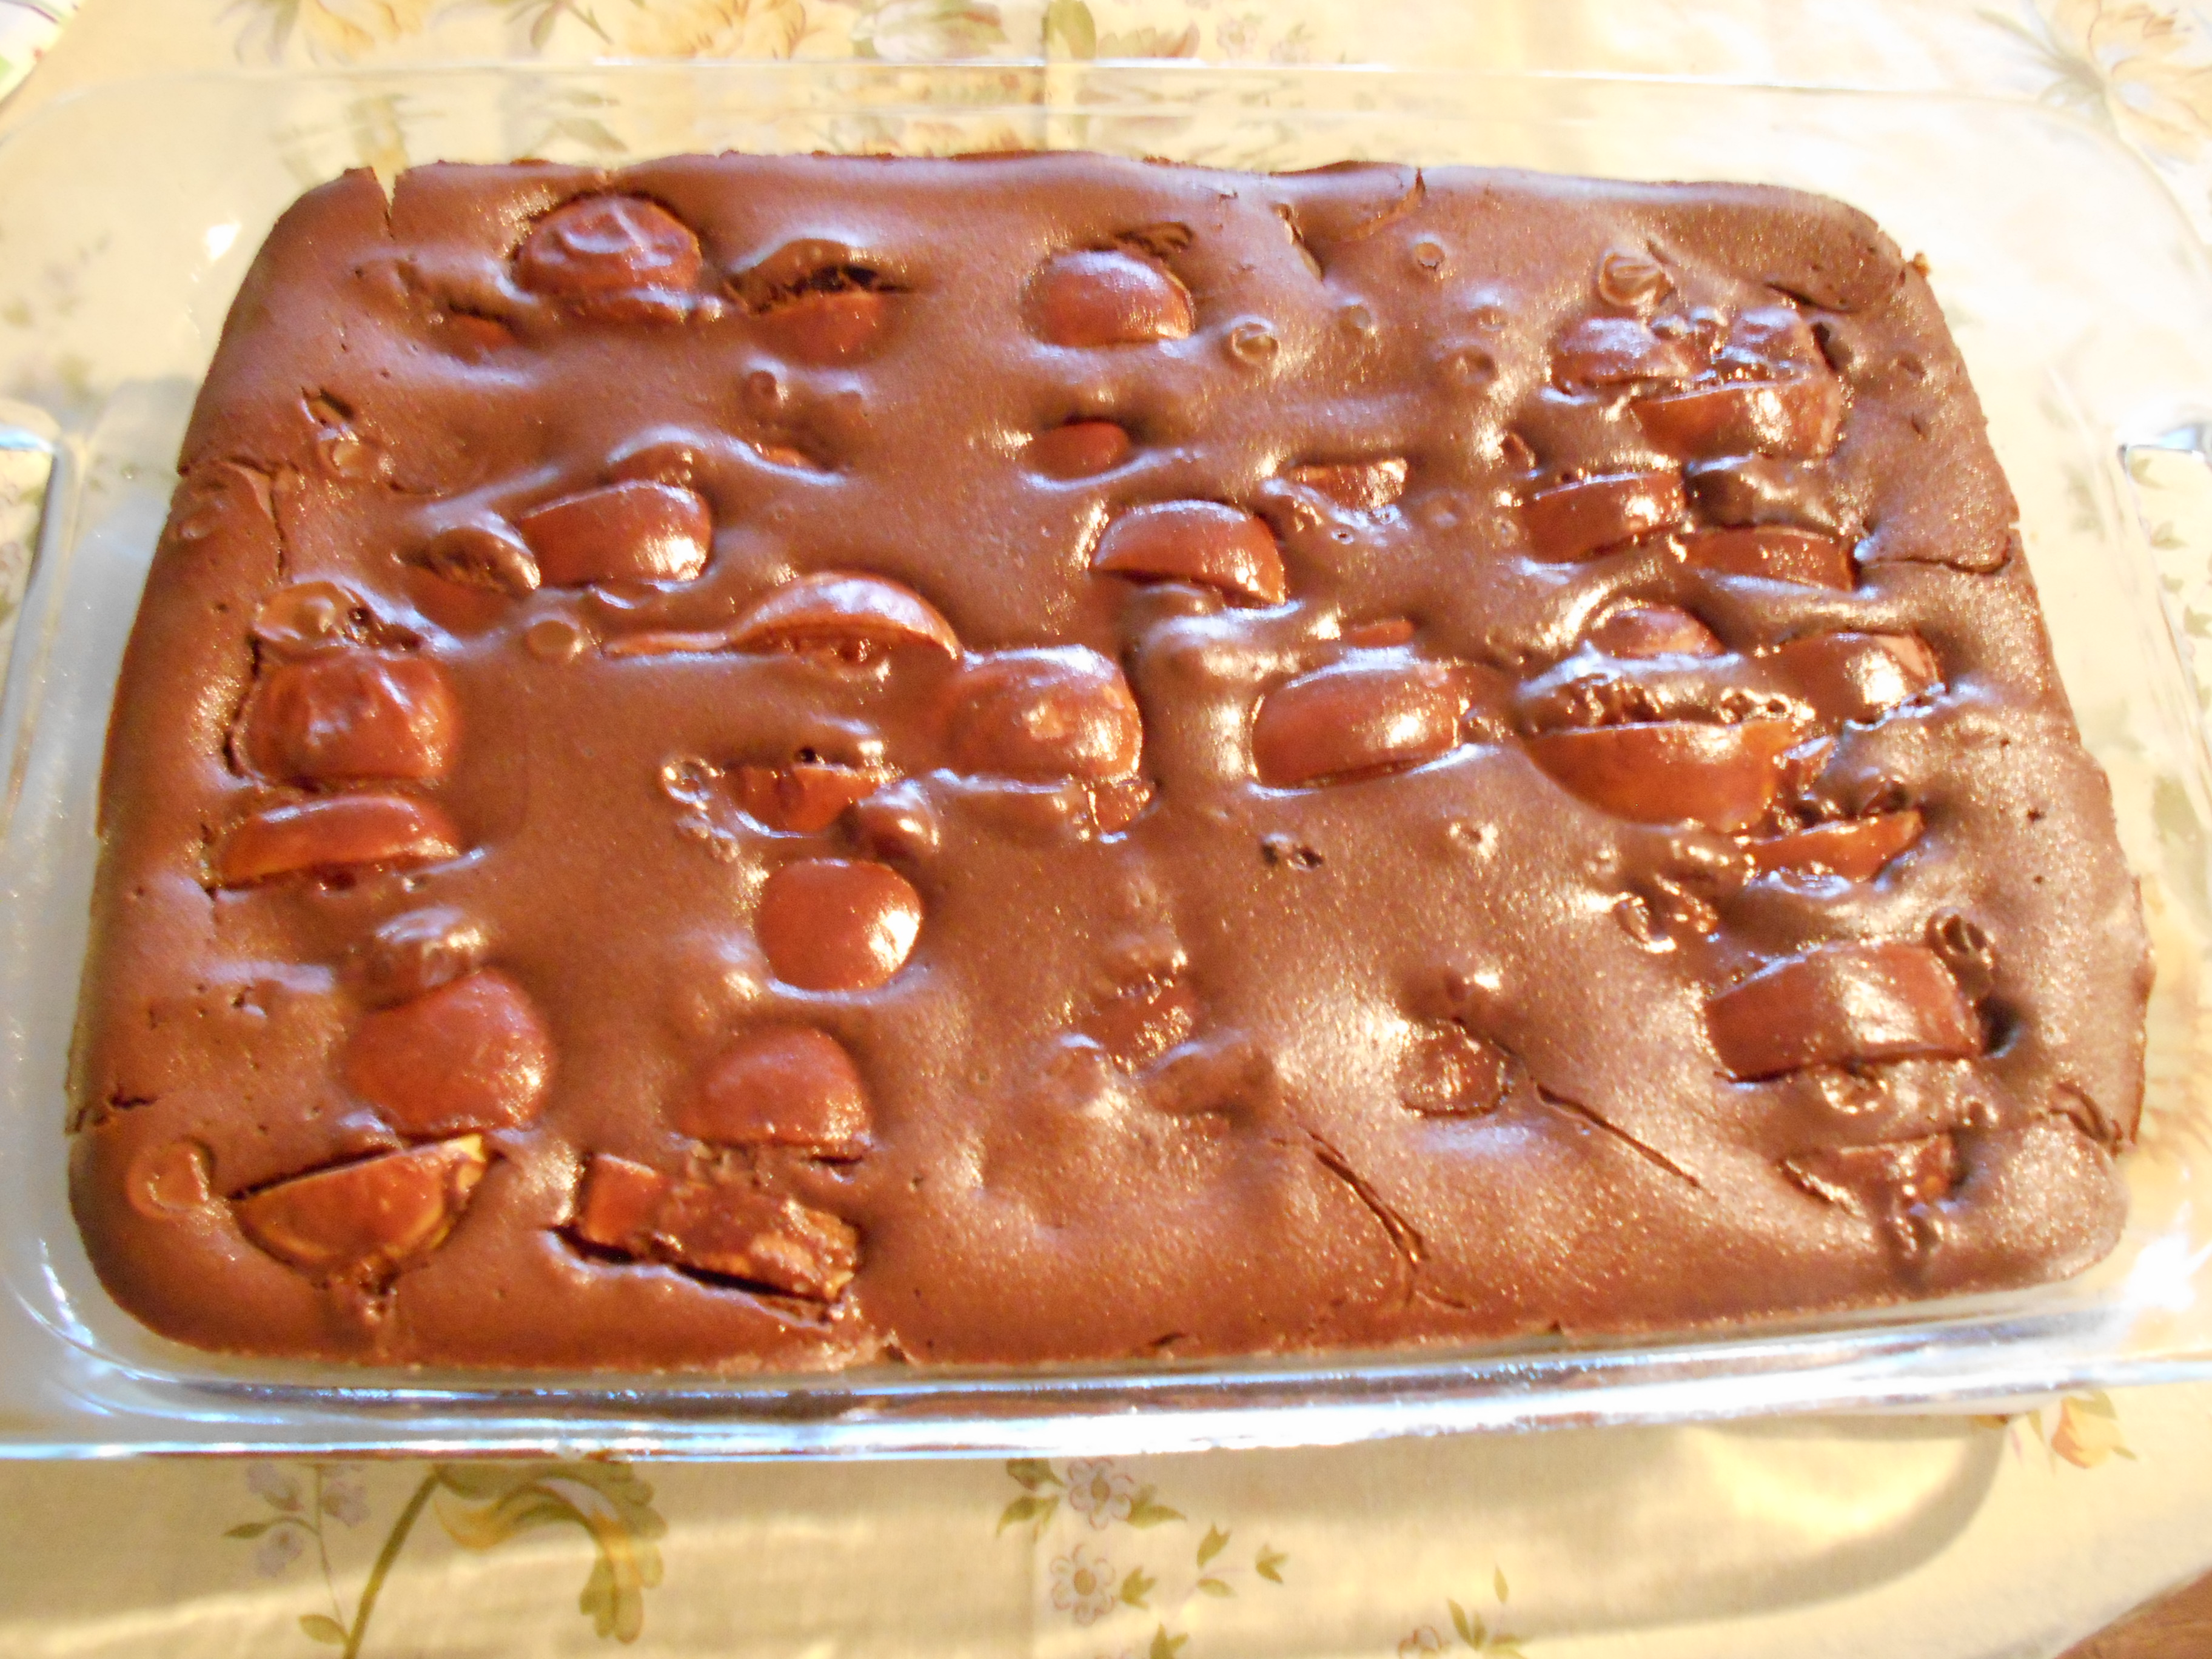
Cranberry and Apple Cake 6-8 servings

This is an easy and fairly healthy dish to make when the holidays are here. Actually, it’s good for anytime of the year. You can vary it as to how you think that you want to enjoy it. I personally like less cake so I cut the cake ingredients in half (shown in my picture). There are other options as well. It’s all up to you. I like versatile recipes like that. So, bon appétit and Happy Thanksgiving to one and all.
Step # 1Ingredients for the filling:
- 12 ounces fresh cranberries, rinsed and picked over for stems if necessary
- 1 Granny Smith or other good kind of cooking apple you like, cored and diced (I diced mine in the food processor).
- 4 ounces Sun Dried Cherries (optional)
- 1 tablespoon of grated orange rind/zest (about 1/2 of 1 large orange)
- 1/4 cup freshly squeezed orange juice from that 1 large orange you just used
- Orange segments from that 1 orange after you’ve juiced it. I put the segments in with the apple and diced it all together.
- 1/2 cup brown sugar
- 1 teaspoon ground cinnamon or some other similar spice that you enjoy
- Some ground black pepper if you wish or even some pepper corns
Step #2 Ingredients for the cake (for more cake like, use the amounts I have listed; if you wish more of a topping like effect, as in my picture, use half of the amounts of these ingredients which also means less calories. )
- 2 eggs at room temperature
- 1/4 cup (1 stick) unsalted butter, melted and slightly cooled
- 1 teaspoon vanilla or any other extract you like or even brandy (I used brandy)
- 1/4 cup sour cream
- 1 cup flour
- 1/4 teaspoon kosher salt
Step # 3 Topping ingredients for the end result:
- Some Turbinado Sugar to lightly sprinkle over all before placing in the oven
- Some more cinnamon, whatever also to sprinkle over all before placing in oven
Directions:
- Pre-heat oven to 325F
- Slightly oil or butter a 10-inch glass pie plate.
- Step #1: Mix all of the ingredients together in a medium bowl. Let sit while you do Step #2.
- Step #2: In another bowl, on medium-high, beat with an electric beater the eggs for 2 minutes. Then, on medium, add the remainder of the ingredients except for the flour and beat until just combined. On low speed, slowly add the flour and salt till well combined.
- Step #3: Pour the cranberry mixture into the pie dish. Spread the batter with a spatula over the fruit covering it as completely as you wish. Top with ingredients listed in Step #3.
- Bake in oven for about 55-65 minutes or until a toothpick inserted in the middle comes out clean and the fruit is bubbling around the edges.
- Serve warm or at room temperature. Cool Whip, whipped cream or ice cream makes for a nice accompaniment.