Mélange of Oven Baked Vegetable with Fresh Basil
Serves 4-6 as a main dish or 8 as a side dish
This is a dish that is not only gloriously healthy but visibly gorgeous as well
For the baking, using this recipe as is, I use a 17 X 14 high sided octagonal aluminum turkey pan
Keep scrolling down for more additional recipes to be made from this main recipe
Fast, before it’s too late; the fresh veggies are at their prime now. Farmers market or commercial markets, this is when you find them at their very best. This dish is a bit time consuming but honestly, it’s worth the effort. And best of all, it’s a glorious looking dish and it’s great for left-over’s. Actually, it becomes tastier after having congealed a day or two. If this dish doesn’t deplete fast enough for your desire, next week I will be offering two additional really tasty recipes that you can make from the left-over’s.
Ingredients:
- 10 garlic cloves
- 2 large onions thinly sliced or 4 smaller ones
- Zucchini-2 lbs.-I cut them long ways in quarters and then sliced them
- 2 large eggplant, about 2 lbs. total, sliced ½-inch thick and salted (you can leave the skin on and if you have time salt them liberally, put them in a colander and let them drain their liquid for 1/2 hour up to a couple of hours. Then pat them dry.)
- A total of 4 assortment of red, yellow and orange bell peppers, stemmed, peeled if desired,( I didn’t peel them) seeded and sliced into 3-4 pieces each
- 4 or more if you think needed ripe red tomatoes—if you wish they can be cored, skins and seeds removed and cut into thick slices however I didn’t do that.
- 20 fresh basil leaves torn in half (or you can use 1 Tsp. fresh thyme, rosemary or savory leaves but I really like the basil).
- 1 C. flat leaf parsley-chopped fine
- 1 ½ Tsp. salt and some ground pepper to taste
- 1/2 C. to 1 C. of olive oil
- Extra fresh herbs and grated Parmesan for garnish
Directions:
- Preheat oven to 350.
- Peel garlic and cut in half. (Hints for easy pealing: Drop in boiling water; leave it there for 30 seconds, remove and peel. Or toast in dry skillet over medium heat, shaking frequently for 3-4 minutes.)
- In a casserole, make two layers of the following and it’s best to use the order listed below:
- Onion
- Eggplant
- Peppers
- Tomatoes
- Zucchini
- Parsley
- Basil or herbs
- Salt
- Pepper
- Garlic cloves
- Drizzle the Mélange with olive oil and place in the oven.
- Bake in a large pan that has high edges for about an hour, pressing down on the vegetables occasionally, until they are all completely tender.
- Garnish and serve hot or at room temp.
For easy access and printing of this and past recipes, visit Margot’s blog http://blog.tempinnkeeper.com Call Margot for personal cooking help or hosting @ 721-3551
Margot is a self-taught enthusiastic & passionate cook. Having been an inn-keeper for 5 years at her own inn, she accumulated a lot of good recipes which she loves to shar
Mélange of Oven Baked Vegetable with Fresh Basil Additional Left-Over’s Recipes
So, here it is just as I had promised. Enjoy!!!!

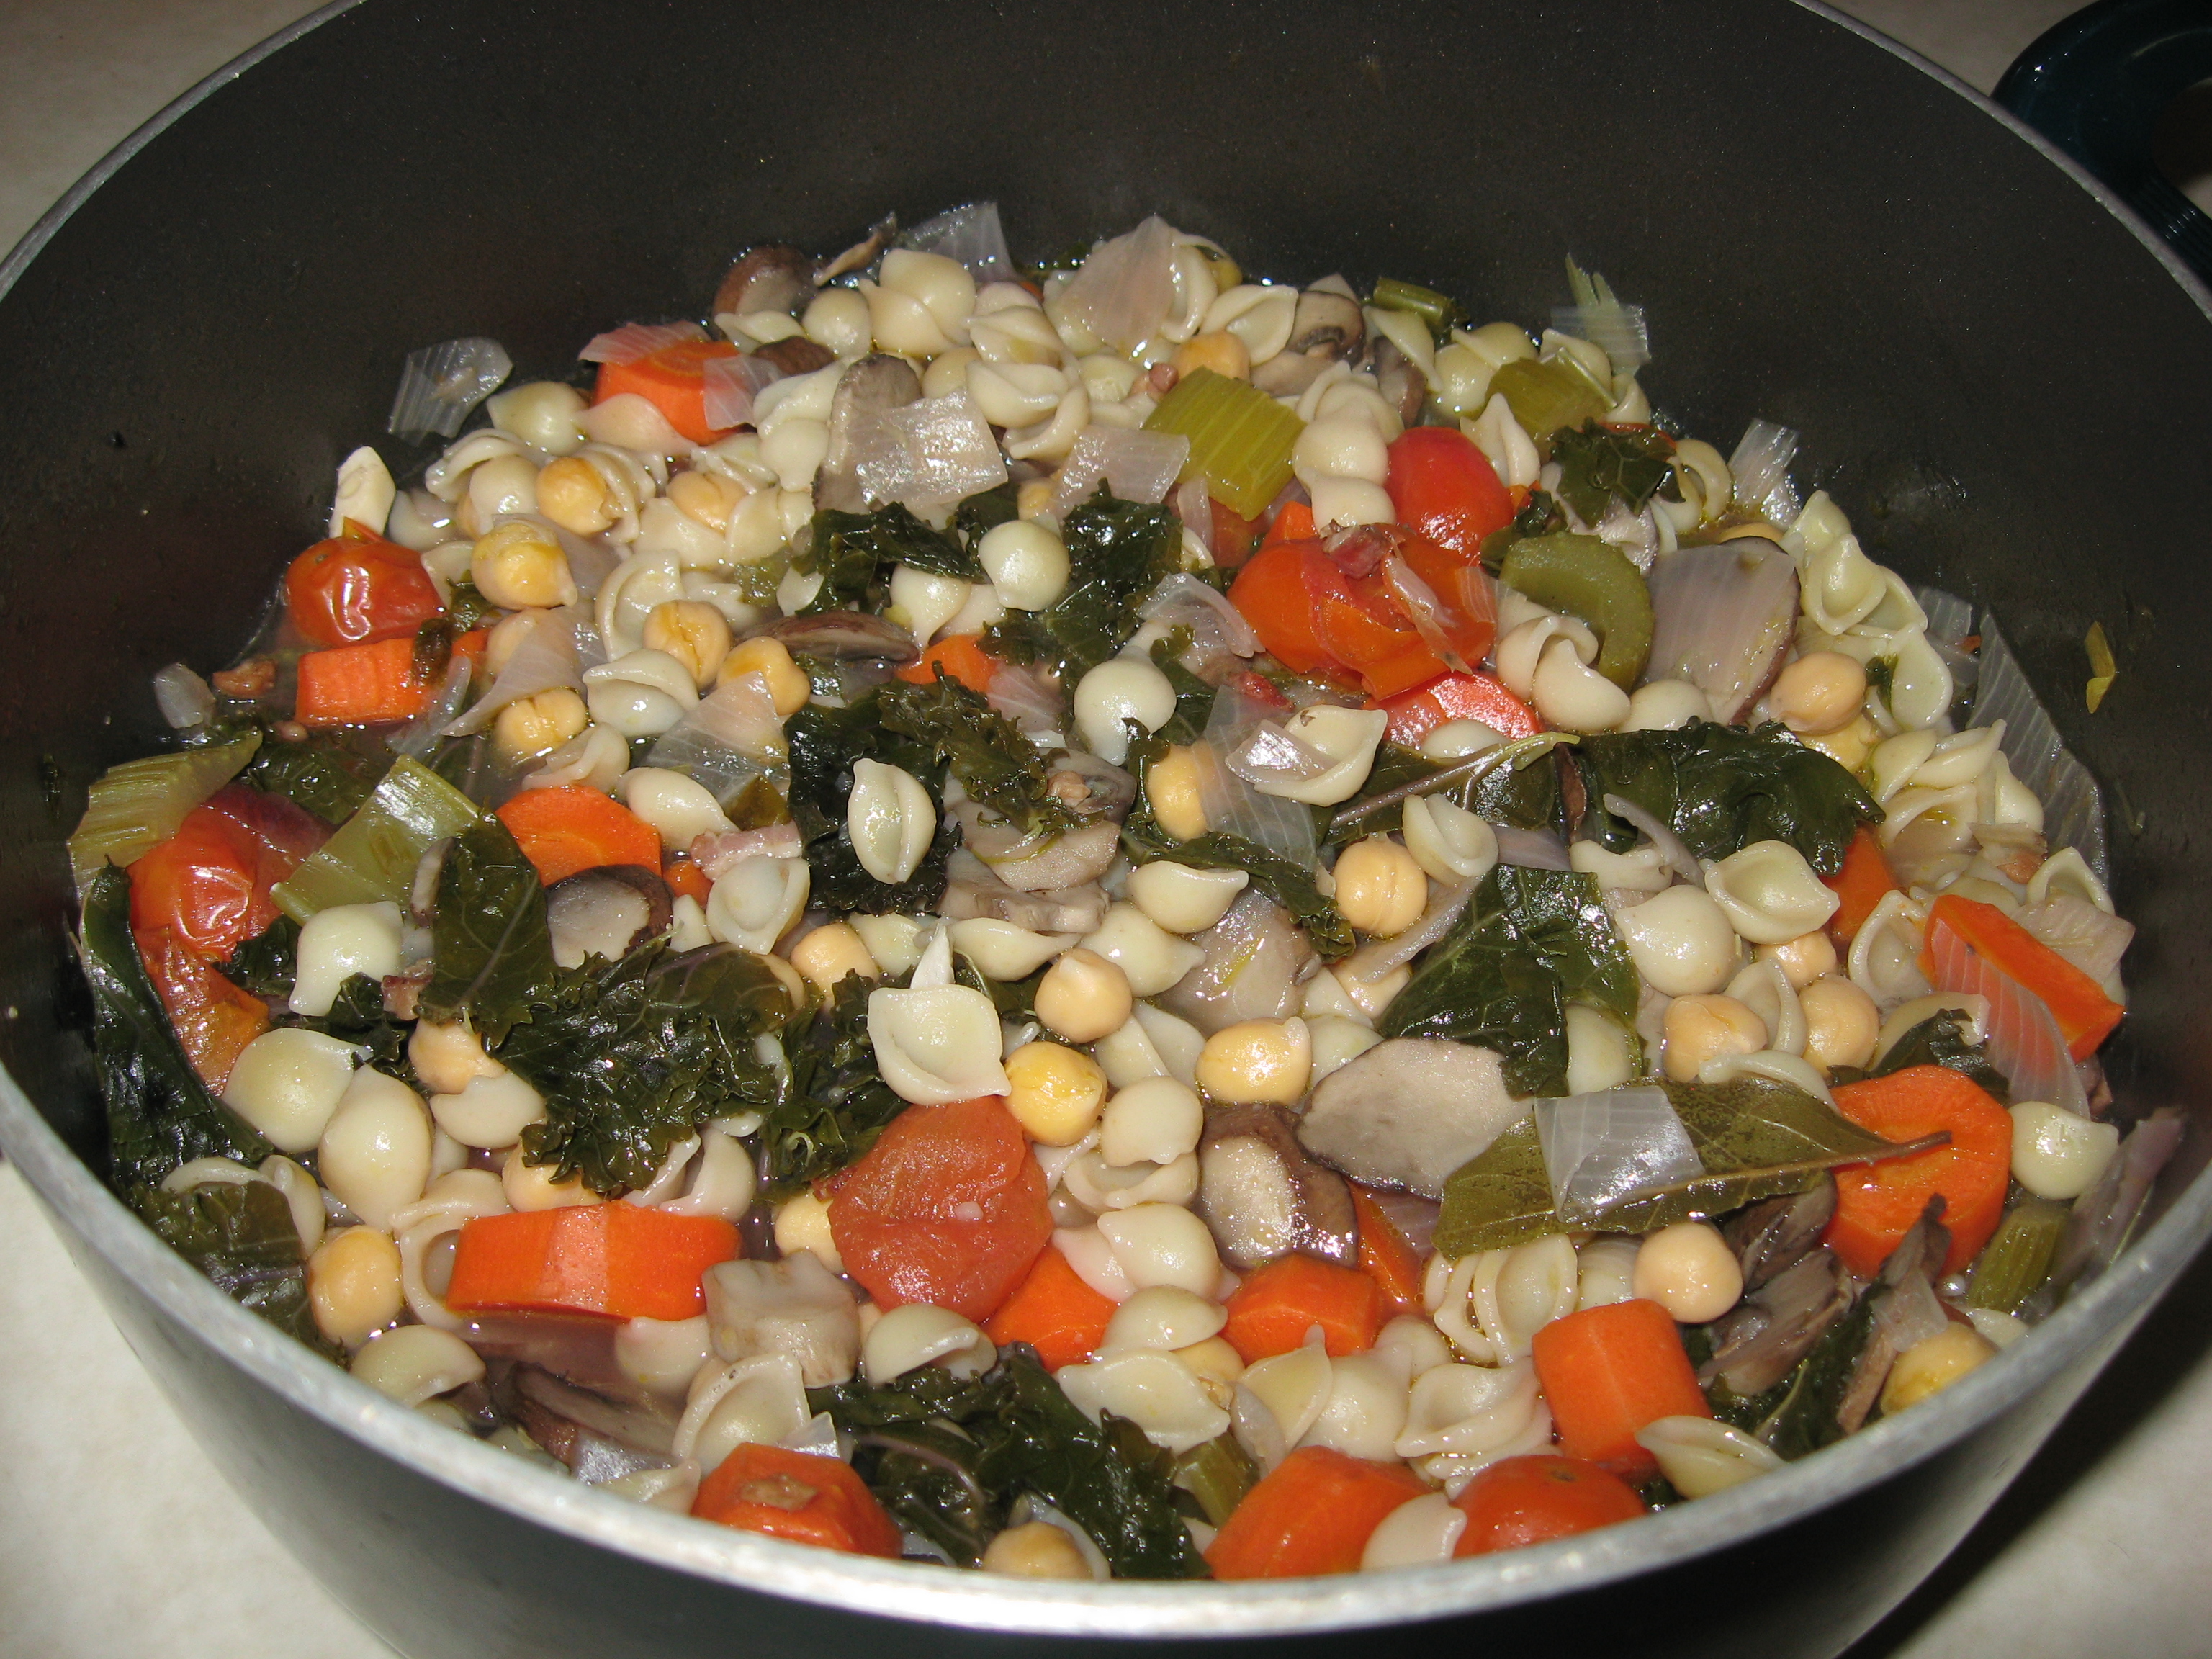
Veggie Potage
- In a large saucepan, heat about enough chicken or if you prefer, a vegetable stock to combine with the amount of leftover veggies you have.
- Puree your veggies along with the stock with a processor or immersion blender.
- If the mixture is too thick, thin it down a bit with more stock until it’s the consistency that you wish. If it’s too thin, add some crushed croutons. You can also add some canned well rinsed white beans.
- Serve topped with Parmesan and more croutons or a float of sherry.
- Healthy, easy and perfect on a cold day.
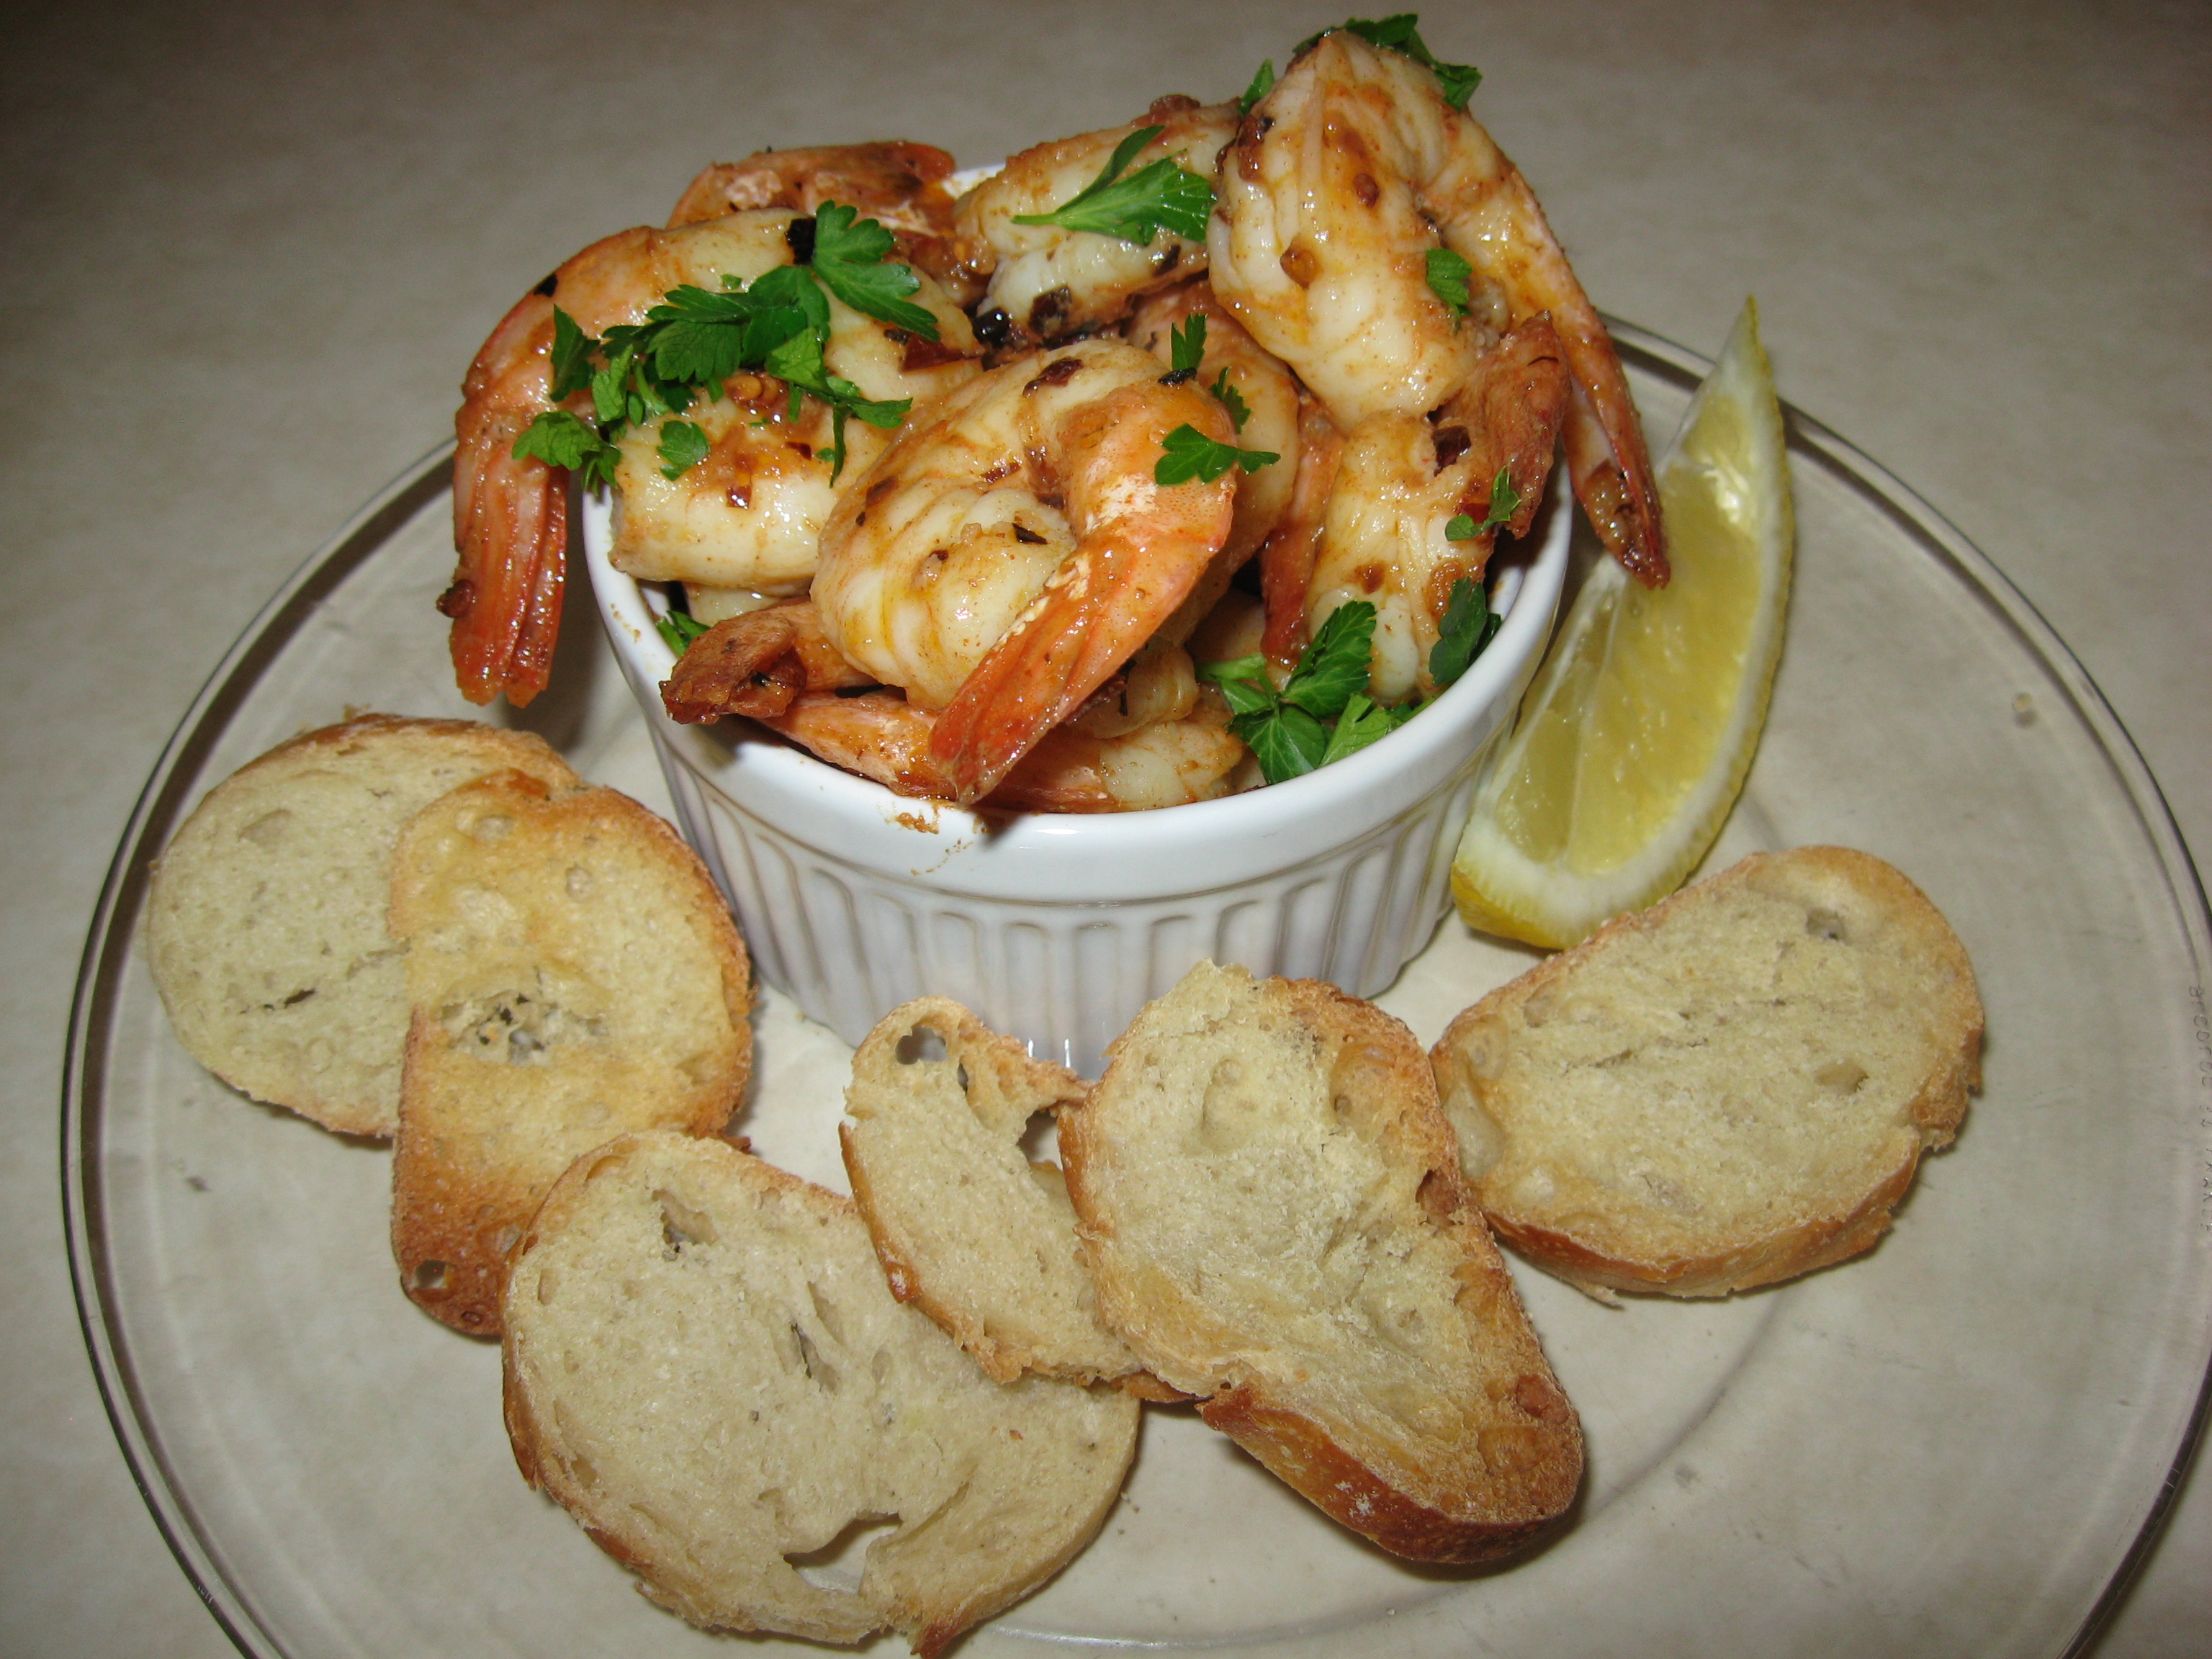
Melange of Veggies Dip or Spread
(For very healthy, easy to grab snacking or for party appetizers to be served with crispy crackers or crusty French bread slices).
- Put your left-over casserole bits in a blender and blend it till it makes a nice spread.
- For appetizers, this is the way I like to serve it: On a thinly sliced toasted baguette I spread some room temp or even cold spread and top it with crumbled goat cheese and some water cress leaves. It’s delicious. However, you can also do the warm versions below.
- You can do the work for your guests and place a dab of the spread on thinly sliced baguette slices, top them with Parmesan or some other cheese of your desire, place on a cookie sheet and carefully broil or bake at 450 till bubbly and perfect to serve.
- Or the easier, lazy way is the following: you can heat the total amount of the spread topped with some cheese in an oven proof dish nice enough to serve your guests and place the bowl on a platter surrounded by crispy crackers or thin slices of crusty baguette and let the guests do their own serving.
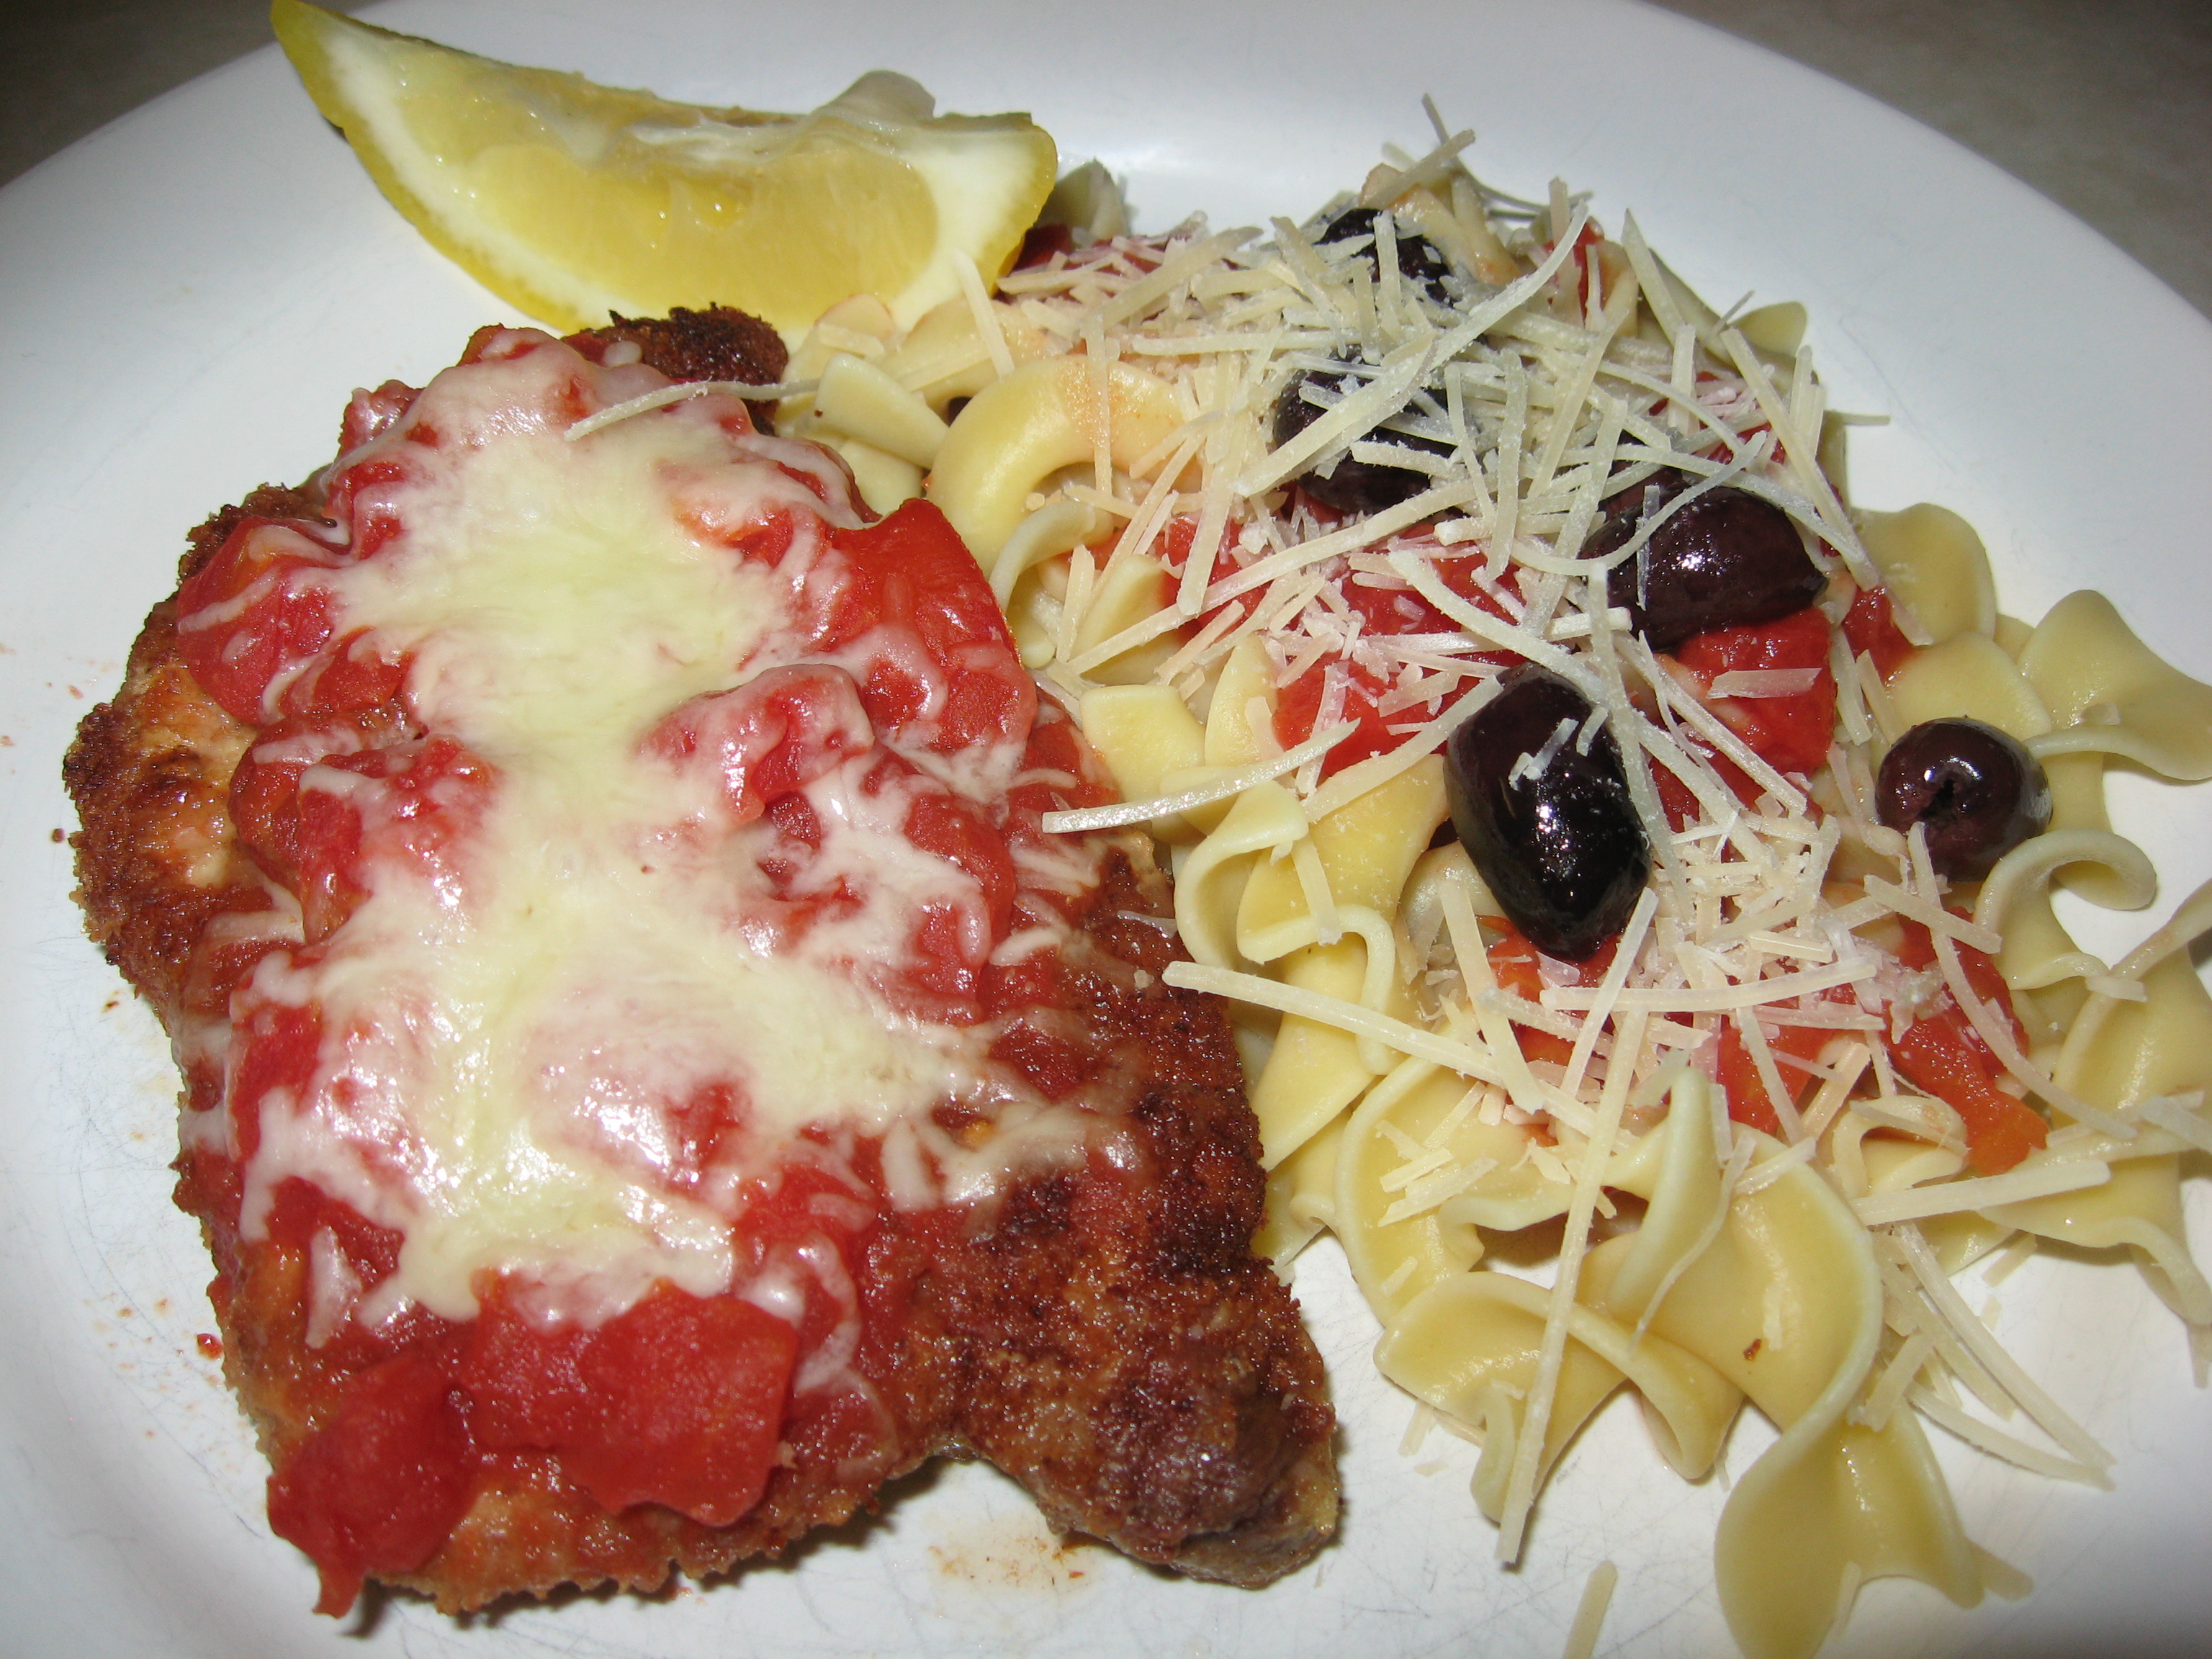
- Or you can even use the left-over’s unblended but placed on top of some thawed frozen pastry to make a Provencal pizza. For extra toppings you use some chopped pitted black olives, anchovy fillets and Parmesan. Before putting the extra toppings bake the “ratatouille” on the rolled out and fork pricked pastry in a 400 degree oven for about 18 minutes; place on the extra toppings and bake an additional 4-5 more minutes. Slide on a cutting board sprinkle with a bit more cut basil, cut into squares and serve.
For easy access and printing of this and past recipes, visit Margot’s blog http://blog.tempinnkeeper.com Call Margot for personal cooking help or hosting
@ 721-3551.
Margot is a self-taught enthusiastic & passionate cook. Having been an inn-keeper for 5 years at her own inn, she accumulated a lot of good recipes which she loves to share.

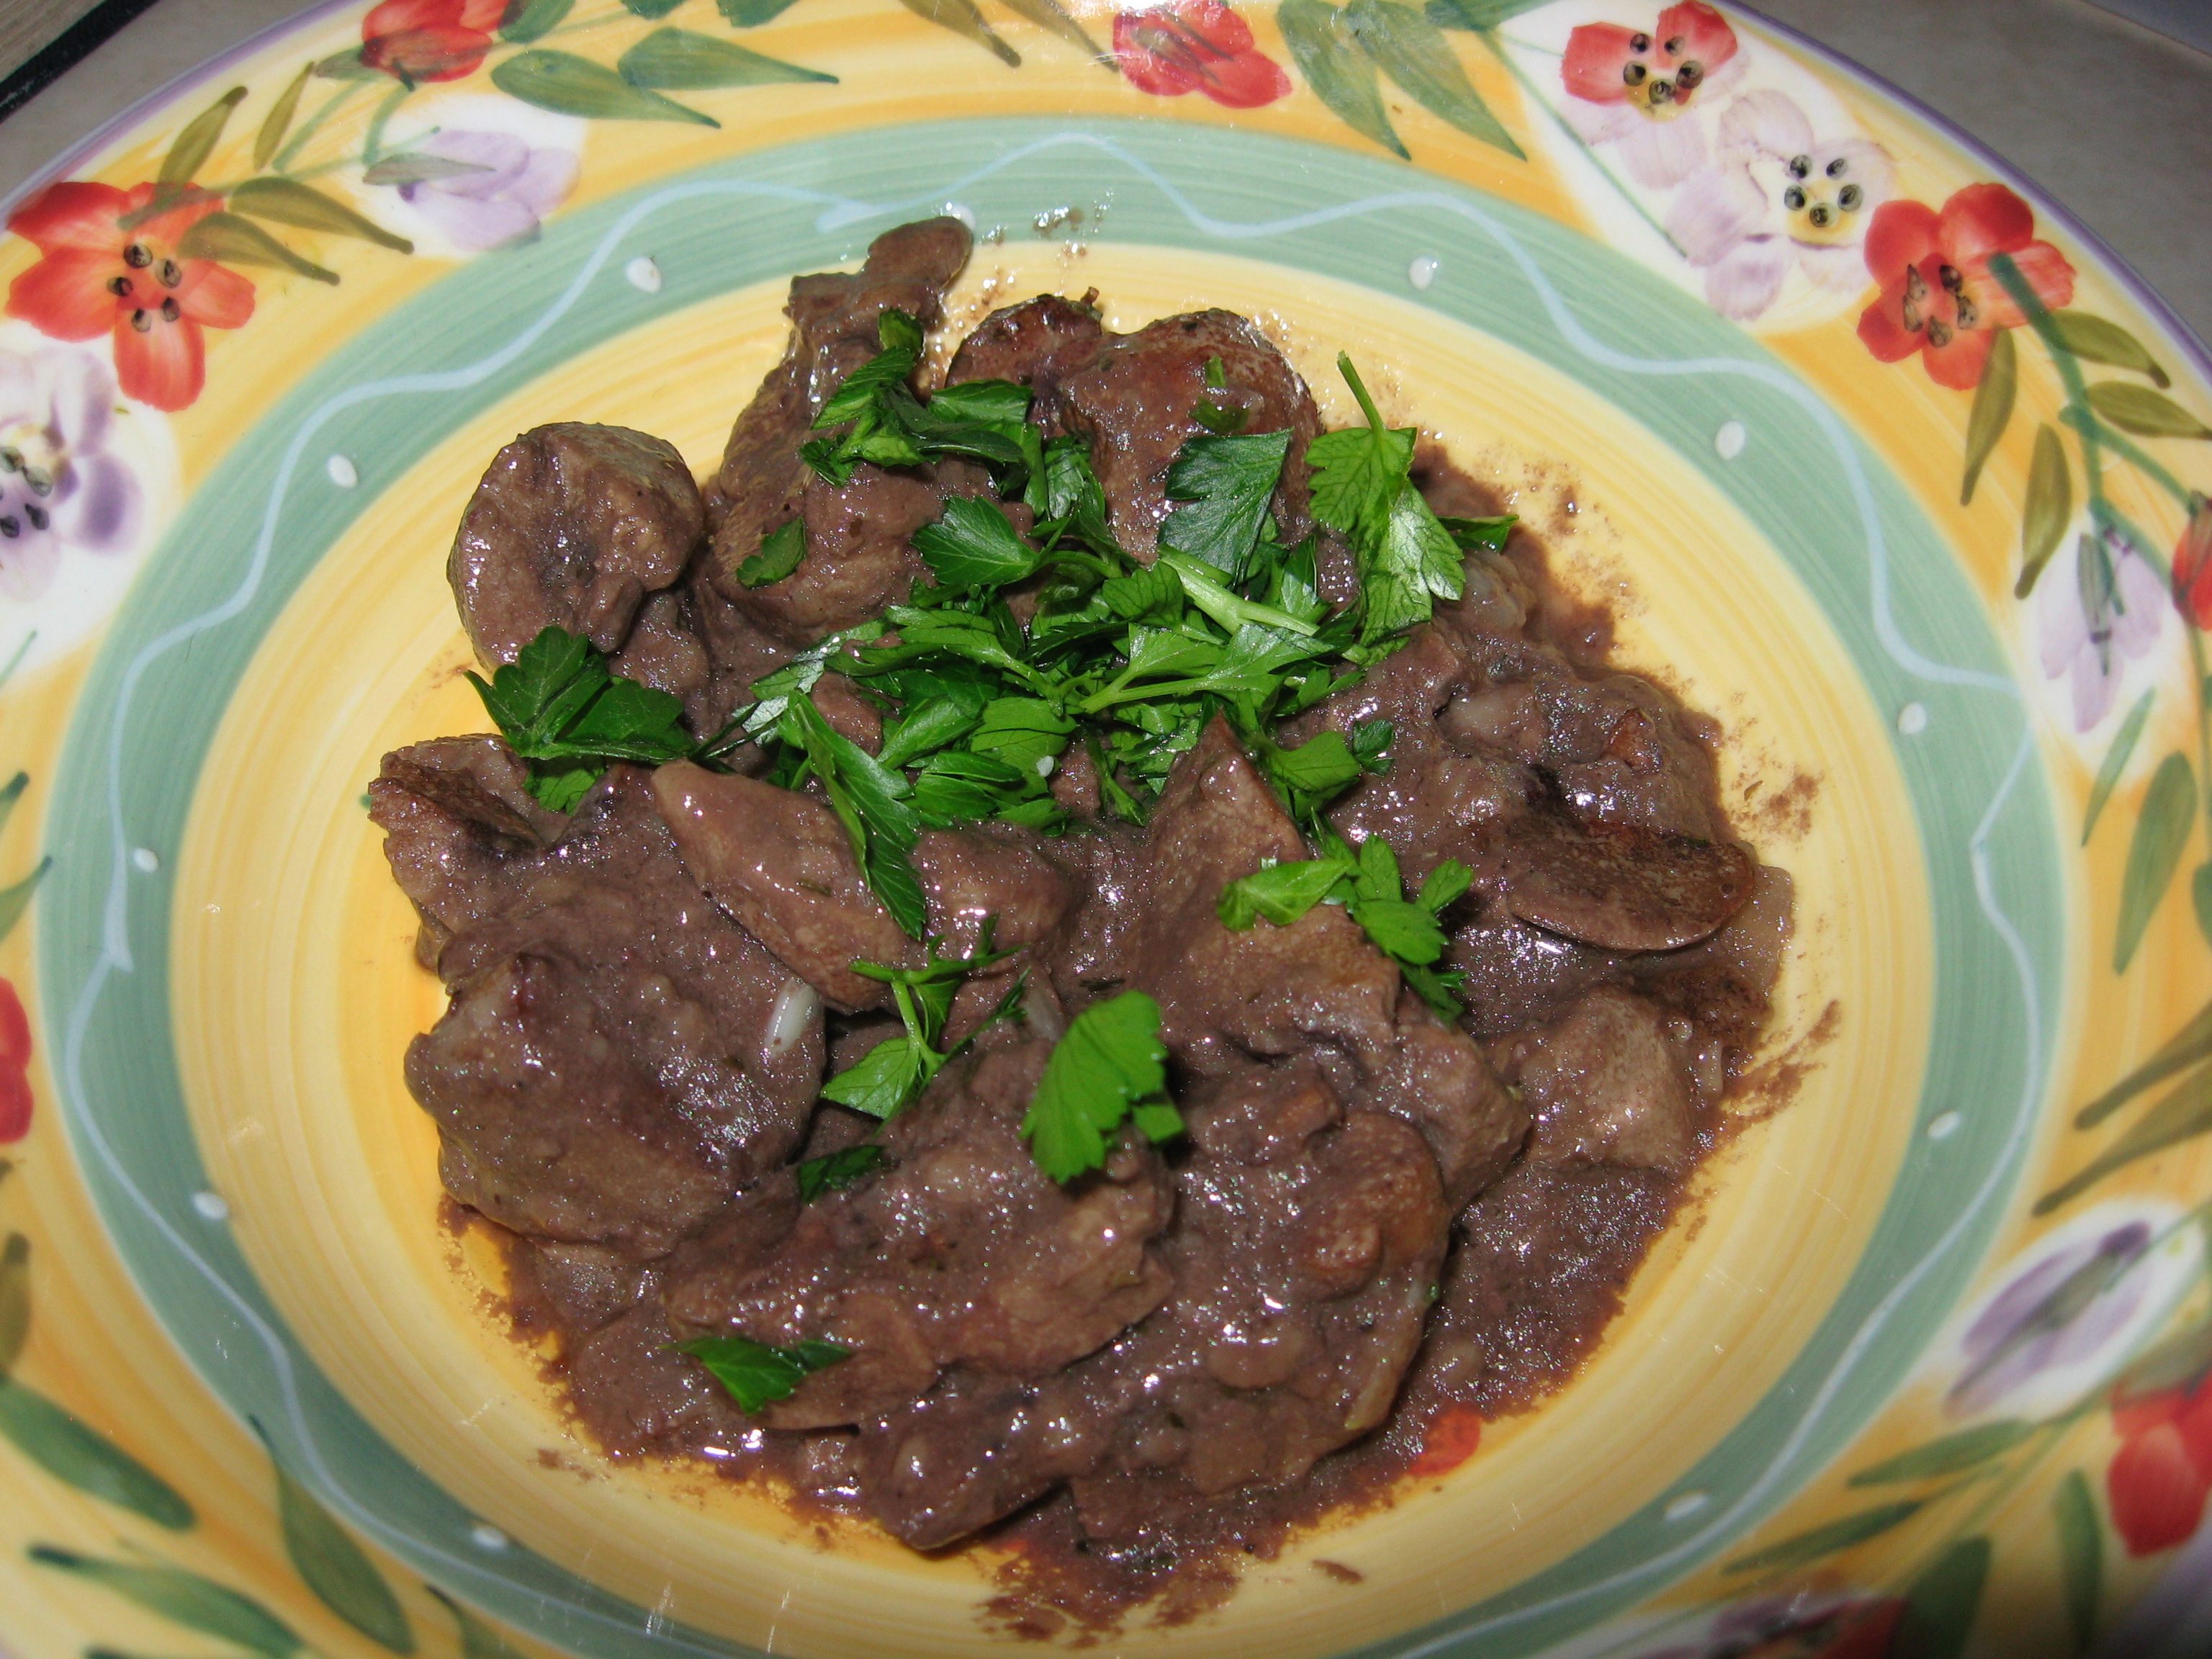
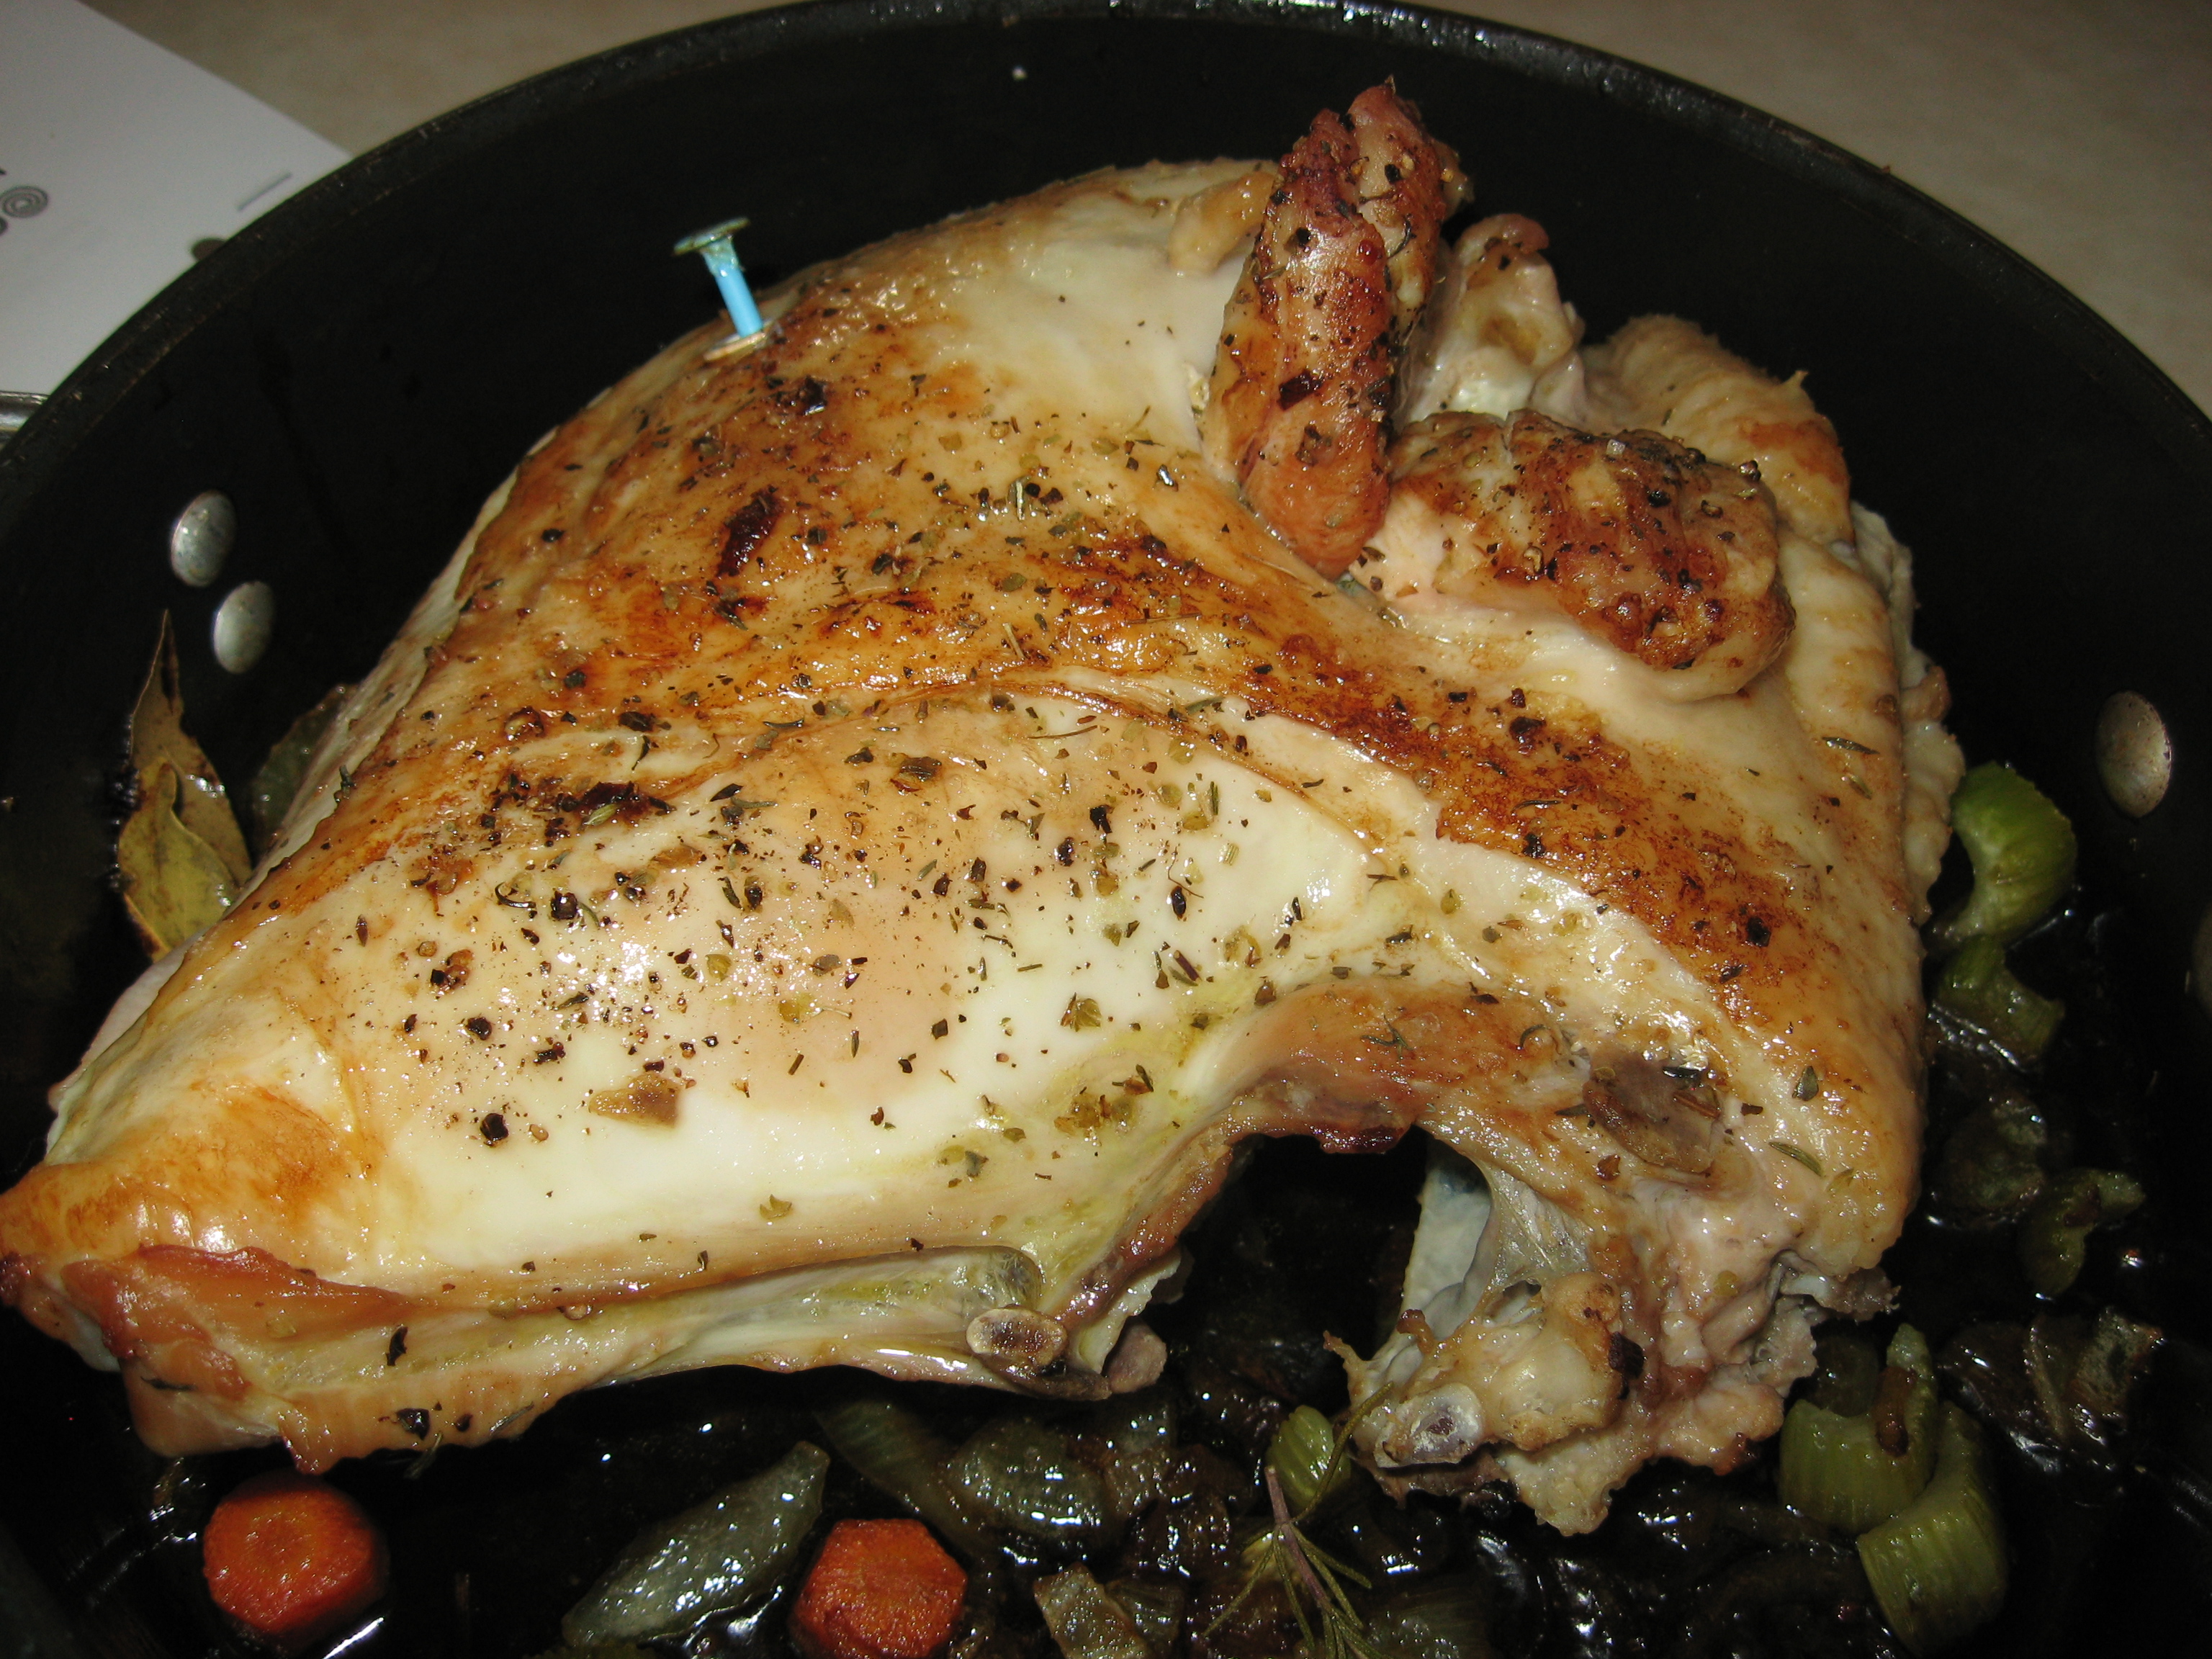
 Roasted Turkey Thigh