

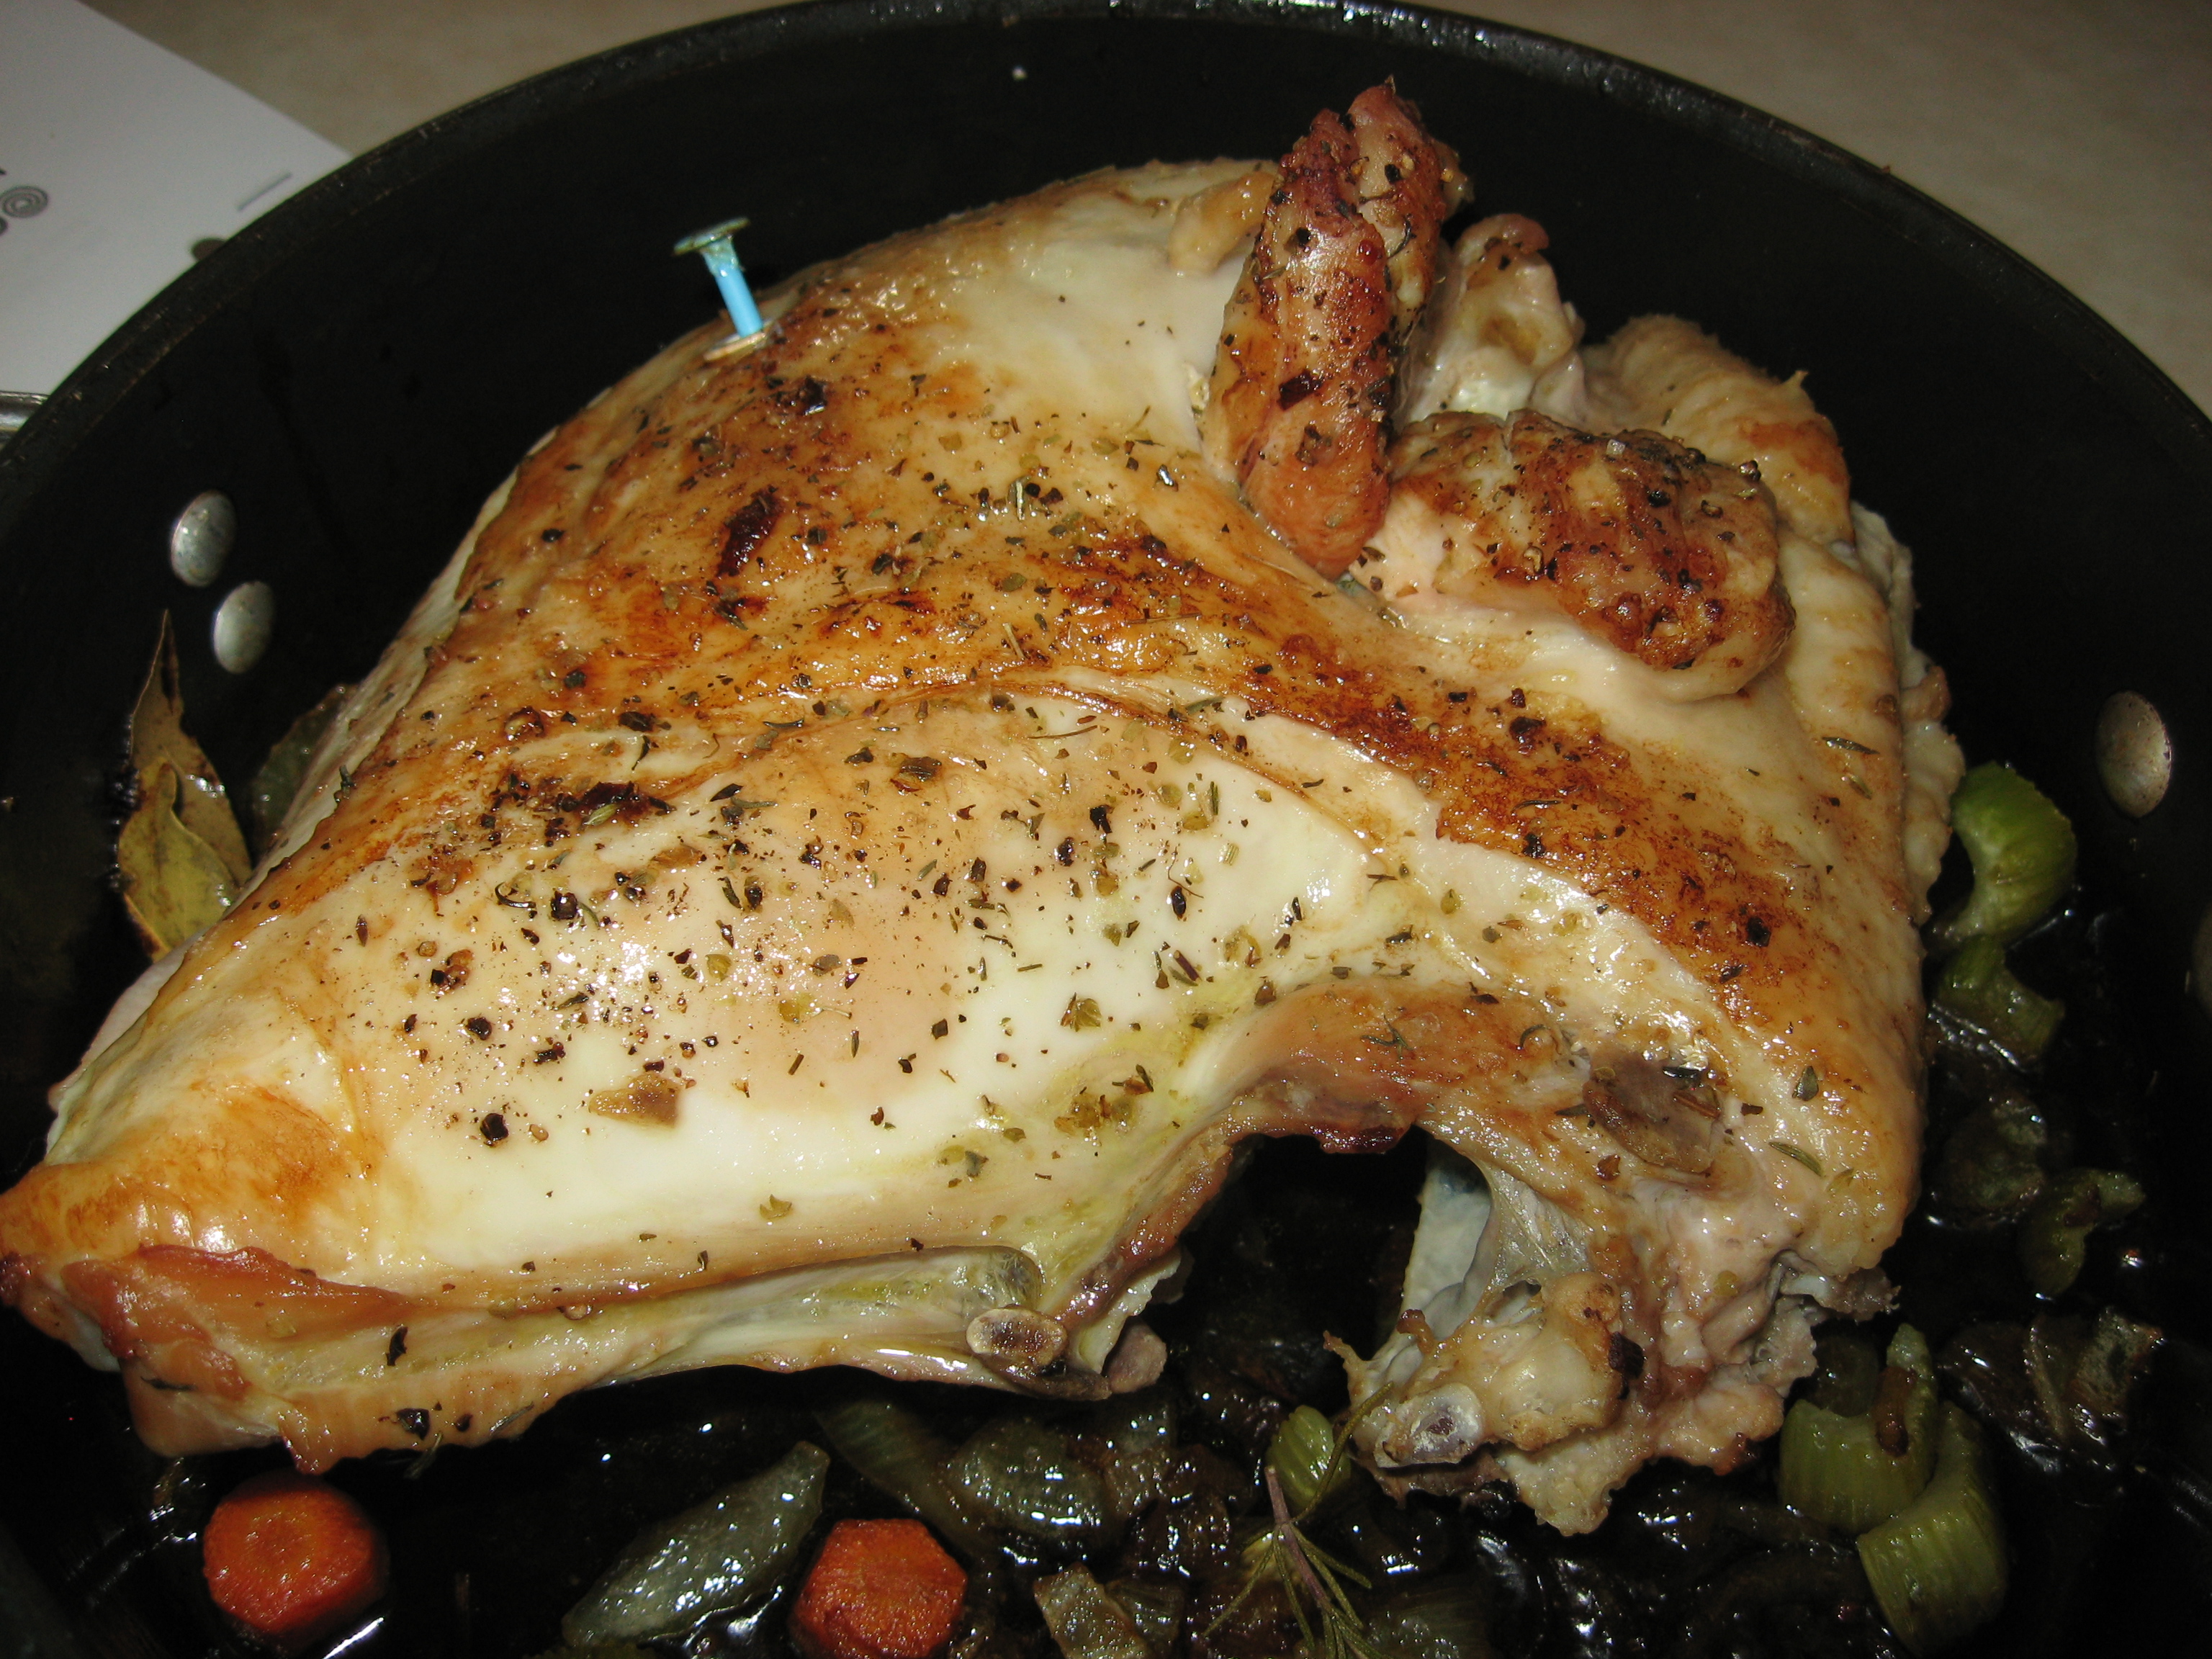
Roasted Turkey Breast and that little blue button
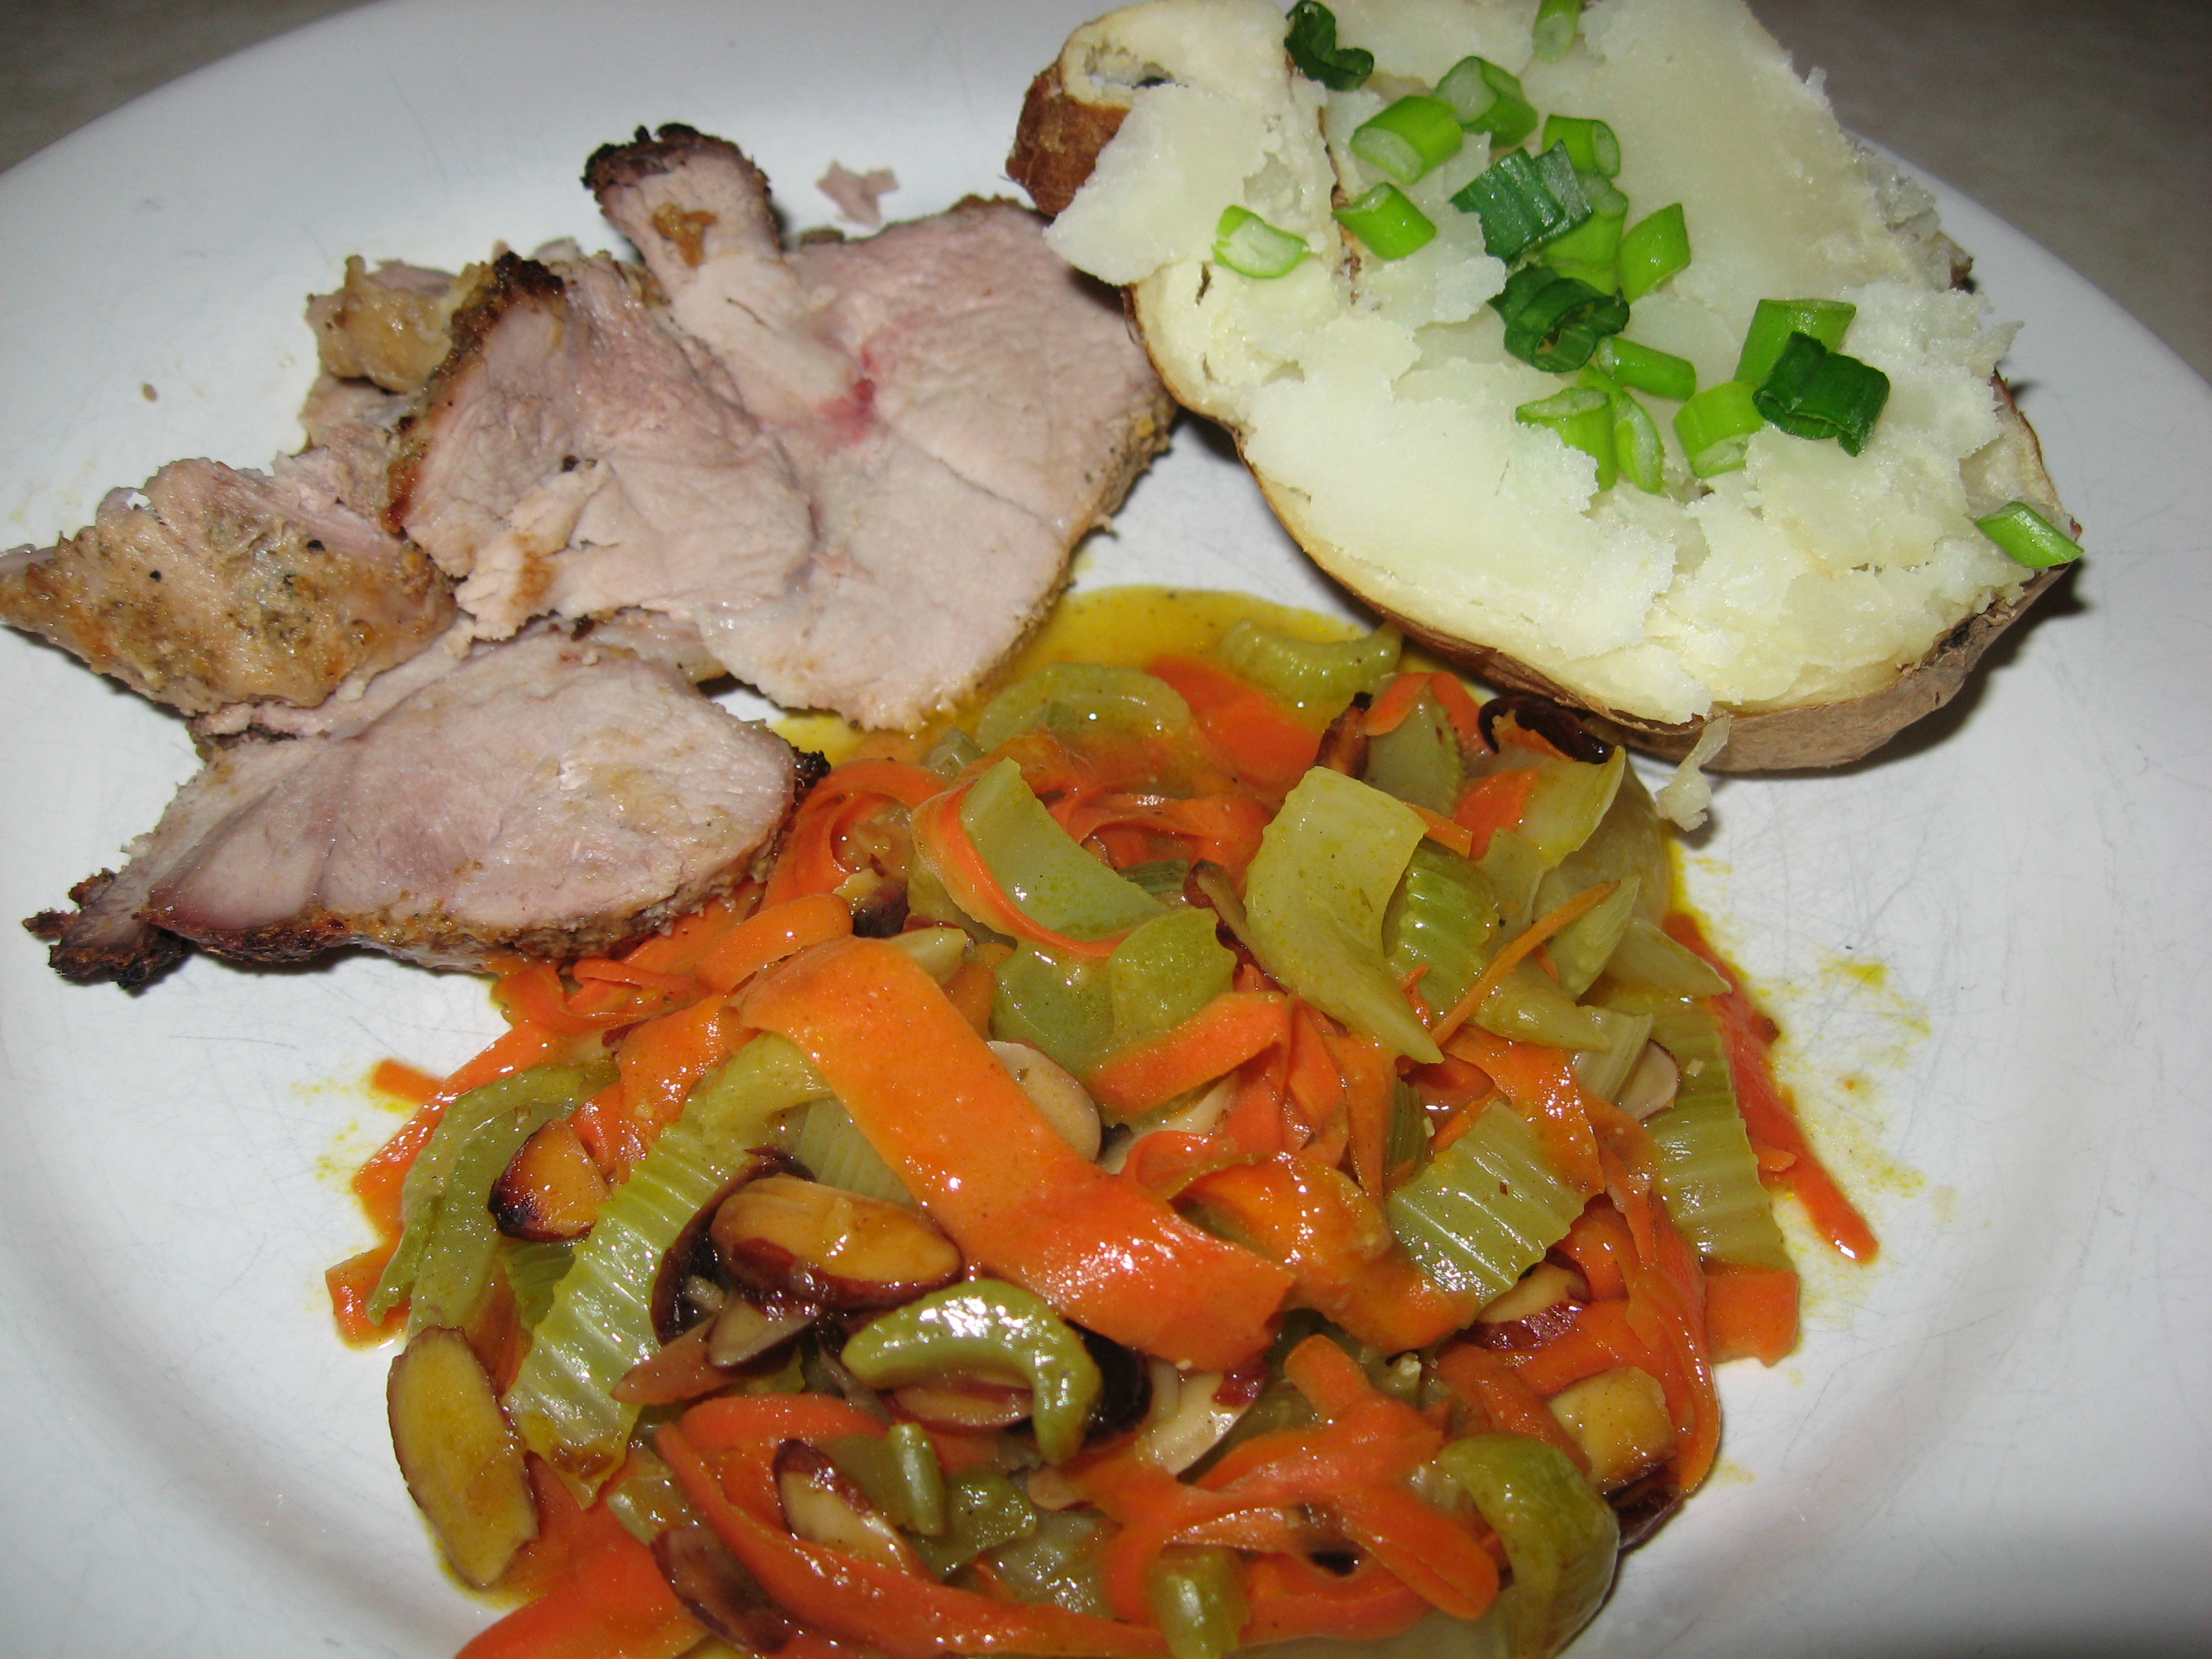
Probably 3- 4 servings for a 3 pounder
I really wanted to cook a pot roast, but oh my goodness, the prices of pot roasts were unbelievable. What happened to a good price for a supposedly lesser cut of beef? So I ended up buying a 3 lb. turkey breast with a bone. It was well priced. Turkey breasts can be so dry sometimes so I thought that I would experiment and try to cook it in a way to increase the moistness. Indeed, the way I cooked it worked however, that little blue button that was inserted—supposedly to tell you when it’s done—no way. So, beware because it’s not always correct.
Ingredients:
- One 3 to 5 lb. turkey breast, bone in
- 2- 3 Tblsp. butter or olive oil (I used butter)
- S&P to taste
- Italian seasoning
- Bay Leaf
- One small sprig of fresh rosemary
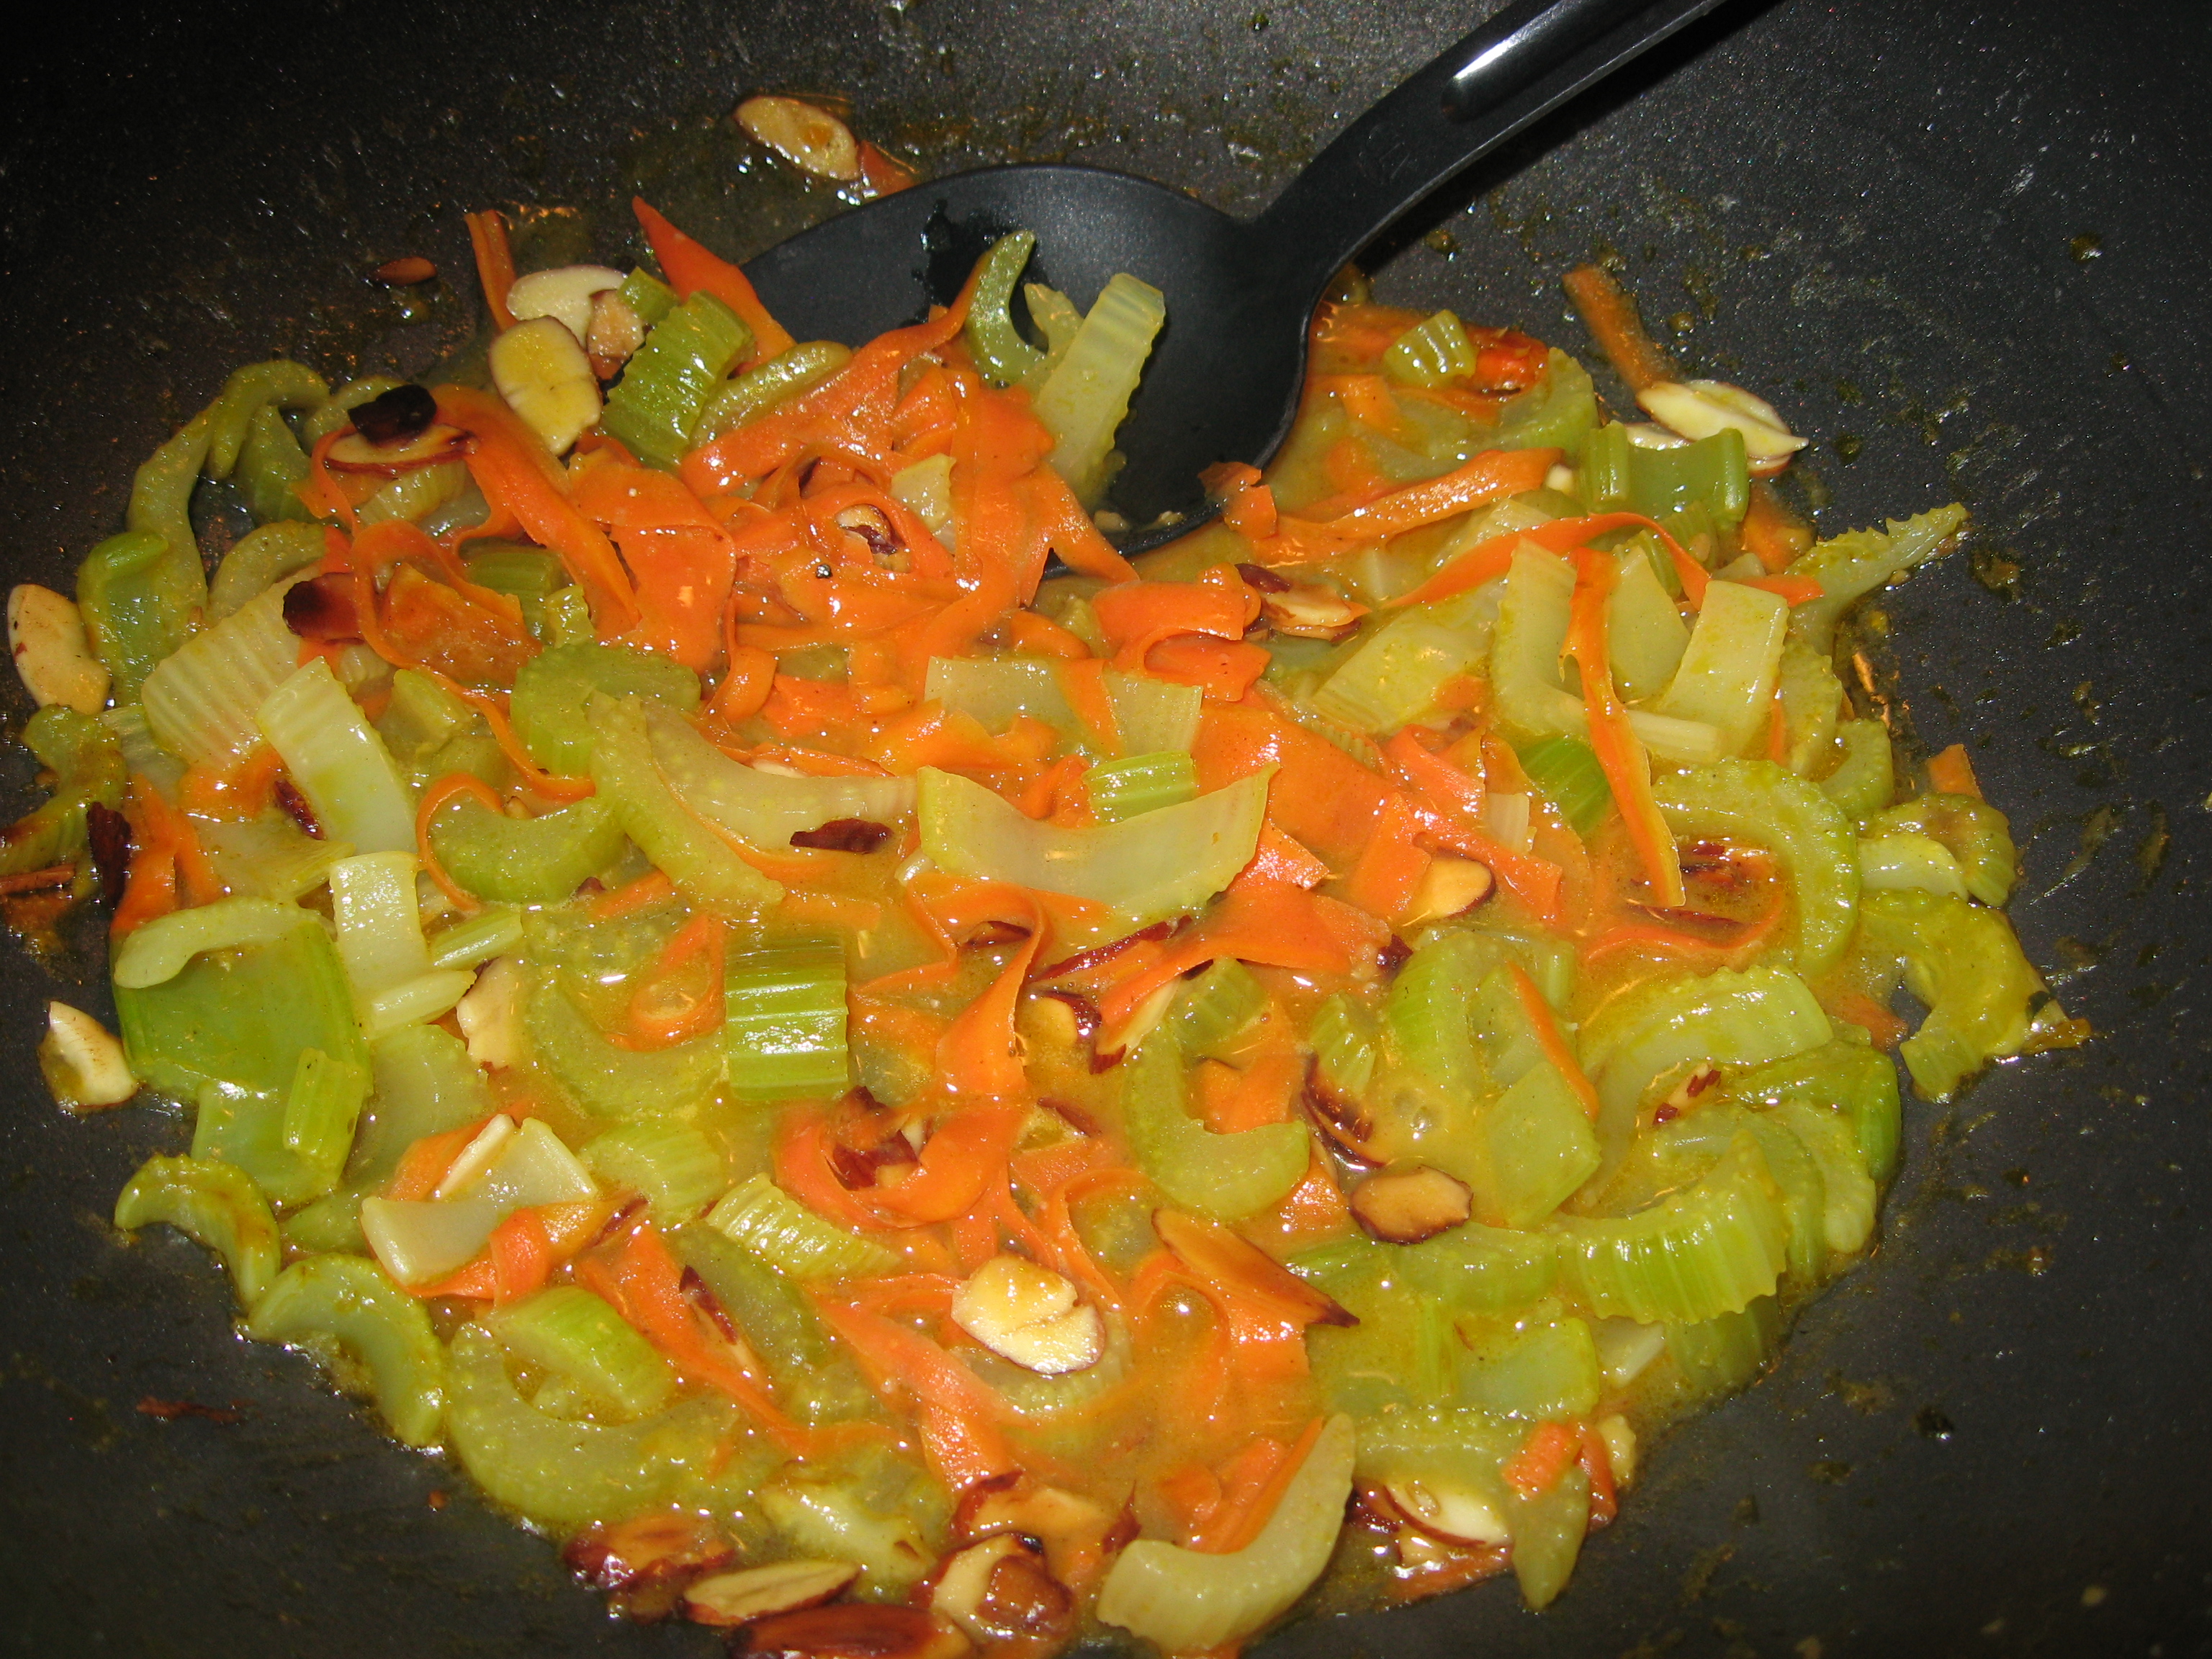
- 1 large chopped carrot
- 2-3 stalks of celery, chopped
- 1/2 to 1 onion chopped
Directions:
- Preheat oven to 325.
- Wash the breast, wipe it dry and season it with S&P and some Italian Seasoning.
- In a large oven proof skillet, melt the butter or heat the olive oil over medium high heat.
- Add the vegetables and sauté them for about 5 minutes—till they are glistening but not browned. Remove and set them aside.
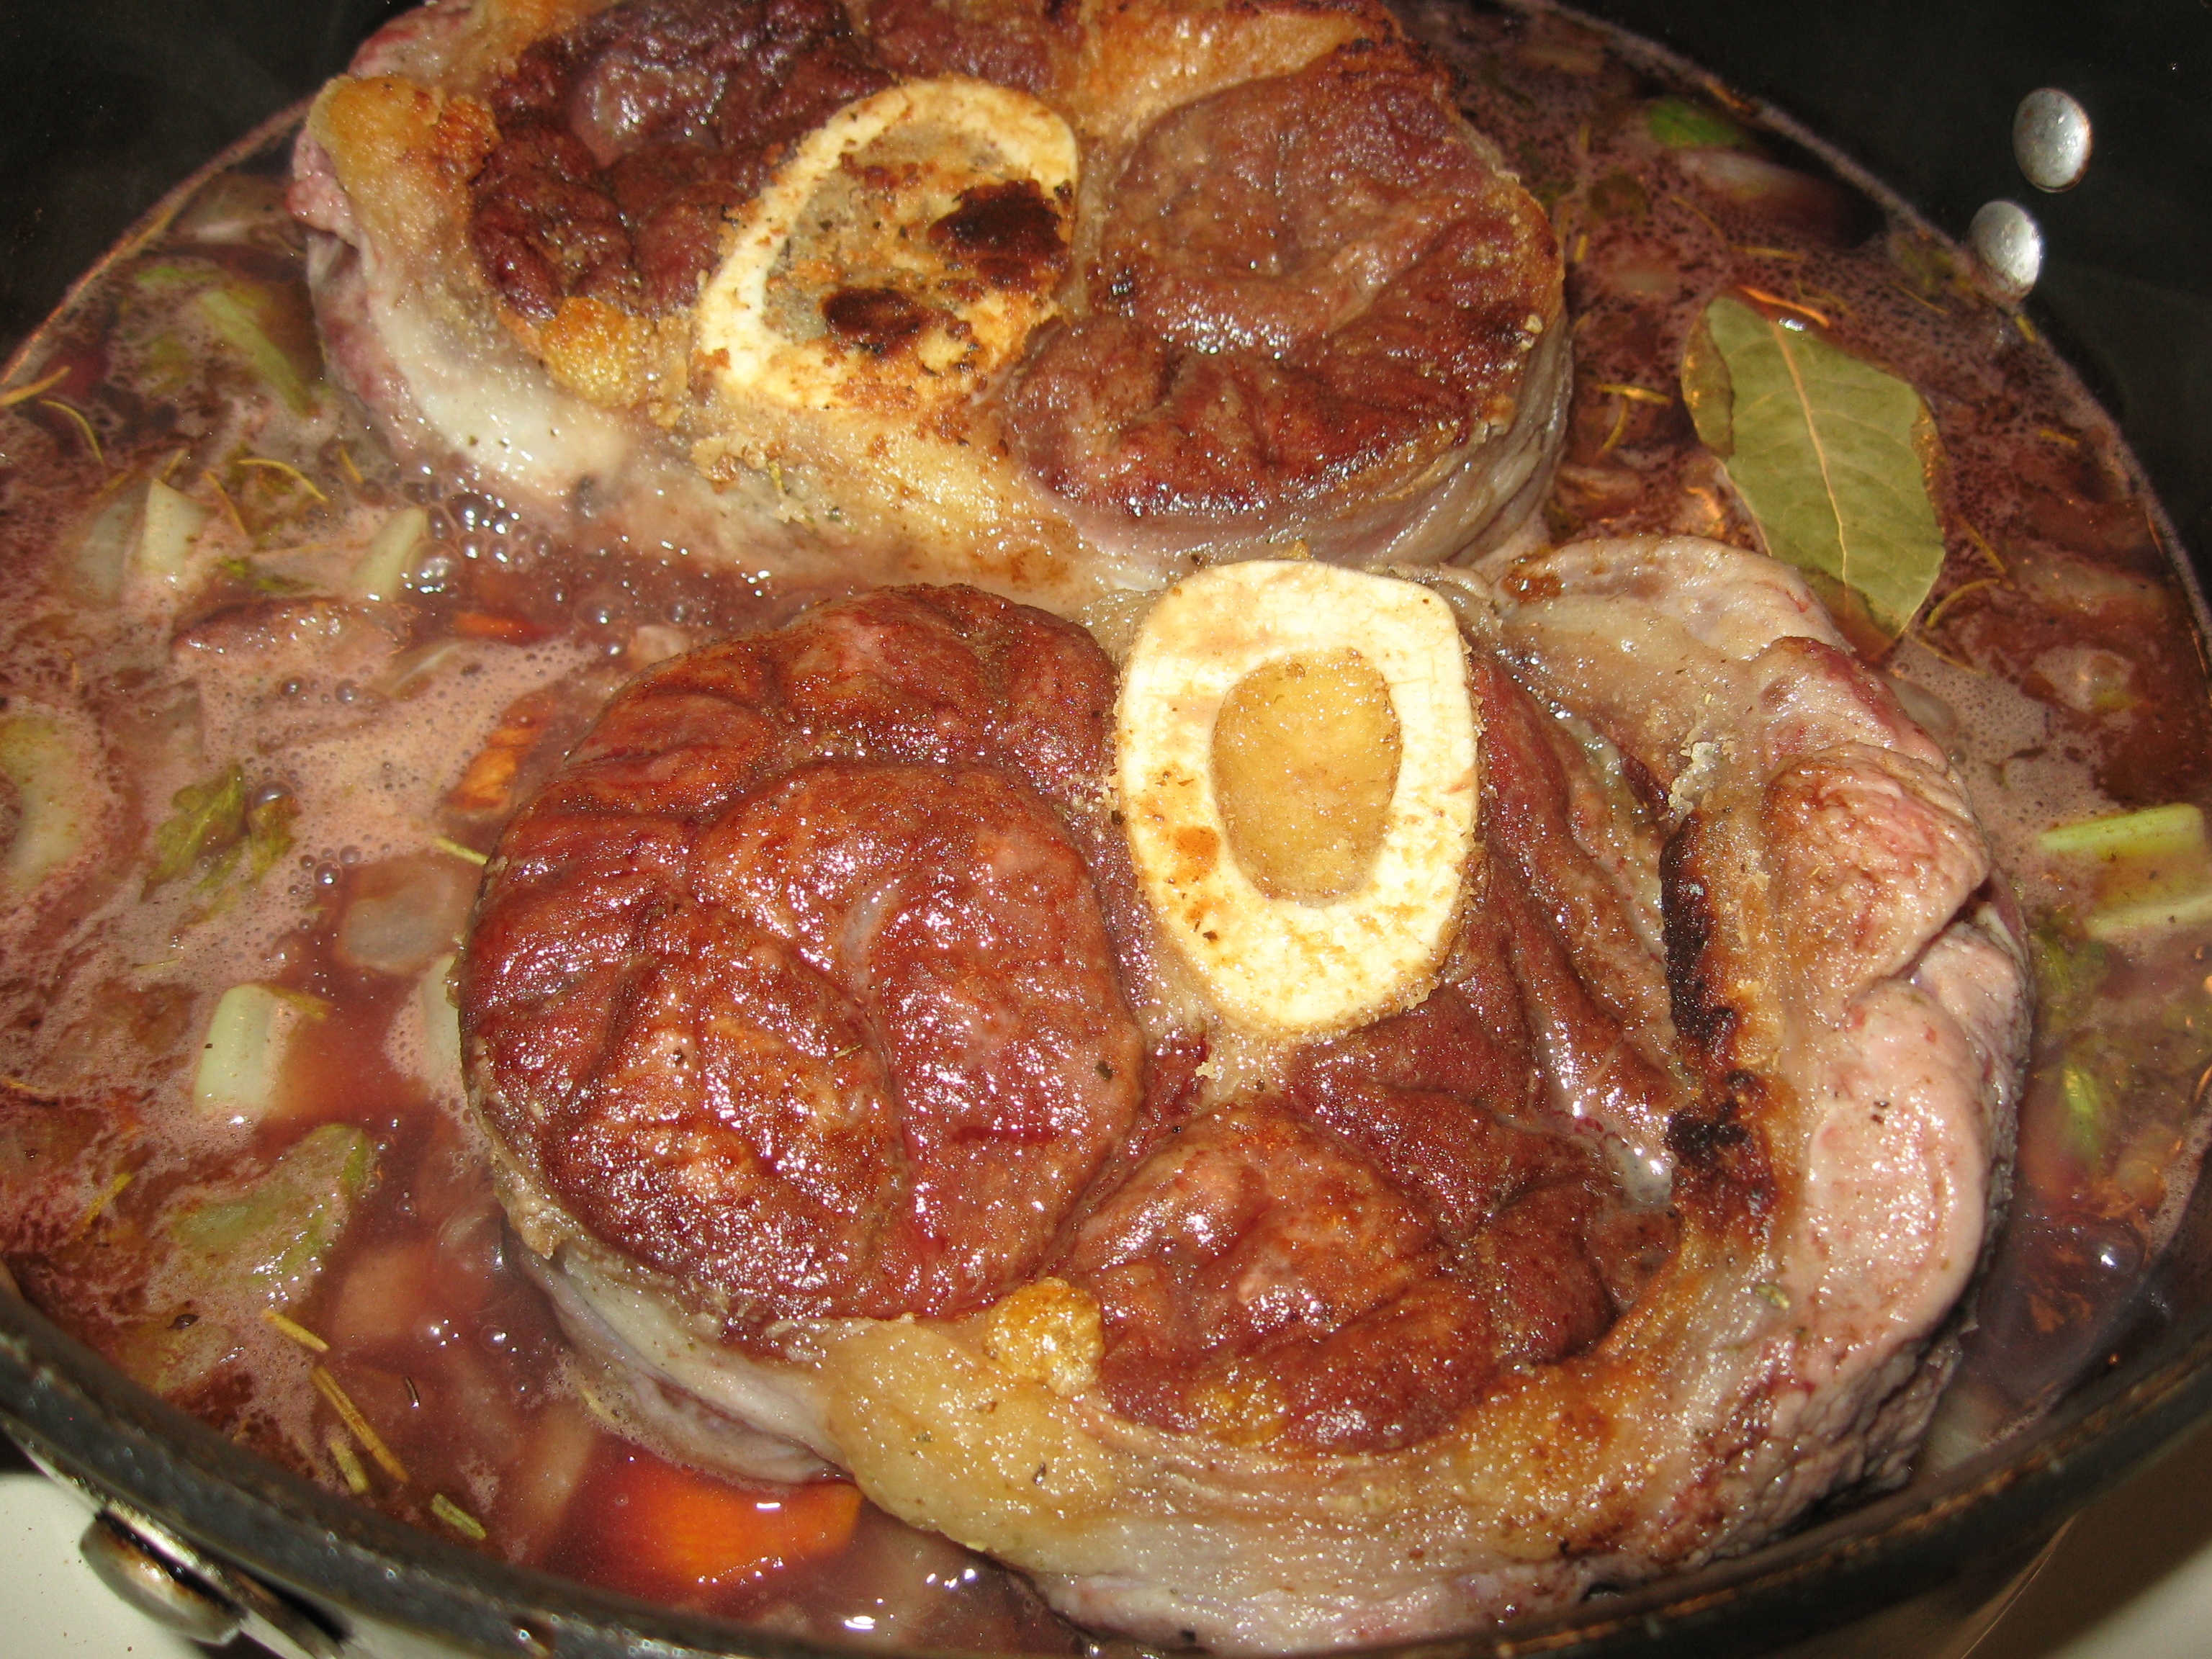
- In the same skillet, over medium heat, brown the turkey breast that you have seasoned with S&P and Italian seasoning. Brown each side for about 4 minutes per side.
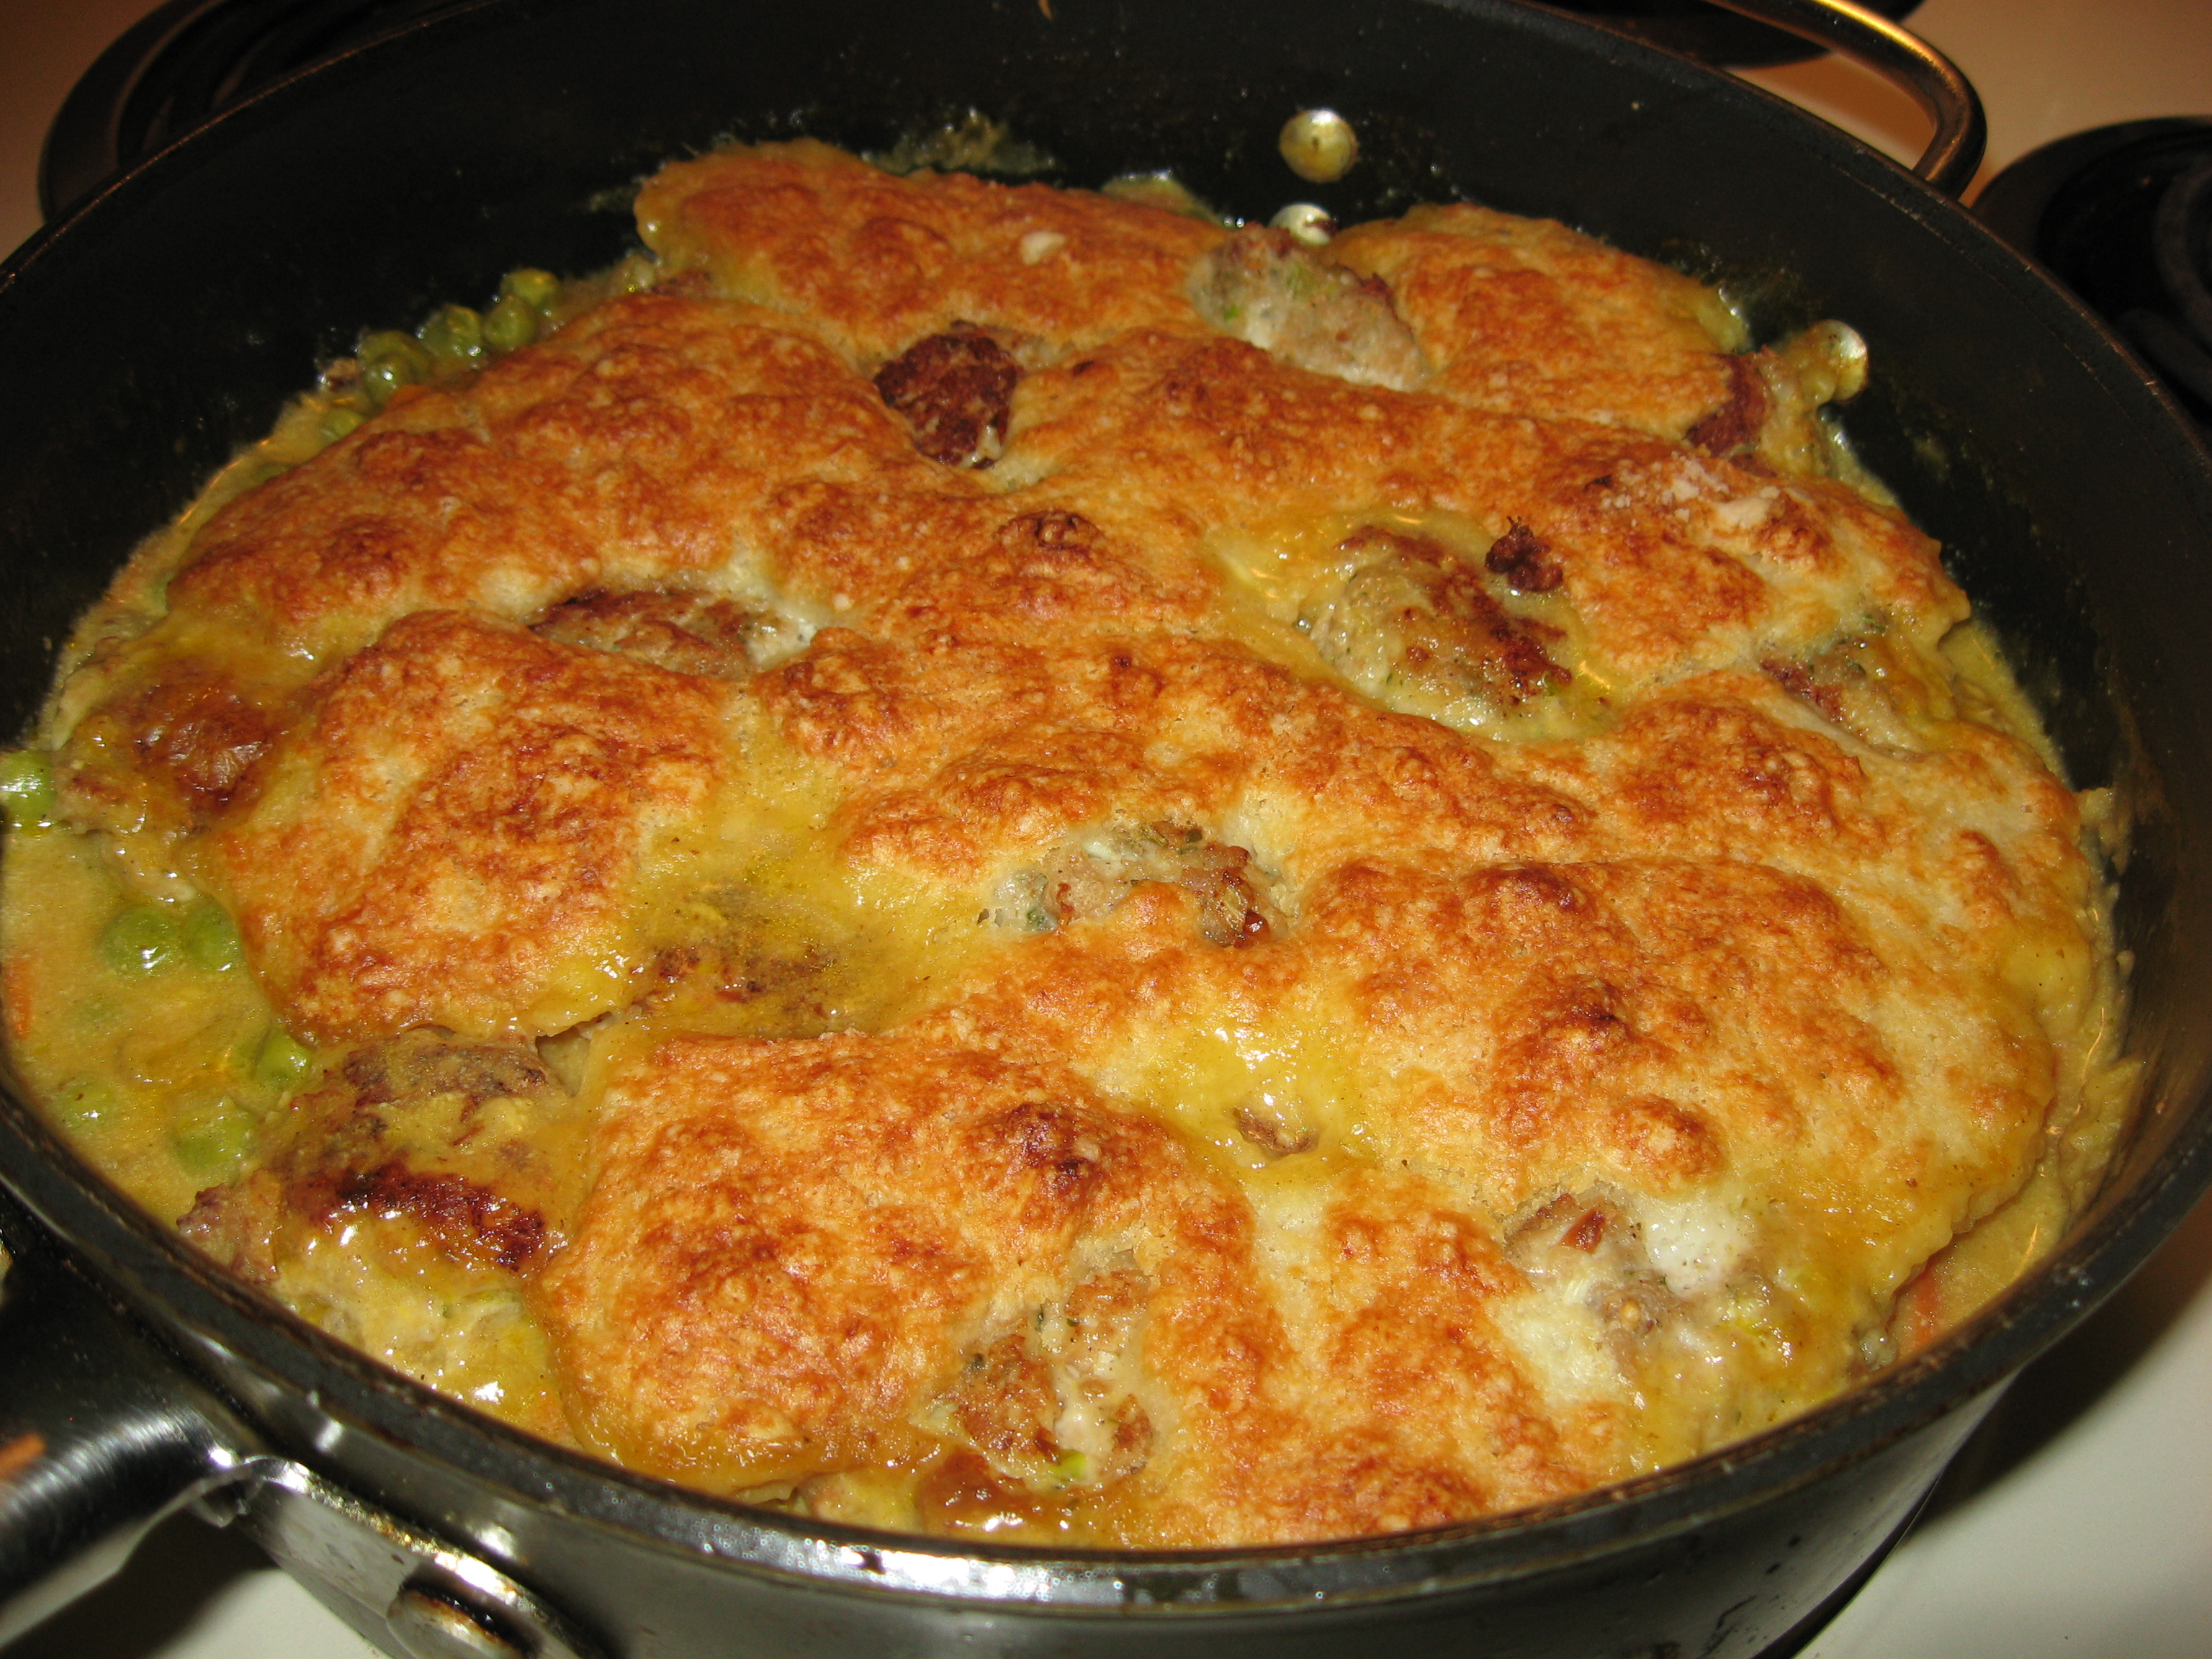
- Set aside the breast and place the veggies back in the skillet. Then place the breast over them. Add the bay leaf and rosemary sprig.
- At this point, I sprayed some olive oil cooking spray over the breast. Place the skillet in the oven.
- I figured that it would take 1 ½ hour to cook (30 min. per lb.). Every 15 minutes or so, I would baste the breast with the drippings and at the 1 hour point, the blue button popped out. So, of course, I cut into the breast and no way, Jose—it was not done. It did take another half-hour. But all in all, this was an easy way to cook a turkey breast and it turned out super moist and tender.


