Tag Archives: breakfast

Baked Egg Yolk Nests

Standard

Baked Egg Yolk Nests

Baked Egg Yolk Nests

Recipe below serves 2 or 4—depending on many eggs each individual wishes to have.

This is a fun and actually splashy looking dish to serve your family or guests for a little special breakfast or brunch.  It’s also very tasty and easy to make. So, give it a try.

Ingredients:

  1. 4 eggs divided—whites in a medium sized bowl and yolks saved whole in the broken shell
  2. 1/4 C. or more grated Parmesan  or Pecorino-Romano
  3. 1/4 C. or more chopped chives
  4. 1/4 C. or more diced bacon, ham or pancetta
  5. S & P to taste

Directions:

  1. Pre-heat oven to 450.
  2. Line a cookie or other baking sheet with parchment paper.
  3. Whip whites until stiff peaks form.
  4. Fold into whites the grated cheese, chives and diced bacon,ham or pancetta
  5. Divide the egg whites as evenly as possible and spoon in mounds on prepared baking sheet.
  6. Make a deep well in each of the white mounds.
  7. Bake in pre-heated oven for 3 minutes.
  8. Then add your yolks in each mound and top with S&P to taste.
  9. Bake yolks will firm—from 3 to 4 minutes.
  10. Serve with muffins and some other kind of yummy bread and a side of fresh fruit.
  11. Bon Appétit.

Civet of Eggs (Stew of Eggs)

Standard

civet of eggs

civet with avocado Civet of Eggs (literally Stew of Eggs)

Serves 2IMG_3491


I’m going back to my French heritage which includes memories of eggs cooked in France lightly based on the same idea of our possibly original American popular brunch dish featuring Eggs Benedict with Hollandaise Sauce; only the civet has the French twist of including red wine. So, I was hungry for a lighter dinner one night and I thought of this recipe on which to dine.  It was delicious.  Give it a try for breakfast, lunch or dinner.


Ingredients:

  1. 4 eggs
  2. 2 Tblsp. olive oil
  3. 3 onions, thinly sliced
  4. 2 Tblsp. water
  5. 4 pinches of sugar
  6. 1 Tblsp. balsamic vinegar or any aged vinegar you have
  7. 3 Tblsp. red wine
  8. S&P to taste


Directions:

  1. Heat the oil in a nonstick sauté pan.  Add the onions, stirring, over high heat till they are nice and brown. Turn heat to medium-low, add the water and sugar and simmer the onions for 15 minutes.
  2. Add the vinegar and cook till it evaporates.
  3. Add the wine and some S&P to taste.
  4. Break the eggs, one by one, in a cup and slip each one individually on top of the onions.
  5. Place a cover on the pan and still over medium-low heat cook until eggs are done to your taste.  Watch carefully to see that they don’t get overdone. S&P if you wish the tops of the eggs.
  6. Divide the egg stew between two plates and serve immediately with some crusty French bread.


I added some Parmesan on top (an Italian addition) and placed some sliced avocados on the side, but you can also add some sautéed mushrooms as a topping and freshly sliced tomatoes as a side garnish.  This is a very versatile dish and is fun to serve and eat.


In conclusion, I would like to tell you of another truly excellent French egg dish called “Oeufs en Meurette” (eggs poached in a red wine sauce). This is a timelier dish to make; however you can make it, including the poaching of the eggs, the day before serving.  It is so delicious, that I feel that it’s worthwhile spending the time making it in a proper fashion.  However, the recipe I gave you is in essence a bit of a quickened version of the Oeufs en Meurette.


For easy access and printing of this and past recipes, visit Margot’s blog http://blog.tempinnkeeper.com  Call Margot for personal cooking help or hosting

 @ 721-3551.

Margot is a self-taught enthusiastic & passionate cook. Having been an inn-keeper for 5 years at her own inn, she accumulated a lot of good recipes which she loves to share.

Nut Bread-the Quick Way

Standard

Quick Nut BreadNut Bread the Quick Way

Makes one 9 X 5 inch loaf


If you don’t own a bread machine or want to go through the manual yeast ritual, quick breads are a breeze to make. What makes the bread “quick” is the addition of baking soda and/or baking powder in the stead of yeast.  There are a huge variety of quick bread recipes including Corn Bread, Boston Brown Bread, Onion Pan Bread, Irish Soda Bread, Banana Bread, Whole Wheat and Molasses Bread, and Nut Bread.  I happen to really like the Nut Bread.  The trick with quick breads is to do just the opposite of what you do with a yeast dough; you mix it as fast and gently as possible and then bake it.  If you handle it too much, it tends to make for a tough loaf.  So, don’t worry about a mixture that is lumpy—just make sure that there is no more visibility of the flour in the mix before pouring into your loaf pan.

Ingredients:

  1. 3 C. flour and I used 1 C. rye flour, 1 C. whole wheat flour, and 1 C. all purpose flour
  2. 4 Tsp. baking powder
  3. 1 Tsp. salt
  4. 1/2 Tsp. ground cinnamon
  5. 1 C. roughly chopped walnuts or pecans
  6. 1/4 C. melted butter
  7. 1 ½ C. milk
  8. 1 egg

Directions:

  1. Preheat the oven to 350 degrees.
  2. Lightly grease your pan
  3. In a large bowl, mix together the dry ingredients—I use a whisk to do this-and add the chopped nuts.
  4. In a smaller bowl, whisk the melted butter, milk and egg till well blended.
  5. Make a well in the middle of the dry ingredients and add the liquid ingredients folding and stirring quickly and gently till you can’t see any flour anymore.  The batter should be lumpy and not smooth.
  6. Place the batter in the pan and bake for about 45 to 60 minutes.  Mine usually gets done in 45 minutes.  A toothpick inserted in the middle should come out clean.
  7. Cool on a rack for 10 minutes before removing from the pan.
  8. This freezes just fine and it also toasts nicely.
  9.  Adding a bit of raisins or currents, chopped dates, etc. can make a nice addition along with 1 tsp. vanilla and some ground cloves.  You can use your imagination here.

For easy access and printing of this and past recipes, visit Margot’s blog http://blog.tempinnkeeper.com  Call Margot for personal cooking help or hosting

@ 721-3551.

Margot is a self-taught enthusiastic & passionate cook. Having been an inn-keeper for 5 years at her own inn, she accumulated a lot of good recipes which she loves to share.


Irish Soda Bread

Standard

Irish Soda Bread

Irish Soda Bread

Makes 16 servings


I know that St. Pat’s has past and gone, but I discovered this most delicious and easy recipe that I honestly think can be used any time of the year.  It is delicious the next day toasted and topped with honey, jam or whipped cream cheese.  It uses half the usual amount of flour called for in most soda bread recipes and therefore is on the lighter side and I believe is the reason that it keeps better.  I hope that you’ll enjoy it as much as I have.

Ingredients:

  1. 2 ½ C. All purpose flour
  2. 1/2 C. sugar
  3. 2 Tsp. caraway seed
  4. 1 ½ Tsp. baking powder
  5. 1/2 Tsp. baking soda
  6. 1 Tsp. ground cinnamon
  7. 1/2 Tsp. salt
  8. 1/2 Tsp. currants or raisins
  9. 1 ¼ C. buttermilk *
  10. 2 eggs
  11. 1/2 Tsp. vanilla

Directions:

  1.  Preheat oven to 350
  2. Lightly grease a 9-inch round cake pan
  3. In a medium large bowl, mix all the dry ingredients.  I use a whisk to do this.  When well mixed add the raisins or currents.
  4. In a small bowl whisk the buttermilk, eggs and vanilla till well blended.
  5. Make a well in the middle of the dry ingredients; add the liquid ingredients and mix quickly till blended and no more flour is showing.
  6. Pour into the cake pan and bake for 45 to 50 minutes.  Mine was done in 45 minutes.
  7. Place pan on a rack and let sit 10 minutes before removing the bread.
  8. * If you don’t have buttermilk, do this: take 1 ¼ C. milk minus 1 ½  Tblsp. and briefly heat the milk in the microwave—about 1 minute.  Then add 1 ½ Tblsp. white vinegar and let it sit while you prep the rest of the ingredients.


For easy access and printing of this and past recipes, visit Margot’s blog http://blog.tempinnkeeper.com  Call Margot for personal cooking help or hosting

@ 721-3551.

Margot is a self-taught enthusiastic & passionate cook. Having been an inn-keeper for 5 years at her own inn, she accumulated a lot of good recipes which she loves to share.


Asparagus and Prosciutto Strata (an overnight casserole dish)

Standard

Asparagus Prociutto Stratta

I used black forest ham in this picture and it reacted a bit like bacon so it’s a bit crispy and very browned.  However, it was delicious, much more economical than prosciutto and still very tasty—always trying to be economical here in my kitchen. This dish was made in an aluminum pan for a friend who had just injured herself in a down hill ski accident.

Asparagus and Prosciutto Strata (an overnight casserole dish)

Serves 8

It’s always such a great pleasure to host a breakfast for a group of people and have them enjoy your cooking efforts with big smiles on their faces.  That’s part of what was so rewarding in having been an inn keeper at my B&B and now that I have the privilege of writing articles for our wonderful local Weekly Sun, they allow me to play inn keeper every now and then.  That’s what just recently happened at our January get together and this is one of the items which I prepared.  Of course I want to share this with my readers as well.

Here though, before you get to the recipe, are a few little known facts about the asparagus that might be of interest to you.  In France, Louis XIV had a special greenhouses built for growing it.  The finest texture and the strongest yet most delicate taste which is in the asparagus tips, were called, once again in France, “Les points d’amour (love tips)”. Leave it to the French to make a love connection to the asparagus tips.  They were served as a delicacy to Madame de Pompadour.  Asparagus was pictured as an offering on an Egyptian frieze dating to 3000 B.C.  Romans would even freeze this healthy vegetable high in the Alps, for the Feast of Epicurus.  Emperor Augustus reserved the “Asparagus Fleet” for hauling the vegetable and coined the expression “faster than cooking asparagus” for quick action. As well, asparagus is often grown in conjunction with tomatoes because: the tomato plant repels the asparagus beetle while the asparagus repels some harmful root nematodes that affect the tomato plants. So here’s a salute to that “Point D’Amour”.

Ingredients:

  1. One Lb. asparagus, tough stem ends snapped off and the remainder cut in 2 inch pieces.
  2. 1 loaf 3/4 lb. crusty artisan style bread, cut into 1 inch pieces.  I use a French bread loaf
  3. 3 ounces thinly sliced Prosciutto cut into 1/2 –inch thick strips
  4. 1 ¼ C. shredded Parmesan or Asiago cheese
  5. 1/2 C. chopped chives
  6. 1 Tblsp. grated lemon peel
  7. 6 eggs
  8. 3 ½ C. milk
  9. 1/2 Tsp. salt
  10. 1/2 Tsp. pepper

Directions:

  1. In a medium pan bring about 2 quarts water to a boil; add asparagus and cook for about 3 minutes-till they are bright green and barely tender. Immerse them in cold water to stop them from cooking more.
  2. In a lightly oiled or sprayed 9 X 13 Pyrex or other oven proof dish spread half of the bread cubes.
  3. There will be 4 layers. Top the first layer of bread cubes with 1/2 of the following ingredients:
    1. Prosciutto or some sort of thin sliced ham–smoked or not
    2. Asparagus
    3. Chives
    4. Shredded Parmesan or Asiago cheese.
  4. Now place the other half of the bread crumbs on top and layer again as above in #3.
  5. In a blender blend the eggs, milk, S&P and lemon peel and pour over the layered ingredients.
  6. Cover and refrigerate at least 1 hour or overnight.
  7. Preheat oven to 350 and bake until center of strata is set and the top is lightly browned (40-50 minutes).
  8. Serve warm or at room temperature.


Marmalade-Grapefruit, Orange & Lemon

Standard

marmalade in pot marmalade in jar

Marmalade-Grapefruit, Orange and Lemon

Fills about 6-8 small sized jars

I do love marmalade.  It’s probably among my most favorite of the jam type of offerings.  I guess I like it because it’s not too sweet and can have a little bite to it. I certainly do like the homemade variety more than the generic store bought one.  There are many ways to make it; however, for my taste I like this recipe the best.  Because of the grapefruit, this marmalade has a little “chew” to it—if you get my drift.  Don’t forget that it’s always nice to make some extra for a hostess gift.  There’s nothing like a homemade product, I think, to give as a little thank you to someone who cares enough to have you over to theirs. For myself, I particularly enjoy it in the mornings on a toasted English muffin that has peanut butter on it; for desert, I really like it mixed in with some Greek style yogurt.

Ingredients:

1 Ruby Grapefruit

1 Lemon

1 Orange

Directions:

  1. Cut the unpeeled fruit in smaller pieces, deseed if necessary, and put in a blender or osterizer to finish the chopping process.  Don’t over chop because you do want some peels to remain.
  2. For every cup of chopped fruit, use 1 cup of water.  So if you have 5 cups of chopped fruit, which is about what these three will yield, you will use 15 cups of water.
  3. Put chopped fruit and water in a large pot and let soak for 12 hours.  I sometimes also add 2 or 3 chopped caramelized ginger.
  4. Bring the mixture to a boil after the 12 hours and boil (low to medium roll) for 20 minutes.
  5. Then let sit for another 12 hours.  (You can cheat a bit here—but at least 8 hours)
  6. After the 2nd sitting, add 3/4 cup of sugar for every cupful of fruit.  So, if you have 3 cups of chopped fruit, you would add 3 3/4 cups of sugar.
  7. Slow boil until mixture forms a jelly like substance.  I take a bit out and put it in the freezer for 5 minutes and see if when it’s cool, it’s the way I like it.  Usually this slow boil takes about 35 to 40 minutes.
  8. Put in sterilized jars and top with paraffin.  Don’t forget to put a bit aside in the frig for you to enjoy.

Cranberries, Cranberries–4 nice and delicious recipes

Standard

jellied cranberry sauce with fuji apple cranberry Clementine and Pumpkin Seed Conserve


Cranberries are so versatile and freeze easily and well.  They also are very healthy for you.  However, their grand color makes them a favorite for Thanksgiving and Christmas.  But don’t forget that “red” in Valentines day.  Frankly I think that this is a great fruit to use anytime of the year.  So please do enjoy these 4 recipes which are among my favorites.

Cranberry and Dried Fruit Compote (serves 6)

Ingredients:

  1. One 12-ounce bag fresh cranberries
  2. 3/4 cup golden raisins
  3. 1/2 cup dried cherries
  4. 1/2 cup dried black mission figs, quartered
  5. 2/3 cup sugar
  6. 1- 1/4 cups water

Directions:

  1. In a medium saucepan, combine the cranberries with the raisins, cherries, figs, sugar and water.
  2. Bring to a boil and cook over moderately high heat until the cranberries burst, about 6 minutes.
  3. Place into a bowl and refrigerate until chilled, about 3 hours.

Make Ahead: This compote can be refrigerated for up to 2 weeks. Serve chilled or warmed.

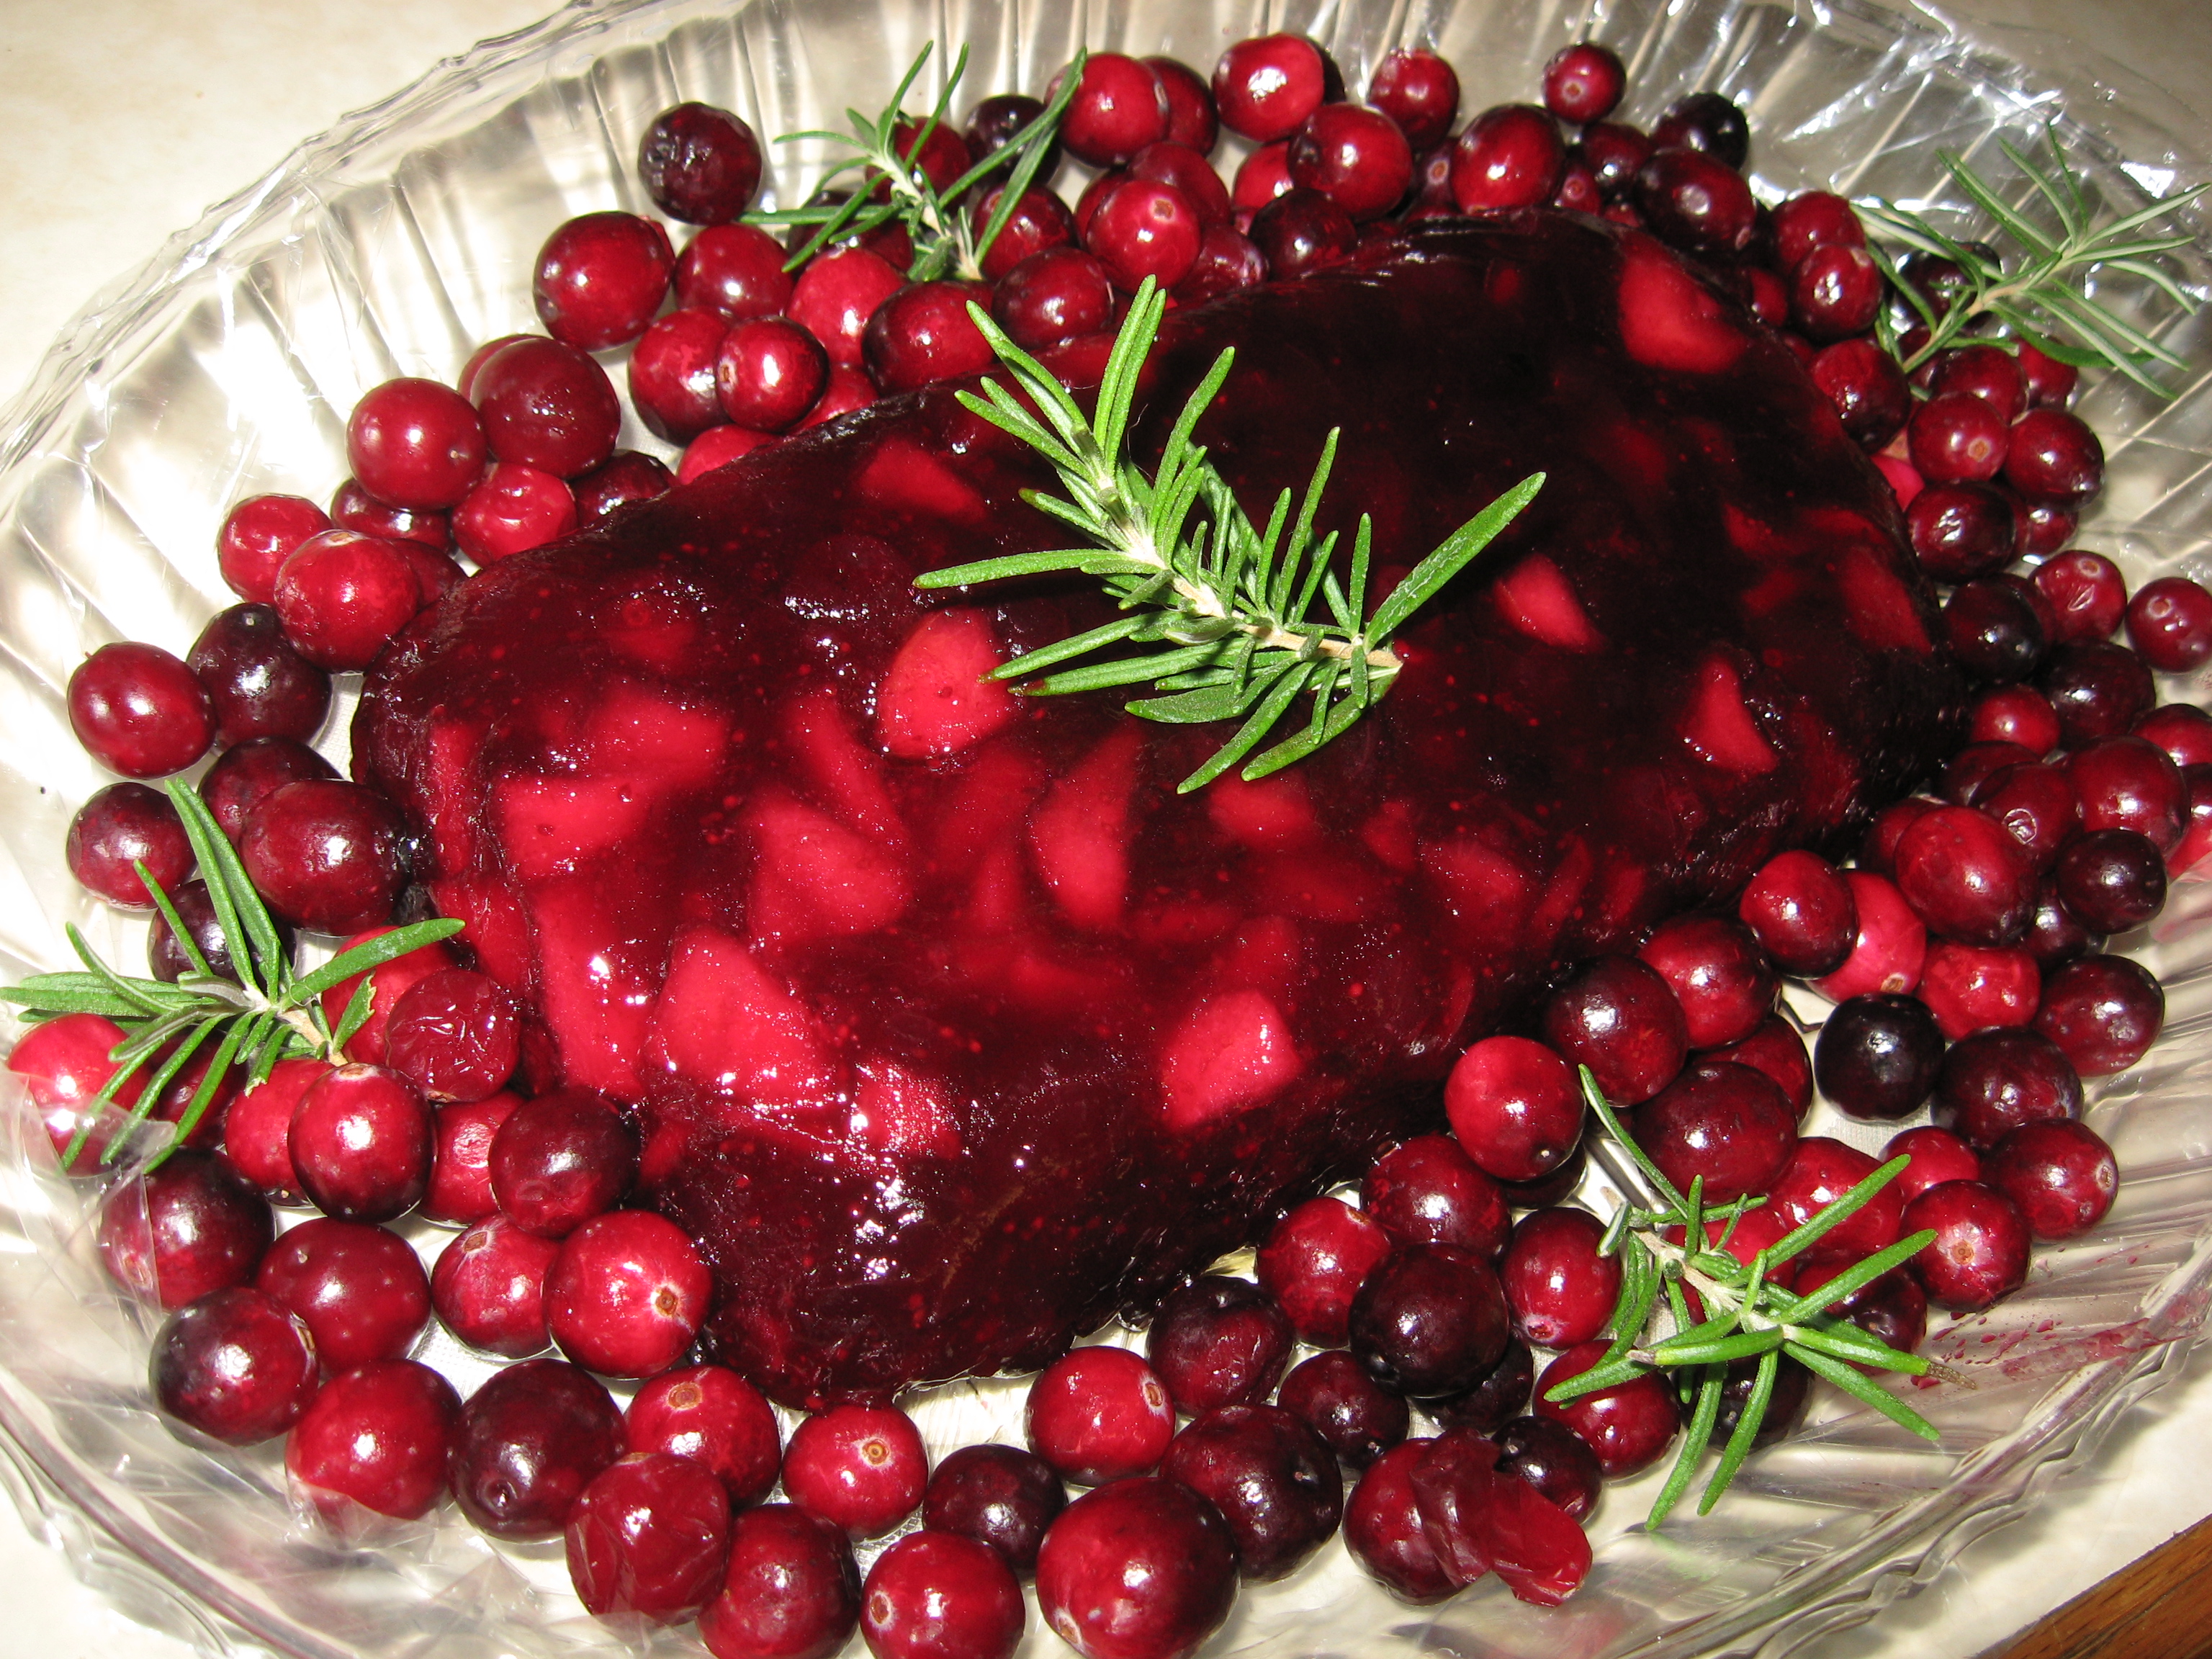
Jellied Cranberry Sauce with Fuji Apple (serves 6)

(This turns out like a loaf that can be sliced with a serrated knife.)

Ingredients:

  1. One 12-ounce bag fresh cranberries plus more for decorating purposes
  2. 1 large Fuji apple, peeled and cut into 1/2-inch dice
  3. 1 cup sugar
  4. 3/4 cup water
  5. 1 sprig or more of rosemary (for decorating purposes)

Directions:

  1. Line an 8-by-4-inch loaf pan with plastic wrap and spray the plastic wrap with nonstick cooking spray.
  2. In a medium saucepan, combine the cranberries with the apple, sugar and water. Bring to a boil and cook over moderately high heat, stirring frequently until the cranberries are completely broken down and the sauce is very thick, about 15 minutes.
  3. Place the cranberry sauce into the prepared pan and refrigerate until chilled, about 3 hours or longer, however, make sure to keep the loaf in the frig. before serving.  Don’t let it get to room temp before serving or you’ll be spooning it instead of slicing it.  No matter though, it’ll be good either way.
  4.  Invert the jelly onto a serving plate and remove the plastic wrap.
  5.  Garnish with fresh cranberries and rosemary sprigs. Slice with a serrated knife before serving.

Make Ahead The cranberry sauce can be covered in plastic wrap and refrigerated for up to 2 weeks. Serve chilled.

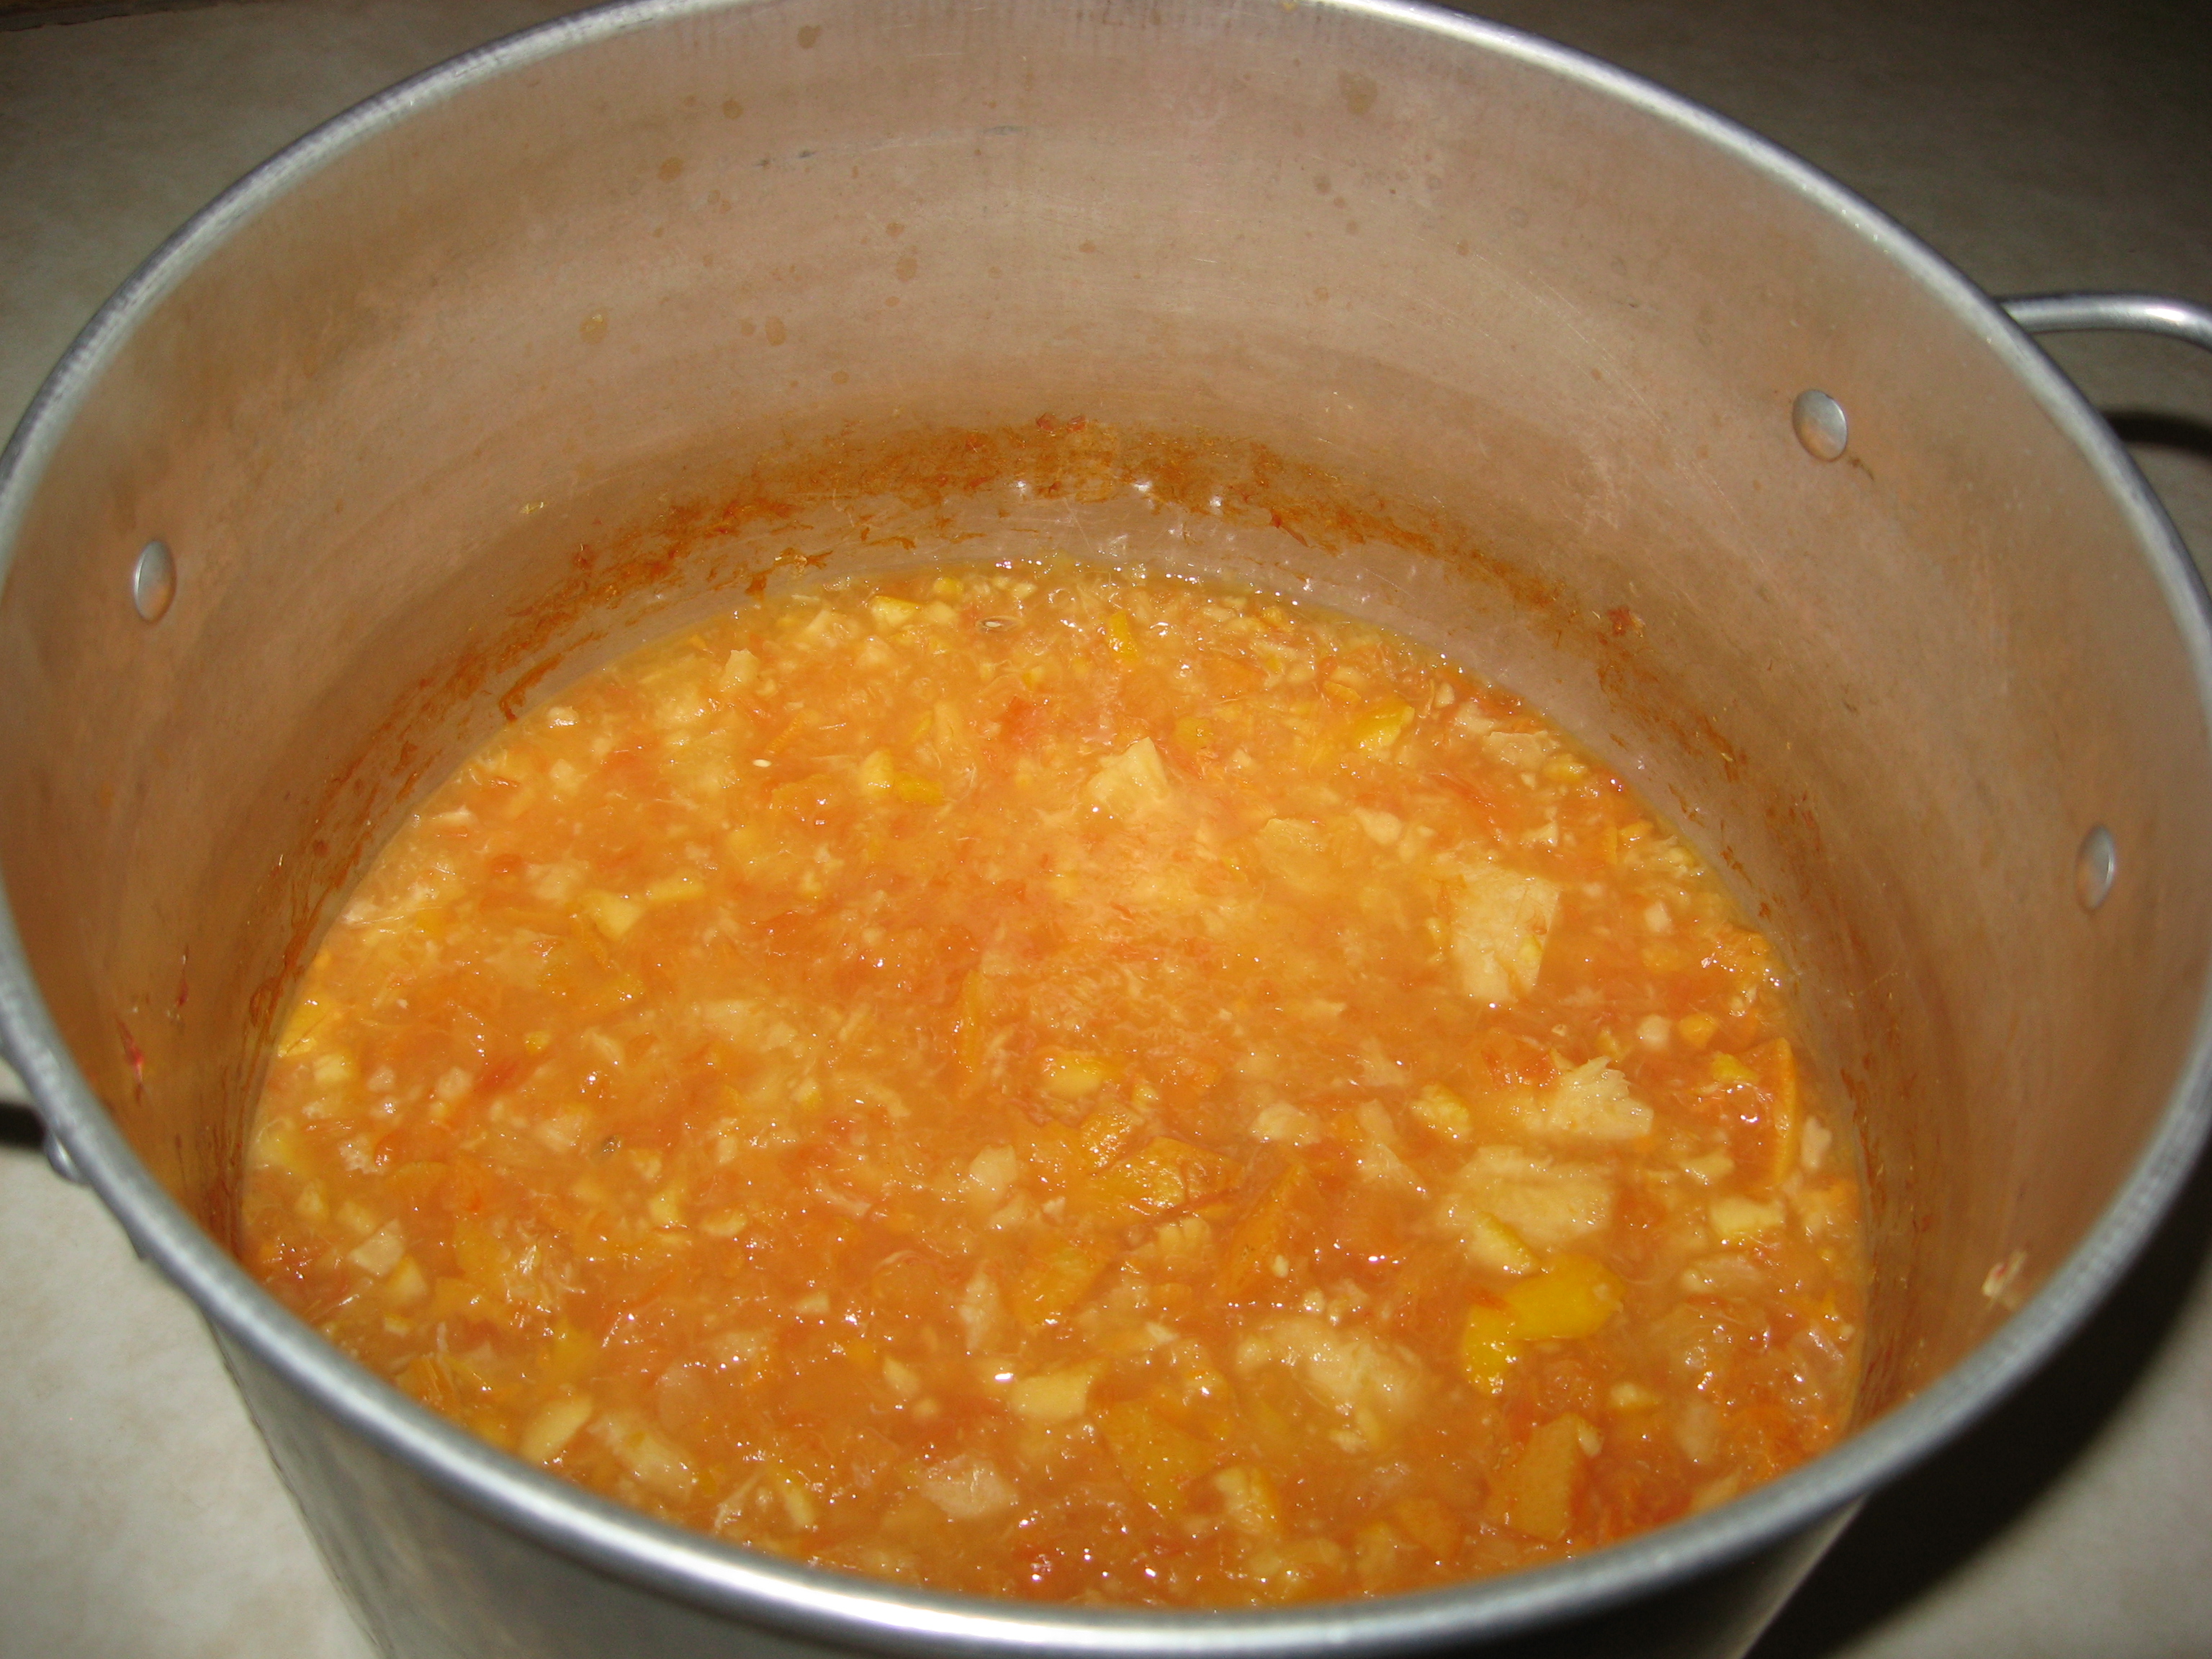
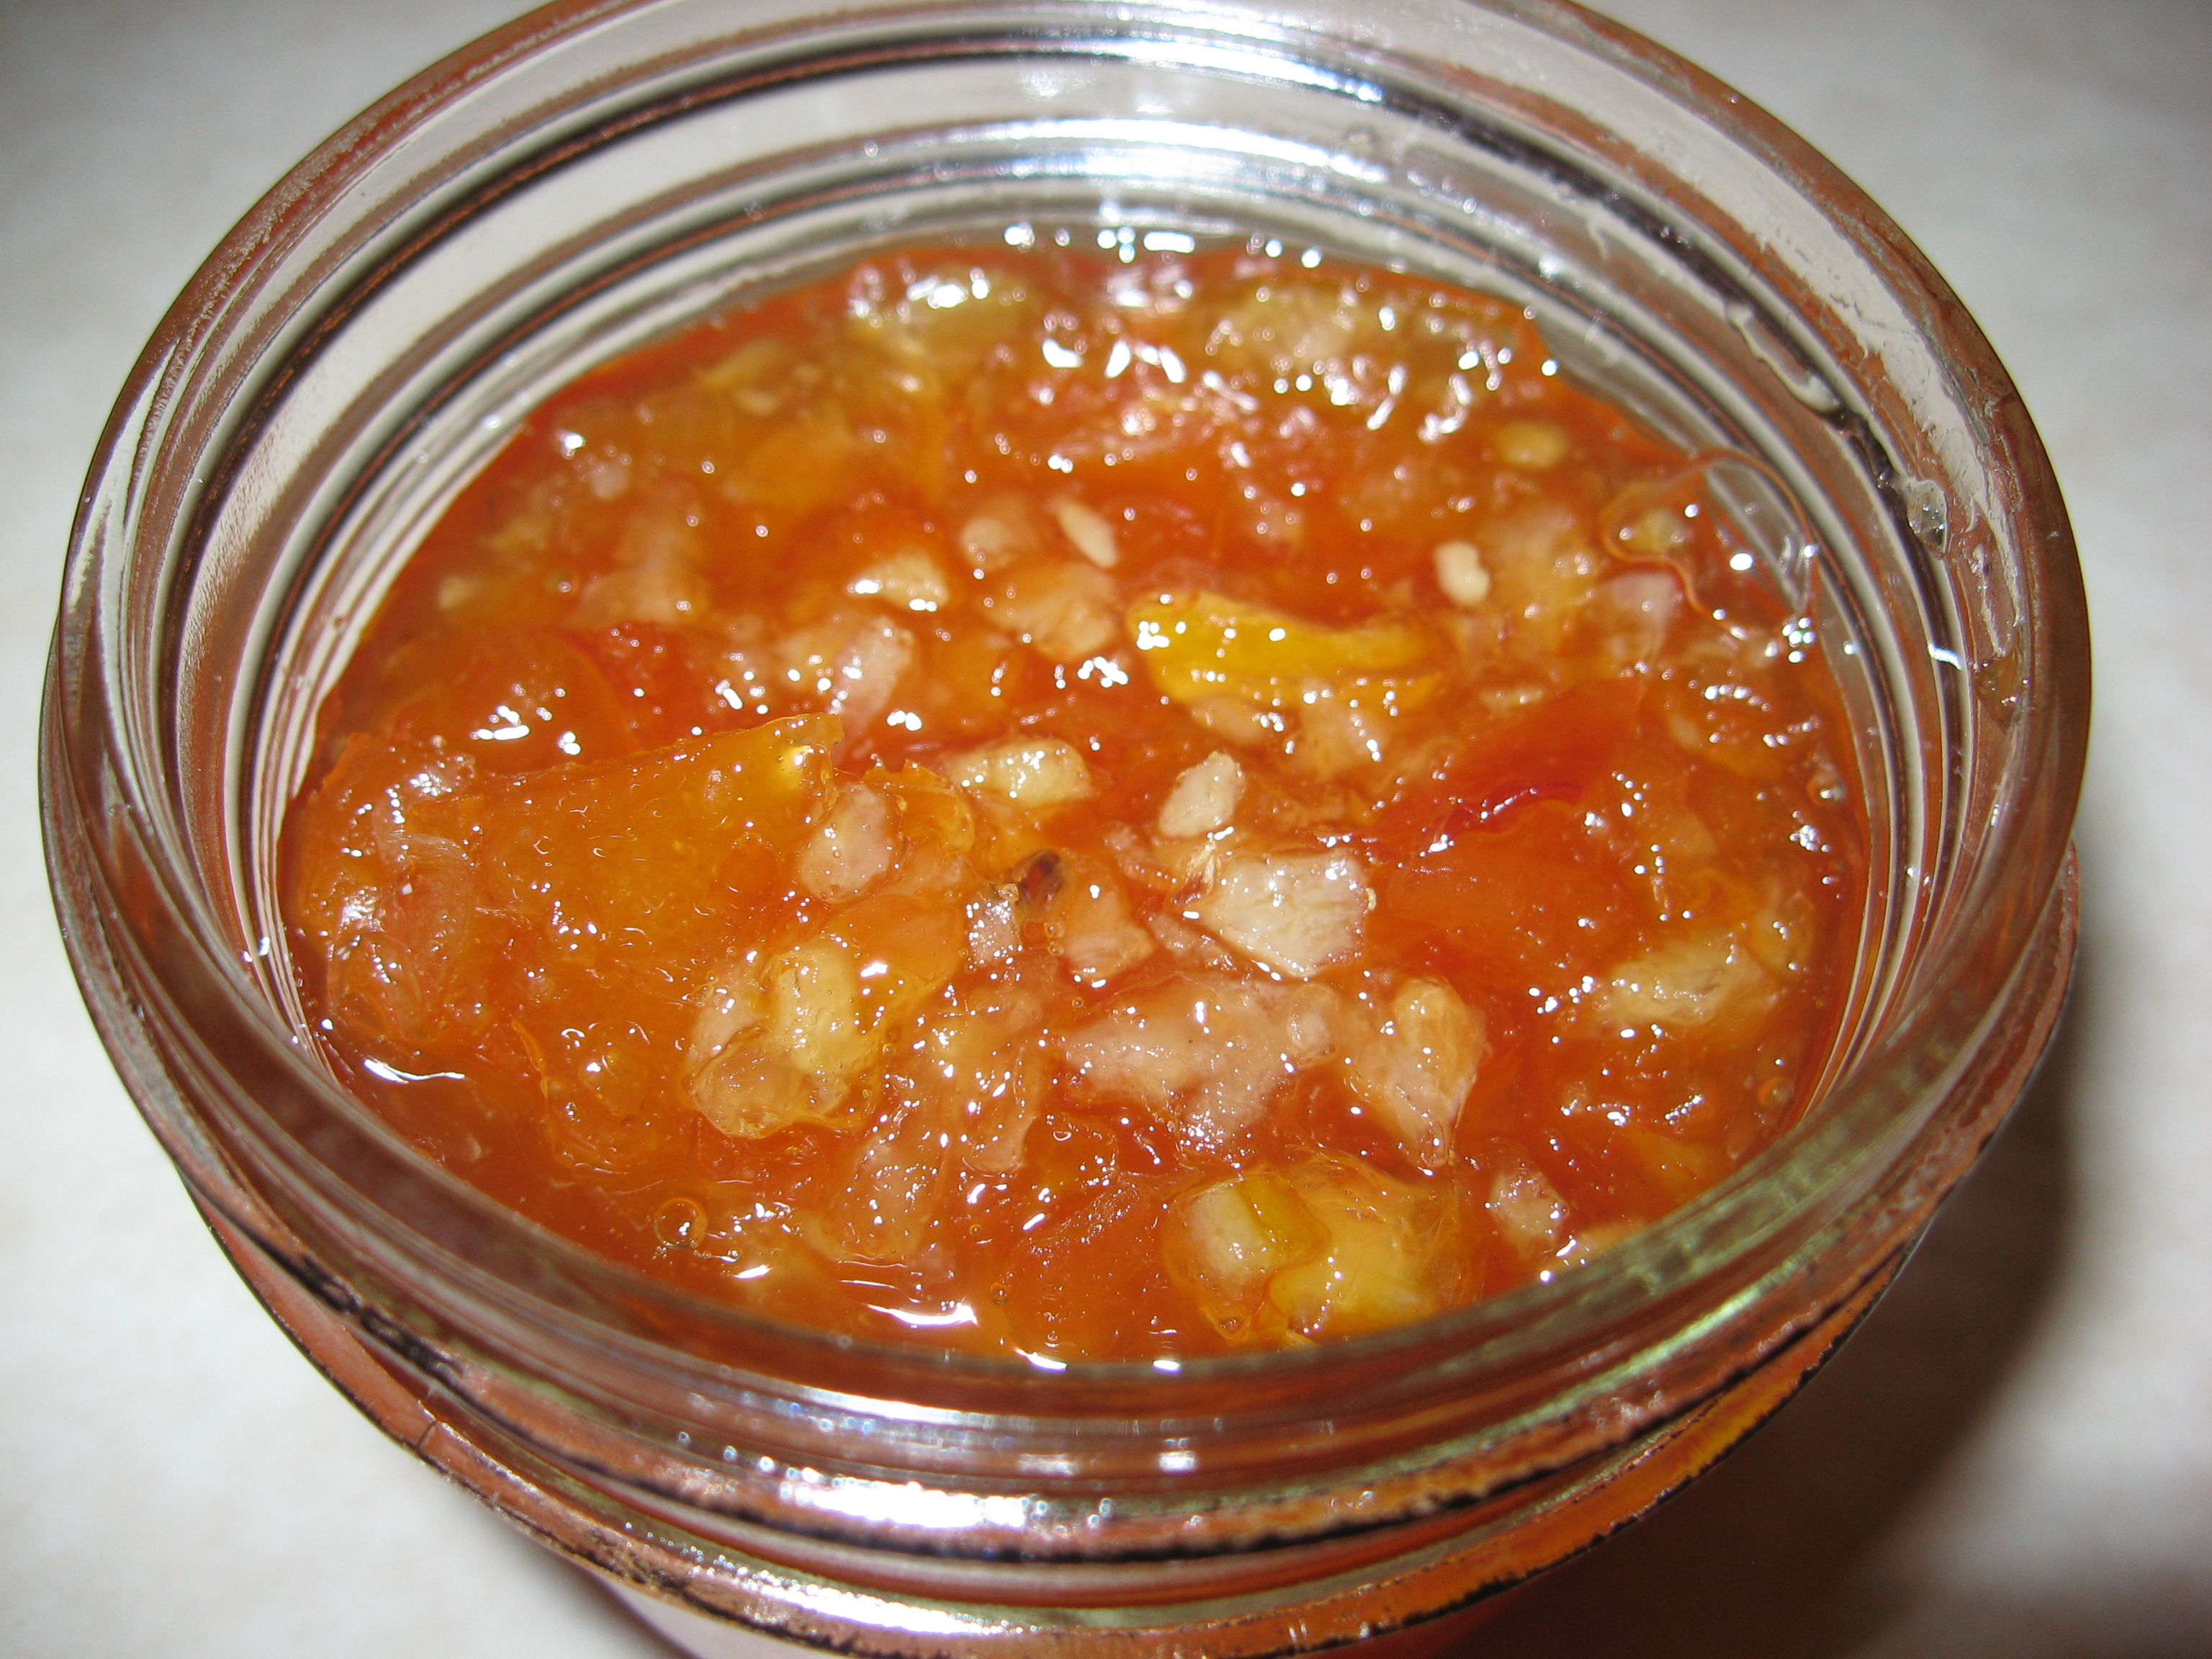
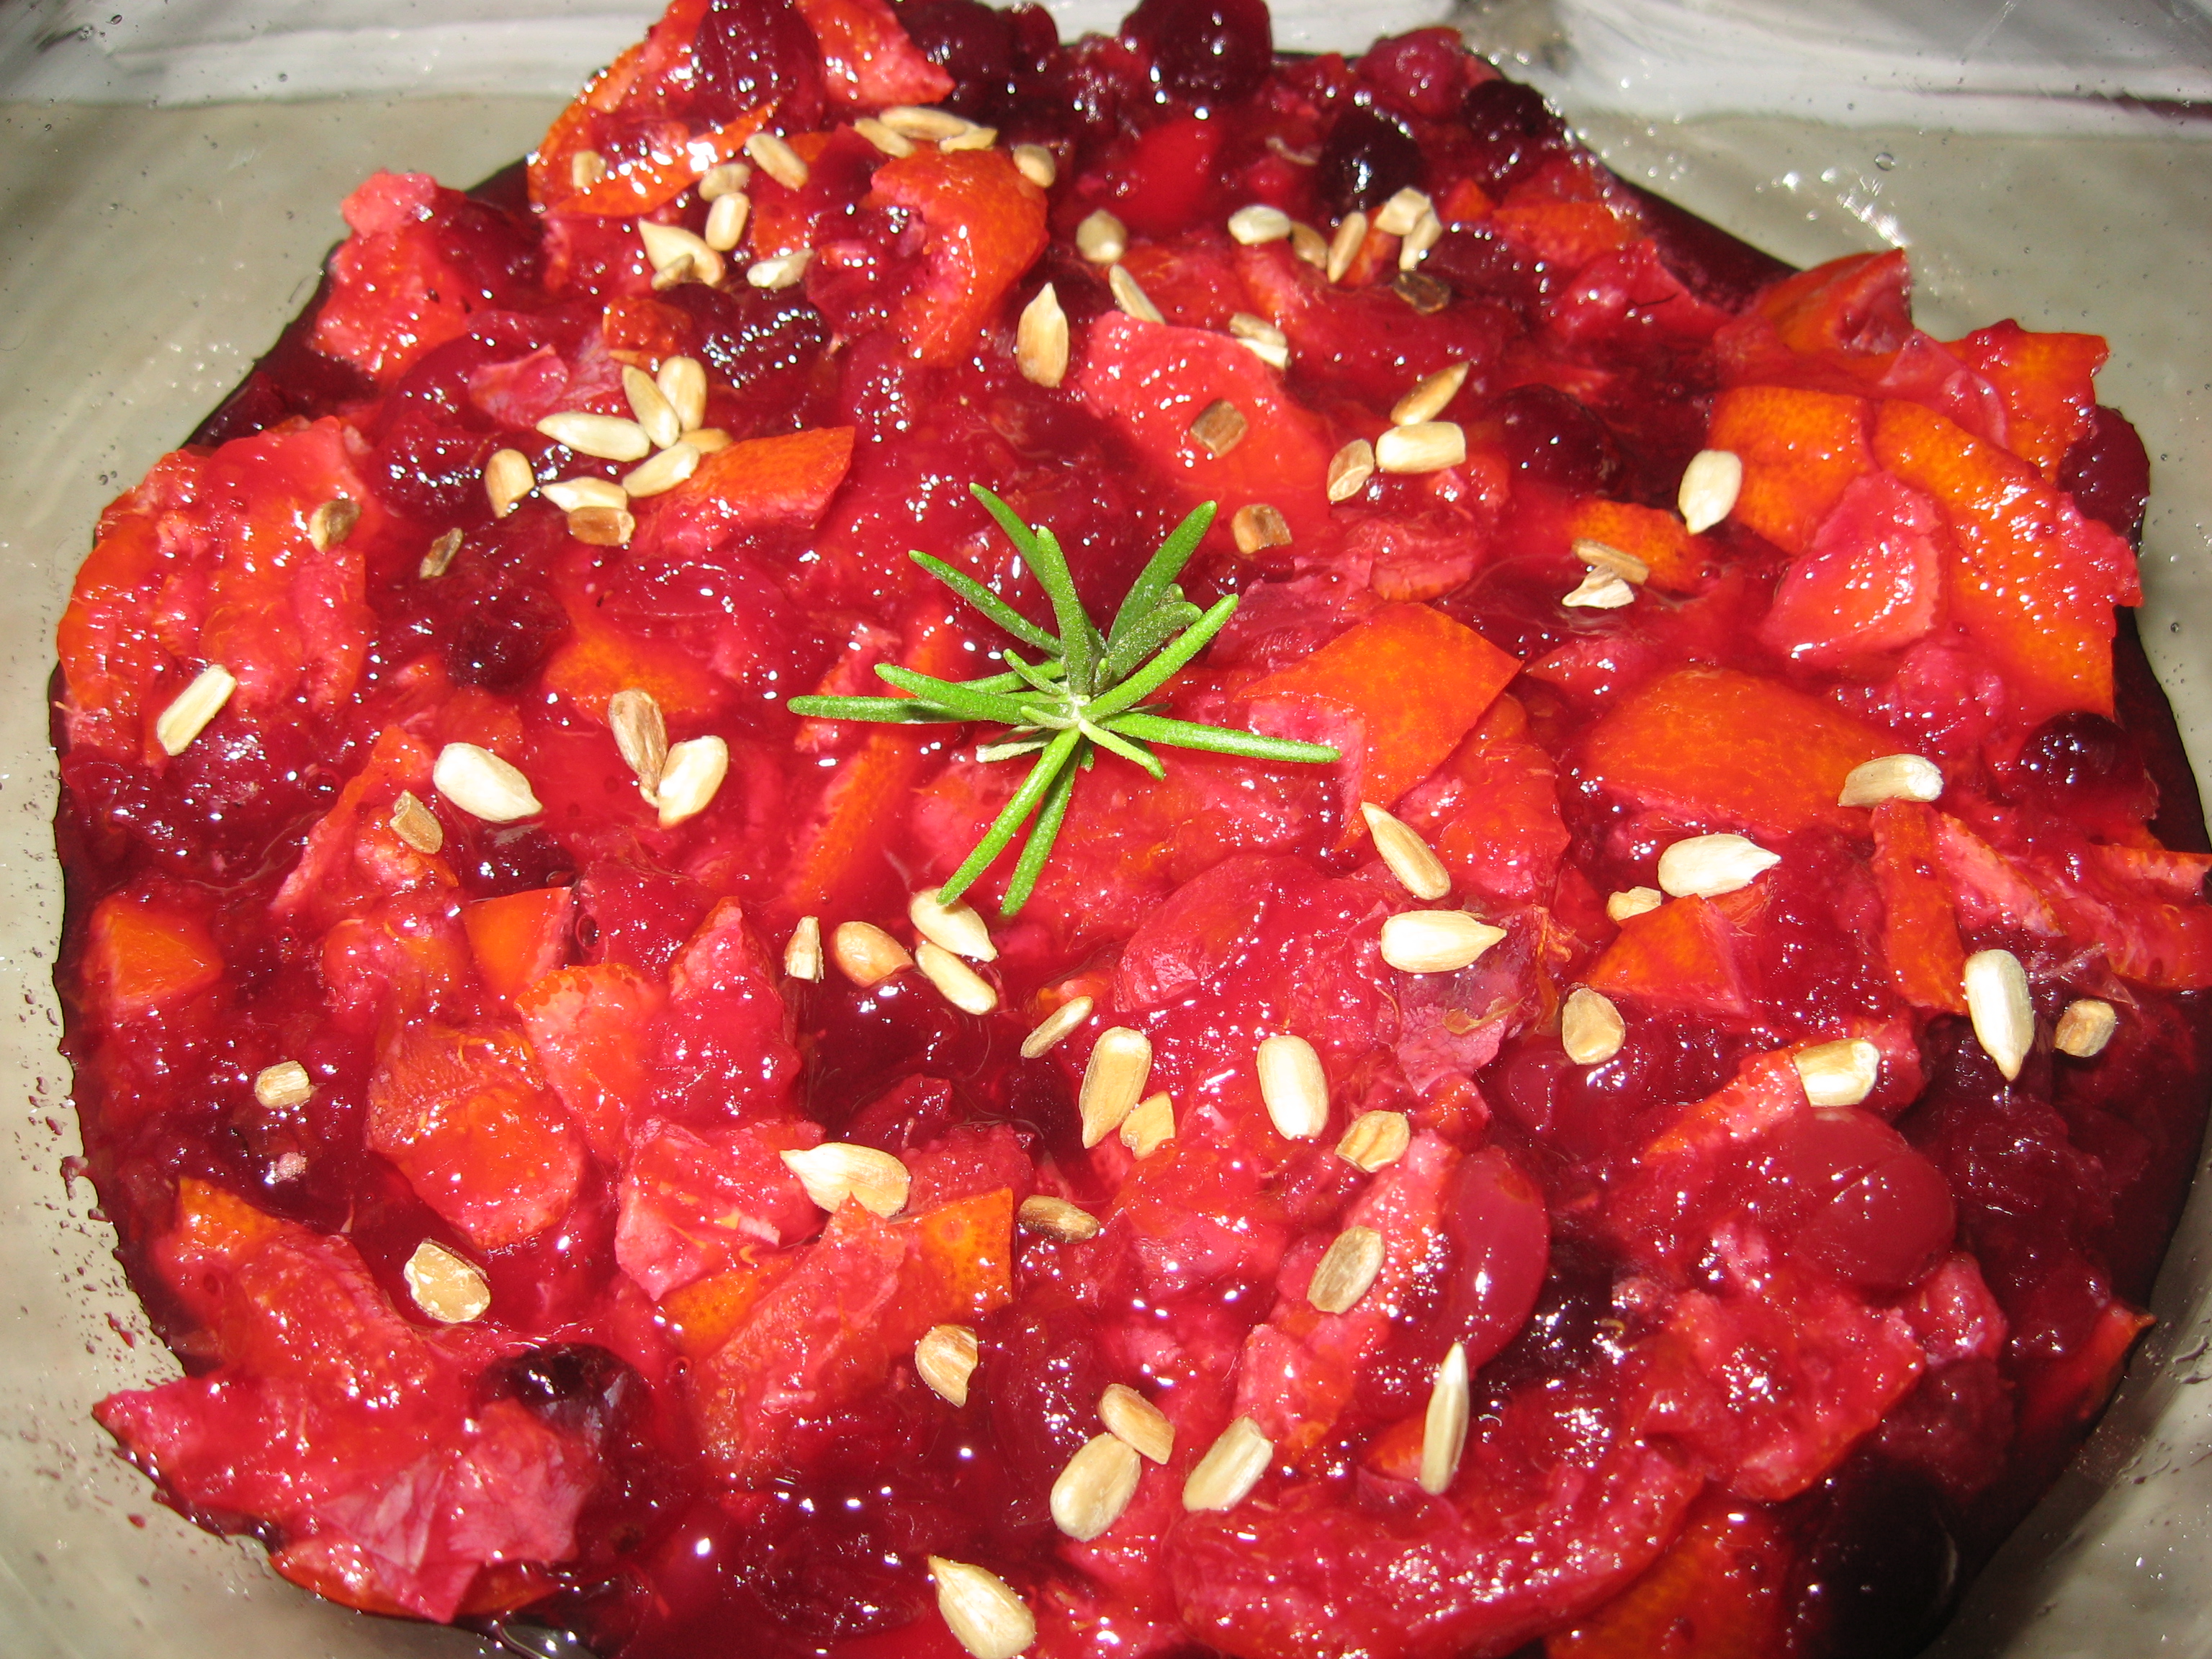
Cranberry, Clementine and Pumpkin Seed Conserve

Ingredients

  1. 3 Clementine
  2. 1 1/4 cups sugar
  3. 1 cup water
  4. One 12-ounce bag fresh cranberries
  5. 1/2 cup roasted pumpkin seeds  (see note below how to roast seeds)

Directions:

  1. In a medium saucepan, cover the Clementine with water. Bring to a simmer and cook over moderately high heat until the skin softens, about 8 minutes. Drain and let stand until cool enough to handle. Coarsely chop the whole Clementine and discard any seeds. Wipe out the saucepan.
  2. In the same saucepan, combine the chopped Clementine with the sugar and water. Bring to a simmer and cook over moderate heat until the Clementine peel is sweet, about 30 minutes. Add the cranberries and cook over moderately high heat until they burst, about 6 minutes.
  3. Put into a bowl and refrigerate until chilled, about 3 hours.
  4. Fold in the pumpkin seeds just before serving.

Make Ahead The conserve can be refrigerated for up to 2 weeks however, don’t put the seeds in till just before serving.

Note: To roast seeds, place seeds in a large sauté pan so there’s only one layer and cook over medium heat, shaking and stirring oven, till seeds brown and pop (anywhere from 5 to 10 minutes). They are best done right before using; however, you can store in a tight container for a day or so.

Compote of Ruby Cranberries with Sun-Dried Cherries(serves 6)

I love this recipe because it has a zing to it

Ingredients:

  1. 2/3 C. dark brown sugar
  2. 12 oz. fresh or thawed cranberries
  3. 4 oz. sun-dried cherries
  4. 12 whole black peppers
  5. 1 C. water
  6. A pinch of salt

Instructions:

  1. In a medium-size heavy saucepan put 1 C. water, brown sugar, a pinch of salt and 12 whole pepper corns.
  2. Bring to a boil; add cranberries and cherries and return to a boil.
  3. Reduce heat and cook over medium heat for 10 minutes or until the cranberries have popped and the sauce has thickened.
  4. Cool to room temp, cover and refrigerate till cold.

Make Ahead The compote can be refrigerated for up to 2 weeks.

Holiday Cranberry Bread

Standard

Holiday Cranberry Bread Holiday Cranberry Bread-001Holiday Cranberry Bread

1 loaf yields about 12 slices

This is such a delicious quick bread and it is a breeze to make.  A sliced piece comes out looking so colorfully festive and when you top it with some cream cheese it’s the best. Actually this recipe makes me think of my Mother who was from Holland.  She would slice a thin piece of this kind of loaf and place it in the middle of two pieces of toasted regular bread that had lot’s of butter on it and enjoy it that way.  Oh well, no different than using left-over turkey, cranberry sauce and left-over turkey dressing as a sandwich filling—which I do love and I bet a lot of you do to.

Ingredients:

(liquid)

1 C. sugar

1 Tblsp. grated orange peel (I didn’t have an orange so I used a lemon which turned out just great)

3/4 C. water

1/3 C. orange juice

2 Tblsp. oil

1 egg

(dry)

2 C. all purpose flour

1 ½ Tsp. baking powder

1 Tsp. salt

½ Tsp. baking soda

(last add-ins)

1 C. halved fresh or unthawed frozen whole cranberries (I had fresh which I briefly put in the blender)

1 C. chopped nuts—any kind that you like.  I used almonds.

Instructions:

  1. Heat oven to 350.
  2. Pam spray 9X5 loaf pan (I used a glass one which worked just fine.)
  3. In a large bowl combine the liquid ingredients (I used a whip); blend well.
  4. Add dry ingredients (I sifted mine) until moistened.
  5. Stir in cranberries and nuts.
  6. Pour into greased pan.
  7. Bake at 350 for 50 to 60 minutes.  (Here in Ketchum, 50 minutes did the trick.) An inserted toothpick in the middle of the loaf should come out clean.
  8. Cool 10 minutes at least before removing from pan.
  9. Cool totally and try not to eat it all at one sitting.  Wrap tightly and store in frig.
  10. Hints:  No need to use a mixer or beater. Also, you can make 3 small loafs and bake for 30 to 35 minutes. I haven’t tried freezing, but I’m sure that would work.  Make sure to wrap in plastic wrap to keep the loaf moist when storing in frig. or freezing.

Bon Appetit!!!

For easy access and printing of this and past recipes, visit Margot’s blog http://blog.tempinnkeeper.com  Call Margot for personal cooking help @ 721-3551.

Margot is a self-taught enthusiastic & passionate cook. Having been an inn-keeper for 5 years at her own inn, she accumulated a lot of good recipes which she loves to share.

Sliced Canadian Bacon with Rosemary and Sweet Italian Chicken Sausage Slices with Rosemary and white vermouth

Standard

Finnish Pancake by itselfSliced Canadian Bacon with Rosemary and Sweet Italian Chicken Sausage Slices with Rosemary and white vermouth

Amount of Servings is up to you


My guests at my bed and breakfast just loved both of these easy to make side dishes.  First it makes the house smell so good, second it looks  pretty when served with rosemary sprigs and third, it tastes delicious and light. Both of these dishes really aren’t very rich or “greasy” like a pork sausage or regular bacon can be.  My guests insisted that I share my recipes with them—and so now, I am sharing it with you.

Canadian Bacon with Rosemary

  1. Let a large skillet that has been sprayed with a bit of olive oil spray warm up over medium  heat.
  2. Place your Canadian bacon slices in the skillet and spray them with a bit of the olive oil spray. Then sprinkle them with some Italian Seasoning and also a generous amount of fresh rosemary.
  3. Place a cover on the skillet and let cook for about 5 minutes—watching carefully that they are not getting a bit brown, but not too much.
  4. After 5 minutes, turn them over with tongs let them simmer without the skillet’s cover for another couple of minutes.
  5. When they look perfect to serve, place them on a pretty platter that has been decorated with some rosemary sprigs. As well, if you want to wait a bit until your accompanying dish is ready, you can turn the burner off, keep the cover on the skillet so that they stay warm, and serve them a bit later.

Sweet Italian Chicken Sausage slices with Rosemary

  1. Slice your sausages in 1/2 inch thick slices
  2. Place a large skillet over medium heat and add 1/2 C. chicken broth, a generous dash of white vermouth and some fresh rosemary.
  3. Once the liquid starts to simmer, turn the heat down to medium low, place the sausages in the skillet and put a cover on the skillet.
  4. Let the slices simmer about 10 minutes and then turn them over using a pair of tongs. Covered once again, let them simmer for another 10 minutes.  Watch carefully to see if the liquid level is getting low and if it is, add a bit more chicken broth.
  5. If they seem to be done, make sure to cut one slice in the middle to see that it’s done and not pink.  Remember, you are dealing with CHICKEN—not beef.
  6. Once again, I plate my sausage slices on an attractive platter that has several loose fresh rosemary sprigs.
  7. This dish also goes nicely atop a serving of pasta.

For easy access and printing of this and past recipes, visit Margot’s blog http://blog.tempinnkeeper.com  Call Margot for personal cooking help @ 721-3551.

Margot is a self-taught enthusiastic & passionate cook. Having been an inn-keeper for 5 years at her own inn, she accumulated a lot of good recipes which she loves to share.

Chili Relleno Casserole

Standard

chilli rellano casserole (7)

Chili Relleno Casserole

Serves 4

Ingredients:

4 eggs

2 or 3 Poblano Peppers (roasted, peeled, and seeded, and cut in halves or thirds long way)

2 Tblsp. flour

1/2 Tsp. Baking Powder

1 Tblsp. finely chopped cilantro

2 Tblsp. green enchilada sauce

1 to 1 1/2 C. mixture of shredded Mozzarella and shredded Mixed Mexican Cheese

For Accompaniment: corn tortillas, chopped tomatoes, salsa or Chipolata Sauce, chopped black olives for garnish along with sour cream and avocados or guacamole.

8 X 8 oven proof dish

Directions:


Preheat oven to 350 degrees

  1. Divide the 4 eggs— yolks in one small bowl and the whites in a larger bowl.
  2. Beat the egg yolks until frothy and light.  Add flour, baking powder, cilantro and

2 Tblsp.green enchilada sauce and beat some more.

  1. Beat the eggs whites until stiff.  Fold yolk mixture into the stiffened whites.
  2. Pam spray your 8X8 oven proof dish and layer in the following way:
  3. First layer half of your egg mixture
  4. Place the peppers on top
  5. Place the mixed cheese on top
  6. Place the remainder of the egg mixture
  7. Bake at 350 degrees for 25 minutes
  8. Remove from oven and check with knife or toothpick in the middle that the soufflé is done. Don’t let it get over done because then it’ll be dry. If you wish when it’s done, you can decorate the top with a combo of all or just one of the following: chopped tomatoes, chopped cilantro, sliced black olives; then let sit for 10 to 15 minutes.
  9. Serve with warm buttered corn tortillas and relishes such as more chopped tomatoes, salsa, chipolata sauce, sour cream and avocados or guacamole.

Hint: To roast Poblanos or other peppers, place over an open flame or in a pan under the broiler until they are very brown, almost burnt.  Place quickly in a sealed paper bag and let sit for about 20 minutes. That way the steam from the peppers will help remove the skin.  Then, with gloved hands, peel the skin off and de-seed.

For easy access and printing of this and past recipes, visit Margot’s blog http://blog.tempinnkeeper.com  Call Margot for personal cooking help @ 721-3551.

Margot is a self-taught enthusiastic & passionate cook. Having been an inn-keeper for 5 years at her own inn, she accumulated a lot of good recipes which she loves to share.