Tag Archives: main dish

The Almighty Little Crepe

Standard

crepe (1) crepe (3)

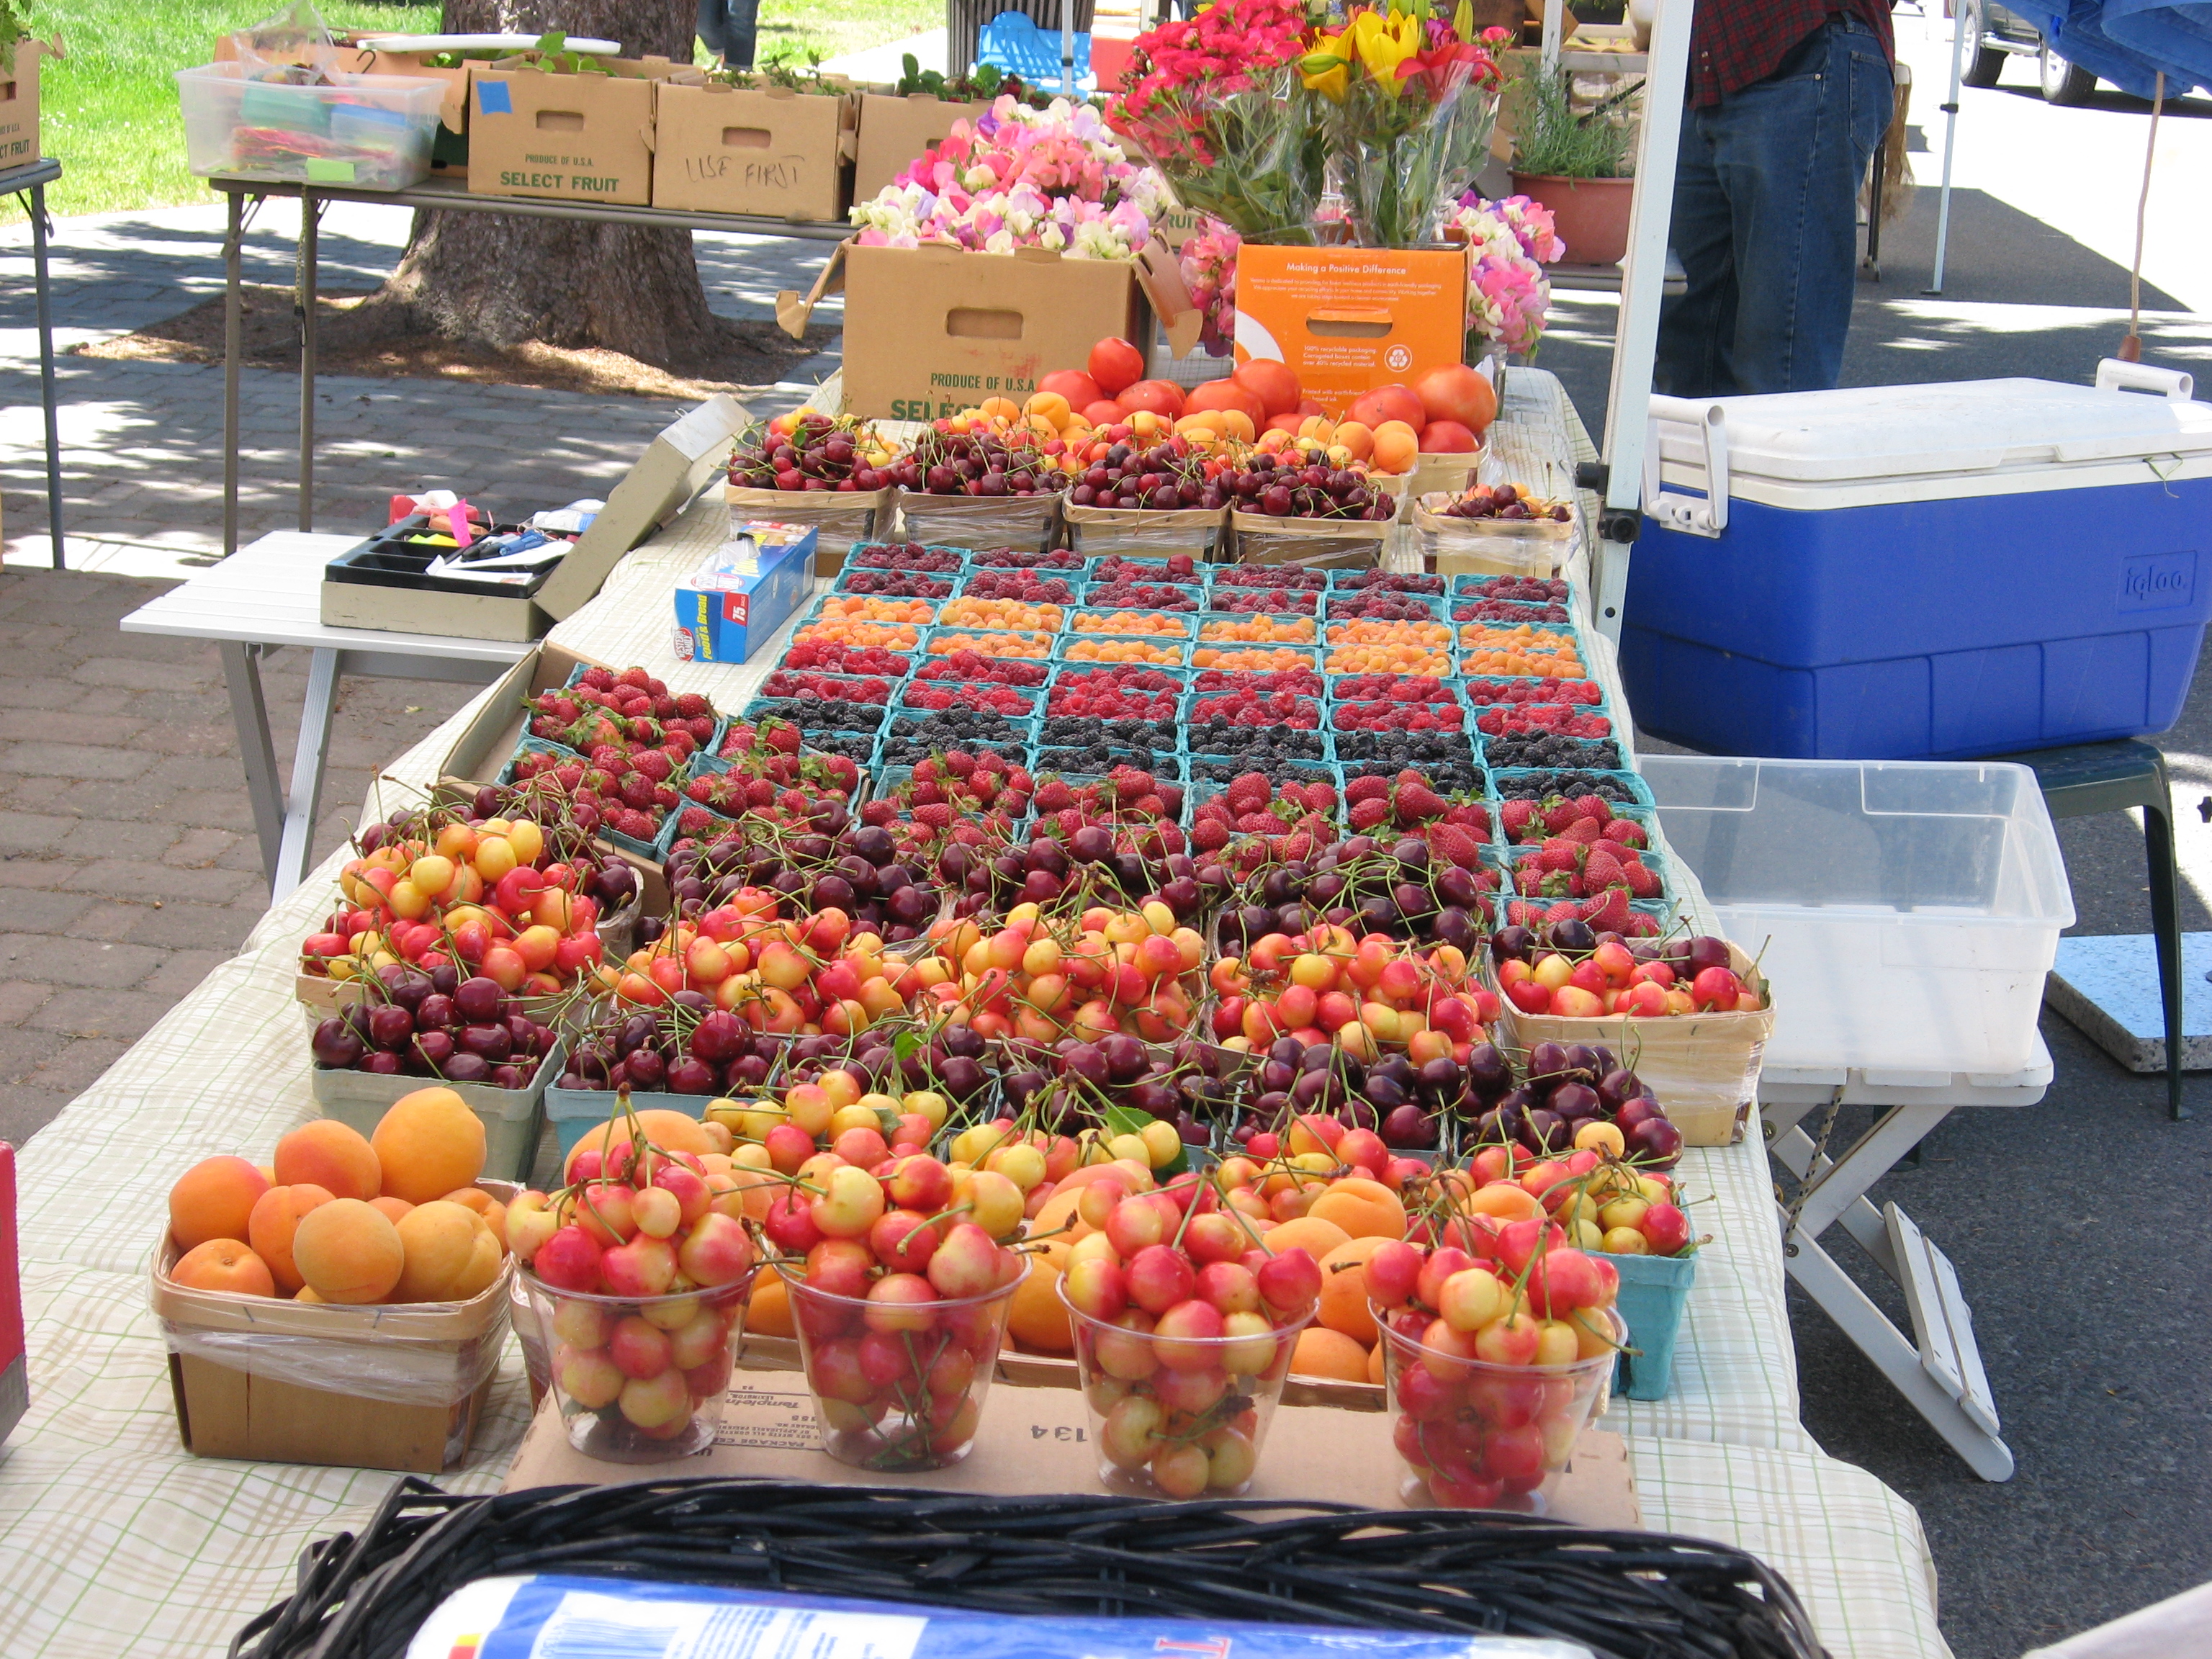
The Tuesday Ketchum, ID Farmers Market

The Almighty Little Crepe

The other night, after dinner, I was still hungry for an easy something yummy and what came to my mind was that so seldom made now-a-day crepe.  Not so long ago, you’d see a creperie at almost every corner, but now it’s found mostly at the outdoor craft and art fairs (or at the Lodge & special restaurants).  It’s such an easy and quick as a wink dish to make as well as being very versatile. It can be sweet or savory and it can be easy on the belly depending on what ingredients you use.  So, here’s a basic recipe that I use and a lot of variable ideas to make it just what you wish.  It’s good for any meal as a first or main course or a desert. With the summer fresh fruits so beautifully featured at the now open Farmers Markets, you can’t beat pairing them with the crepe—and voila you have a fancy desert with barely any fuss or muss.   And don’t forget, most kids love it and can take a hand at cooking it themselves.

You Will Need for 14 to 16 Crepes

One 5 or 6 “skillet preferably non-stick (I saw one at the Goldmine for several $)

3/4 C. All Purpose Flour

1/2  Tsp Salt

1 Tsp. Baking Powder

(2 Tsp. Powdered Sugar if making sweet crepes)

2 Eggs

2/3 Cup Milk

1/3 Cup Water

(1/2 Tsp. Vanilla or Grated Lemon Rind if making sweet crepes)

Directions:

Sift the dry ingredients in a small bowl.  Beat the egg, milk, and water in a separate container with a wire whisk.  Add the liquid to the dry ingredients with a couple of swift strokes of the whisk. Don’t beat too much. It’s OK to leave some little lumps in the batter.

Heat the skillet to the point where when you splatter a couple of water drops in it, the drops will scatter about before disappearing.  Reduce the heat just a bit and then either place a little butter, spray oil, or nothing if you prefer and the pan is non-stick, and place about 2 Tblsp. of batter in the skillet.  Tip the skillet all around quickly to get all of the liquid to the outer edges and let cook till bubbles rise and the top seems fairly dry—about one minute or less.  Then reverse the crepe to lightly brown the other side—about 15 or 20 seconds. You don’t want the crepes to get too brown or crispy. At this point, I do what my Mother used to do—I have a double boiler with a little boiling water in the bottom part, the top already warm, and I place the crepes in the top.  They stay very moist that way.  However, you can also keep them warm in a warmed oven.  Fill and roll your crepe with your preferred filling and topping and bon appetite.  If you have left over batter, you can store it in the frig. and use it on the morrow, however, I prefer it on the today basis.

Some Sweet Crepes Filling Suggestions:

1.       Chopped apples & currents that have been browned slightly in a bit of butter and honey and when carmelized (about 3 minutes or so) a bit of rum thrown on.  You can use any kind of fruit to do this-pears, bananas, berries, etc. You can also add some chopped nuts to this mixture or cinnamon. For a topping a little grated lemon rind is perfect.

2.       Yogurt, sour crème, or crème cheese mixed with some sugar to sweeten with a brushing of sugar and cinnamon on top; or whipped cream, even ice cream and melted chocolate to top.

3.       Jelly, jam, marmalade, or lemon curd with a sprinkle of powder or granulated sugar for the topping. This is the way mother always served it and my father loved it.

Some Savory Crepes Filling Ideas

When using cheese as a toping you can place the crepes on an oven proof dish and place in a 400 degree oven for about 10 minutes.

1.       Cooked, drained, or sautéed chopped (except for the like of asparagus spears which fit in the crepe so nicely) veggies with a light white or béchamel sauce or various kinds of cheese slightly melted in the oven as a topping. Mushrooms are really good for a filling.

2.       Meat (stewed), chicken, fish with a sauce topping.

3.       Cooked beans with a cheese toping.

4.       Ricotta cheese inside and an Italian tomato sauce on the exterior and baked a bit in the oven.

Are you a frustrated, overworked or timid cook? Call Margot for help @ 721-3551

& please feel free to email her @ TempInnKeeper@mindspring.com or to visit her blog for more recipes including these: http://blog.TempInnKeeper.com

Margot is a self-taught enthusiastic & passionate cook. Having been an inn-keeper for 5 years at her own inn, she accumulated a lot of good recipes which she loves to share.


Orange Scented Pork & Veggie Stew

Standard

Orange-Scented Pork and Veggie Stew

Serves 6

The weather report is saying: tomorrow a little snow with rain; the day after a chance of sun, cloudy and partly cloudy and warmer with temps ranging from 30 to 60; the day after that a little snow with a chance of thunder; well you get my drift.  It’s spring and wait one minute because the weather will not be the same as it was the minute before.  Spring is fun and full of surprises. I’ve never down hilled with lightening and thunder looming overhead, however, the other day I thought that might have been a possibility. Anyway, one thing is for sure, here in our gorgeous mountains it’s perfect weather now to enjoy this wonderful stew.  Pork can be a nice surprise for the shopper in these difficult economic times because it’s usually priced very reasonably—depending on the cut of course.  A stew can use many different cuts of meat and in this recipe I actually used the thinner pork loin chops which truly were priced very well.  So, here you go and I hope that you’ll enjoy this as much as I have.

Ingredients:

2 ½ Lbs. boneless pork shoulder cut into 2 inch cubes or I used the thinner pork loin chops (with a bone) cut the meat into cubes and inserted the chop’s bones in the cooking process.  I took the bone out before serving.

S&P

2 Tblsp. Olive Oil (more if needed)

2 Onions Diced or Thin Sliced (I like mine thin sliced)

1 Tblsp. Minced Garlic

2 Cups Italian Style Diced Tomatoes With Juice (if you wish a thicker stew, drain the tomatoes before adding them.)

1 Tblsp. Brown Sugar

Zest of 1 Orange (Removed in a 1 long strip if possible, if not, that’s OK)

3 C. Chicken Broth

1 C. Dry White Wine or Dry Vermouth

4 Carrots–halved lengthwise, then cut in 1” lengths

2 Parsnips- prepared like the carrots

4 Tblsp Chopped Fresh Mint Leaves

Vermicelli, for serving with the Stew—Rice is OK as well

Directions:

1.        Parboil in very little water the carrots and parsnips for 3 minutes.

2.        Season pork with S&P. Place the olive oil in a large pot over medium heat and brown the pork for about 6 minutes.  Remove and set aside.

3.        Reduce the heat to low, adding more oil if needed, and cook the onions and garlic until soft, about 10 minutes, stirring occasionally.

4.        Add the tomatoes, sugar, orange zest, chicken broth, and white wine.  Return pork to the pot and bring to a boil over high heat.  Reduce heat to medium-low and simmer, partially covered for 1 hour. (If you used the thinner pork loin chops, the time may be only 30 to 45 minutes) Stir in carrots and 2 Tblsp.of the mint.  Season with some more S&P if needed. Cook partially covered until the pork is tender, about 15 minutes longer.  Remove and discard orange zest if you wish-however, I think it’s sort of fun to keep it in.

5.        Sprinkle with the remaining 2 tablespoons of mint and serve over the vermicelli or rice.

6.        Since you still have one left over orange this is what I serve the stew with: a fresh lettuce that has thinly sliced raw red onion and cut orange segments in it ;or I thin slice some Brussels sprouts and sauté them gently in a mixture of butter/olive oil and some brown sugar. Right before they are done, I add the cut orange segments.


  Are you a frustrated, overworked or timid cook? Call Margot for help @ 721-3551

& please feel free to email her @ margot6@mindspring.com for comments or ideas

Margot is a self-taught enthusiastic & passionate cook. Having been an inn-keeper for 5 years at her own inn, she accumulated a lot of good recipes which she loves to share.


Turkey Meatball Soup & Duxelles

Standard

Just in time for our recent storms and brrrr weather, here’s a two for one column this week.  Enjoy!!!! And as always, Bon Appetit

Turkey Meatball Soup

4 to 6 servings

Ingredients:

2 Beaten Eggs

1 Cup Bread Crumbs

4 Tblsp. Grated Parmesan or Romano Cheese

2 Tblsp. Chopped Fresh Parsley

2 Tblsp. Chopped Onion

1 Minced Garlic

S & P to taste

1 Lb. Ground Turkey

2 Cups Garbanzo Beans (you can use a can; however, I usually make mine fresh.  They are so easy to make and so much better than the canned variety.  Follow the directions on the bean pkg.)

2 Cups of Good Beef Broth

1-14 ½ oz. Can of Italian-Style Stewed Tomatoes

1 ½ Cups of Water

3/4 Cup Sliced Fresh Mushrooms or Reconstituted Dried Mushrooms or Duxelles *

1 Tsp. Italian Seasoning

3/4  Cup Already Cooked Wild Rice Mix and/or Long Grain White Rice

4 Cups of a Combination of Chopped Kale, Cabbage, Parsley, Cilantro, Brussel Sprouts

Directions:

In a medium mixing bowl, combine the first 7 ingredients and then add the ground turkey. Mix well and make small sized meatballs (1 inch circumference more or less). In a large skillet sprayed with non-stick spray, brown the meatballs over medium heat (about 8-10 minutes) turning them until evenly browned  (I turned them with two tablespoons) and done.  They will be a bit dark on the outside which is just fine.  Set them aside for the moment.

In a large pot, stir together the next 7 ingredients and then add the meatballs. Then place the pot over medium high heat till the mixture comes to a low boil.  Simmer covered for about 15 minutes.  For the last step, add the vegetables, bring to another boil, reduce to a simmer and cook till the vegetables are tender.

Serve in bowls with some shaved parmesan or Romano on top along with some crusty bread or nice bread sticks.

*More about Duxelles

Thanks to Mark Bittman for my discovery of this:

Here’s an additional wonderful thing to keep in your freezer and have on hand for whenever.  It’s great to put in soups, stews, omelets, etc.

3 Tbls. Butter or Olive Oil

¼ C. Minced Shallots, Scallions, or Onions

1 lb. Any Kind Mushrooms-(stems and all)

S & P to taste

¼ C. Fresh Parsley Leaves, Minced

Place the butter or olive oil in a large, deep skillet and turn heat to medium. Just as the foam begins to subside, stir in the shallots/scallions/onions. Cook, stirring occasionally until they soften—3-5 minutes

Stir in the mushrooms.  Cook, stirring until they have given up most of the liquid, about 10 minutes.  Turn the heat to low and continue to cook stirring until almost all the liquid has evaporated.  Season well, then stir in the parsley.

Use immediately or refrigerate (1 week) or freeze.

Margot is a self-taught enthusiastic & passionate cook. Having been an inn-keeper for 5 years at her own inn, she accumulated a lot of good recipes which she loves to share. For comments, questions, and ideas please feel free to email her:margot6@mindspring.com.

Overnight Scrambled Egg Bake

Standard

overnight scrambled egg bakeOvernight Scrambled Egg Bake For An Easter Breakfast Or Brunch

Eggs are supposedly a symbol of fertility and new life. They play a big part in most of our Easter traditions. I do like eggs and somehow or other, the combination of eggs and ham always seem so appetizing. Maybe that’s why I got such special enjoyment out of reading Dr. Seuss’s Green Eggs and Ham to my little ones.  So as “Sam-I-Am” recommends and for your family’s gourmet enjoyment here with is an easy egg and ham dish to prepare the night before Easter and then to pop into the oven on Easter morn whilst the little ones are hunting for their eggs.  It’ll make the house smell good; it’ll make you feel good because it’s a no fuss dish and you’ll be able to enjoy the festivities; and after the egg hunt, it’ll make everyone feel good because they’ll be able to enjoy a wonderful Easter breakfast.  By the way, you don’t have to use green eggs—but you can if you wish as long as they are not hard boiled.

Overnight Scrambled Eggs Bake

Serves 6-8

Cooking Time: 1 hour

Ingredients:

8 eggs

1 ½ Cup Milk

¼ Tsp. Fine Herbs

6 oz. or A Bit More of Cubed Ham

Several Chopped Leeks

½ Cup Or More Sliced Mushrooms

1 Cup Shredded Cheddar Cheese

One Large Tomato Sliced Thin

6 Thickly Sliced Pieces Of Challa Or Italian Bread Loaf (You can use other bread, but I have found that the two I mentioned are the best for this dish.)

Instructions:

Spray with a non-stick spray a 9 X 13 baking dish

Beat eggs well; add the milk and the fine herbs and beat more.

(If you wish, you can add other herbs and even a dash of white wine.)

Place sliced bread on bottom of your baking dish.

Toss ham, cheese, mushrooms and leeks together and put over bread.

Pour egg mixture over all.

Cover with foil and refrigerate overnight.

Take out of frig. in the morning and pre-heat oven to 350 degrees.

Bake covered for 45 minutes; then remove foil and place sliced tomatoes on top and bake an additional 15 minutes.

Cut into serving size portions.

You can use additional or substituted ingredients for this dish according to your whim and imagination.  For instance, you could add some chopped asparagus, spinach, squash, or other kinds of cheeses.  It’s a very versatile dish. 

Margot is a self-taught enthusiastic & passionate cook. Having been an inn-keeper for 5 years at her own inn, she accumulated a lot of good recipes which she loves to share. For comments, questions, and ideas please feel free to email her:margot6@mindspring.com.

Eggs Picante

Standard

Eggs Picante

Eggs Picante

Eggs Picante

Here’s a recipe that is has four things going for it:

  1. It’s super easy to make.
  2. It’s healthy and can easily be not full of calories with the right ingredients.
  3. It looks pretty, decadent and like a soufflé. You and your guests will be impressed.
  4. It can be easily varied to your heart’s desire.

I love recipes like that—don’t you?

Ingredients needed for the basic recipe:

6 large eggs

6 heaping tablespoons plain yogurt (can be any style and even non-fat)

½ Cup Picante or Salsa Sauce

½ Cup grated Cheddar, Jack or a Mexican style Cheese

Preheat oven to 375 degrees

In a blender, whip eggs and yogurt until frothy.

Spray a pretty 9 “pie dish with non-sticking spray and pour the eggs and yogurt into it.

Bake until firm/set and the top is golden (about 20 minutes)

Spread picante sauce over the eggs and sprinkle top with the cheese.

Bake for about 5-10 minutes longer or until cheese has melted.

Some Variations on the Basic

If you wish, you can make individual ones in non-sticking sprayed ramekins.  I use one egg and one heaping tablespoon yogurt per ramekin.   Place the ramekin(s) on a cookie sheet and bake at 400 degrees (because they are on a cookie sheet) for 15 to 20 minutes (or until eggs are firm and it’s started turning golden); top with sauce and cheese for five minutes more.

If you have left-overs, they can be refrigerated and reheated in a micro for a little bit.

This goes very nicely with corn bread, Indian Nan, tortillas or yogurt biscuits.

I have also used a nice Hollandaise instead of the picante for a different variety sauce. For the cheese, it can be a shredded Muenster. A little slice of Canadian bacon, some asparagus, and an English muffin for the side for Eggs Hollandaise is perfect.

This is a recipe that you can throw your imagination into and can be easily varied.

Margot is a self-taught enthusiastic & passionate cook. Having been an inn-keeper for 5 years at her own inn, she accumulated a lot of good recipes which she loves to share. For comments, questions, and ideas please feel free to email her:margot6@mindspring.com.

Whole Chicken Thigh Soup

Standard

The cold virus is going around.  I know because I caught it.  In calling my doctor’s nurse, she said that it would take about 7-8 days to recuperate; that I should rest; drink a lot of fluids, and make chicken soup. That’s exactly what I did and I also looked up on-line to see why that “old fashioned chicken soup remedy” was so good for you.  This is what I found out:

For starters, chicken has been shown to inhibit the production of neutrophils, white blood cells that eat bacteria and cause inflammation and mucus production (i.e. stuffy nose, sore throat, phlegm, etc.). This is important because while neutrophils kill pathogens, their antimicrobial products damage host tissues. Chicken contains cysteine, an amino acid that is thought to help thin mucus in the lungs, making it easier to expel. It sure seemed to help me. Herewith is a recipe that I used. I like it because it has a nice combination of rice, orzo, lentils; the spices seem to meld together beautifully; and it’s a dish that you can taste even when your taste buds are at their worst.   

Whole Chicken Thigh Soup a la Margot

Actual Cooking time 1 hour

3 or 4 Whole Well Rinsed Chicken Thighs (With Skin Preferably)

3 Sprigs of Fresh Thyme or ½ Tsp. Dried Thyme

2 Sprigs of Fresh Oregano or ½ Tsp. Dried Oregano

2 Tblsp. Chopped Fresh Parsley or 1 Tblsp. Dried Parsley

3-4 Bay Leaves

½ Tsp. Red Pepper Flakes (or more if you like)

1 Tsp. Panch Phoron( a Bengali combo of cumin, fennel, mustard, nigella & fenugreek)

Sea Salt & Ground Pepper to taste

2 Tblsp. Butter (I used salt free)

1 Tblsp. Olive Oil

1 Large Onion, Sliced Thin

4 Cloves of Garlic Coarsely Chopped

2 Tblsp. Fresh Cilantro- Coarsely Chopped or 1 Tblsp.Dried Cilantro

3/4 C Rinsed Lentils

¼  C Brown Rice

¼ C Long Grain White Rice

½ C Orzo

4 C. Chicken Stock

6 C. Hot Water

  1. Heat butter and olive oil on medium high. Stir in garlic, onion, and Panch Phoron until garlic and onion are soft (about 5 minutes).
  2. Add hot chicken stock and water. Bring to a slow boil and turn heat to medium.
  3. Add chicken thighs and remainder of spices & cilantro.
  4. After 10 minutes add brown rice.
  5. After 30 minutes add lentils and white rice.
  6. After 50 minutes add orzo.
  7. Total cooking time is 60 minutes.
  8. Before serving, remove bay leaves and sprigs of oregano and thyme if you used fresh ones.

If desired, add chopped fresh spinach or kale to soup about 5 minutes before serving.

You also can add some chopped carrots about ½ way through cooking.

When serving/eating, you can squirt a bit of lemon juice on top or serve with lemon slices for guests to spritz themselves; and/or also  serve or add a bit of freshly grated parmesan as an additional topping.


Lentil & Pork Soup

Standard

Lentil and Pork Soup   

Ingredients:

2 Tblsp. Olive Oil

½ chopped onion or up to 2 C. sliced leeks(add some greens)

2 chopped cloves garlic

S & P

1 tsp. fresh thyme (or dried)

½ tsp. ground cumin

Chopped carrot(as much as 1 1/2 C)

Chopped celery(as much as 1 1/2C)

A little tomato juice or 2 tblsp. tomato paste

1 C. dried lentils

1 thin sliced fresh pork chop—cut up in small pieces (or 1 lb. kielbasa sausage sliced in ½ and cut up)

4 to 6 C. chicken stock(6 if using 3 C  carrots & celery)

Dried parsley flakes or fresh chopped parsley

Directions:

Heat oil in heavy stock pot of medium heat.  Saute leeks/onion, garlic, S&P, thyme, and cumin until leeks/onion is soft.  Stir in carrots and celery and sauté another 5 min. Add chicken broth, tomato juice, and lentils.  Cover and simmer for 15 to 50 min.  Stir in pork and simmer another 10 min.


Serve w/parmesan cheese


Bacon and Hard Boiled Egg Casserole

Standard

Bacon and Hard Boiled Egg Casserole

Basic recipe will serve 12 – 18

(OMG this is DELICIOUS!!!!)

Now that Easter has come and gone, what to do with all of those hard boiled eggs?  Well, here’s some good info to be had about Easter hard boiled eggs and a wonderful recipe as well.

1.        How long do eggs last? The Public Health Web Site says that raw eggs can be kept in the refrigerator for 4-5 weeks after purchase and that refrigerated hard-boiled eggs should be eaten within 7 days.

2.        In regards to the colored Easter eggs, you should be sure before using them that the dye was food-safe; that the eggs were not hidden in a contaminated area and that they are not cracked to have allowed in bacteria.

3.        The eggs should not have been left out in a warm temperature too long.  They really need to be refrigerated.

4.        The Public Health Dept.suggests coloring the hard boiled eggs and then refrigerating them.  For the hidden eggs, they recommend the plastic kinds.

This casserole’s basic recipe features 18 eggs so as you can imagine, it will feed quite a few people. It’s nice to serve at a brunch party; and you can easily divide the basic recipe in amounts for however many portions you wish to serve.  For myself, instead of using one large baking dish, I reduce the recipe amounts and  use several ramekins. I serve this dish often with an artichoke to share,

oven roasted asparagus or a green salad along with some fresh fruit and of course, a lovely glass of fruity white wine.  Also nice to have with this recipe are some warm buttered corn tortillas or home made polenta.

Bacon and Hard Boiled Egg Casserole

                                                  Preheat Oven to 350

Non-Stick Spray a 9 X 13 Dish o r multiple  ramekins if you decide to use those instead of one large dish

18  Hard Boiled Refrigerated Eggs

1/2 ( 8 oz.) Pint Sour Cream

1 lb. Bacon

1 ½ Cups Grated Cheddar Cheese

3 Tblsp. Butter

3 Tblsp. Flour

2 Cup Milk

Salt & Pepper

1.        If you need to hard boil eggs, one of the easiest ways to do that is to put cold eggs in a single layer in a saucepan; add enough cold tap water to come at least one inch over the eggs; cover and quickly bring to a hard boil; turn off heat and keep eggs covered for 15-20 minutes; then immediately run cold water over eggs and refrigerate in a dry container. To test if the egg is done, twirl it around on the counter top and if it spins freely, it’s done.

2.        Make a white sauce from the butter, flour and milk. (In a small saucepan, over medium-low heat melt the butter until the foam begins to subside; turn heat to low and with a wire whisk, stir in the flour for about 1-2 minutes; keeping the heat low, stir in the milk, a little bit at a time, still using the whisk until the mixture is nice and smooth. Season with salt and pepper to taste. Don’t let it get brown, otherwise you will have brown sauce.  You can keep the sauce warm over gently simmering water for an hour or so, stirring occasionally.)

3.        Fry the bacon and crumble.

4.        From the hard boiled eggs, remove the yolks and mix the yolks with the sour cream and 1 cup of the shredded cheddar cheese and S&P.

5.        Slice the egg whites and line the bottom of the dish with them.

6.        Pour the yolk mixture over the egg whites.

7.        Pour the white sauce over all.

8.        Top with remainder 1/2 cup cheddar cheese and place the crumbled bacon as your last topping.

9.        Bake 20 to 30 minutes in the preheated 350 degree oven.

For variations, try adding a little mustard or horse raddish in the sour cream; and for toppings you can substitute for the bacon bits some chopped ham or chipped beef. I haven’t tried it with a different kind of sauce, however, I suppose instead of white sauce you could use an Hollandaise or another of your favorites. It’s a fun dish to use your imagination.  If you decide to use the ramekins, you only need to bake them at 350 for 20 minutes on top of a cookie sheet.

Thank you Dianne, friend & VSI past guest, for the basic and inspiration.


 Are you a frustrated, overworked or timid cook? Call Margot for help @ 721-3551

& please feel free to email her @ margot6@mindspring.com for comments or ideas

Margot is a self-taught enthusiastic & passionate cook. Having been an inn-keeper for 5 years at her own inn, she accumulated a lot of good recipes which she loves to share.

http://www.theweeklysun.com.